Last updated: November 19, 2026
Key Takeaways
- Keep debris out of sensitive parts by cleaning gently and avoiding liquid, force, and static.
- Shut down, remove loose debris, then wipe reachable surfaces and rollers without forcing them.
- Clean the roller surface lightly; do not scrub it hard.
- Use air and vacuum carefully, since both can push dust into the wrong place.
Paper dust and debris from a printer can smear output, trigger feed problems, and make rollers slip. If you need to clean paper dust and debris from a printer, the safest answer is to turn it off, unplug it, open the access panels, and remove loose dust with a lint-free cloth, a small vacuum, and a can of compressed air used in short bursts. This guide to how to clean paper dust and debris from a printer shows what to clean, what to skip, and how to avoid pushing debris deeper into the paper path.
What to clean inside a printer, and what to leave alone
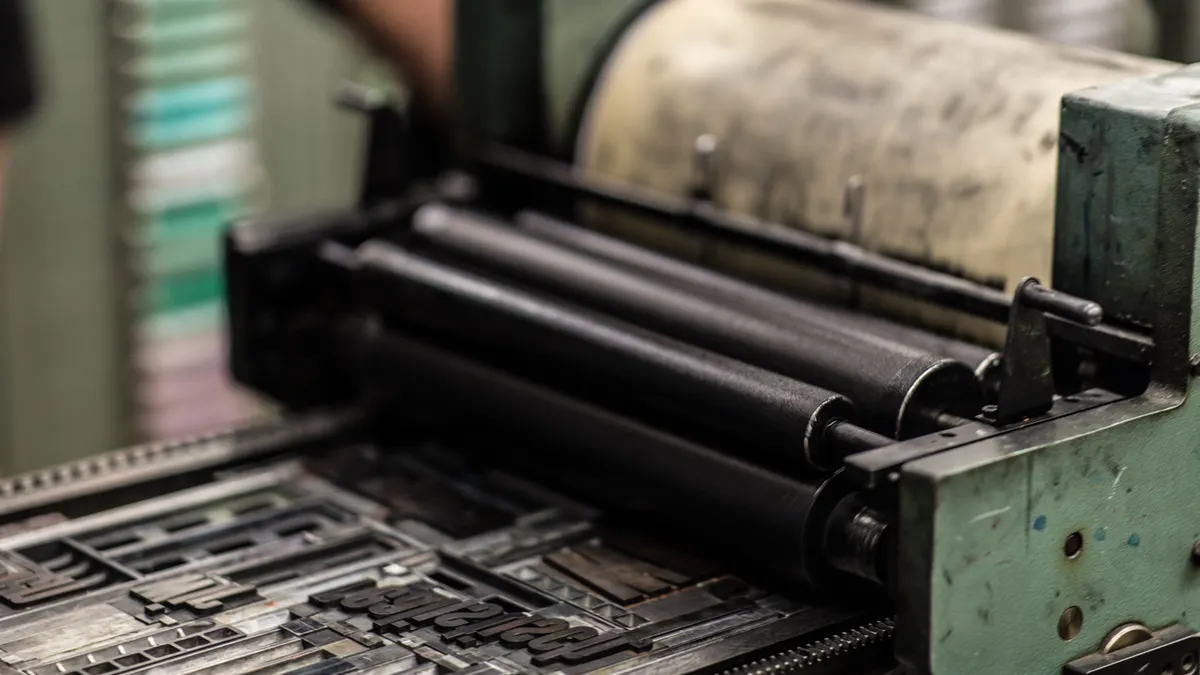
You should clean paper dust, loose scraps, and visible debris on the paper path, pickup rollers, and tray area. Leave printheads, toner drums, belts, and sensors alone unless your printer manual specifically tells you otherwise.
Picture this: you open the printer and see gray dust on the rollers, tiny paper chips near the paper path, and a thin layer of lint around the tray. That is exactly the kind of buildup this guide on how to clean paper dust and debris from a printer is meant to remove. You want the debris gone without touching the parts that can be damaged by liquid, force, or static.
A paper towel sounds handy, but it sheds lint fast and can make the problem worse.
Use these tools:
- Lint-free microfiber cloth
- Small vacuum with a brush attachment
- Can of compressed air
- Cotton swabs for tight corners
- Flashlight
If you want a broader maintenance checklist later, the hub on print quality and maintenance is the right next stop. You can also use the printer troubleshooting and printer maintenance pages for related fixes. Here, the job is narrower: get the inside clean enough that paper feeds smoothly again.
How do I clean the paper path in a printer?
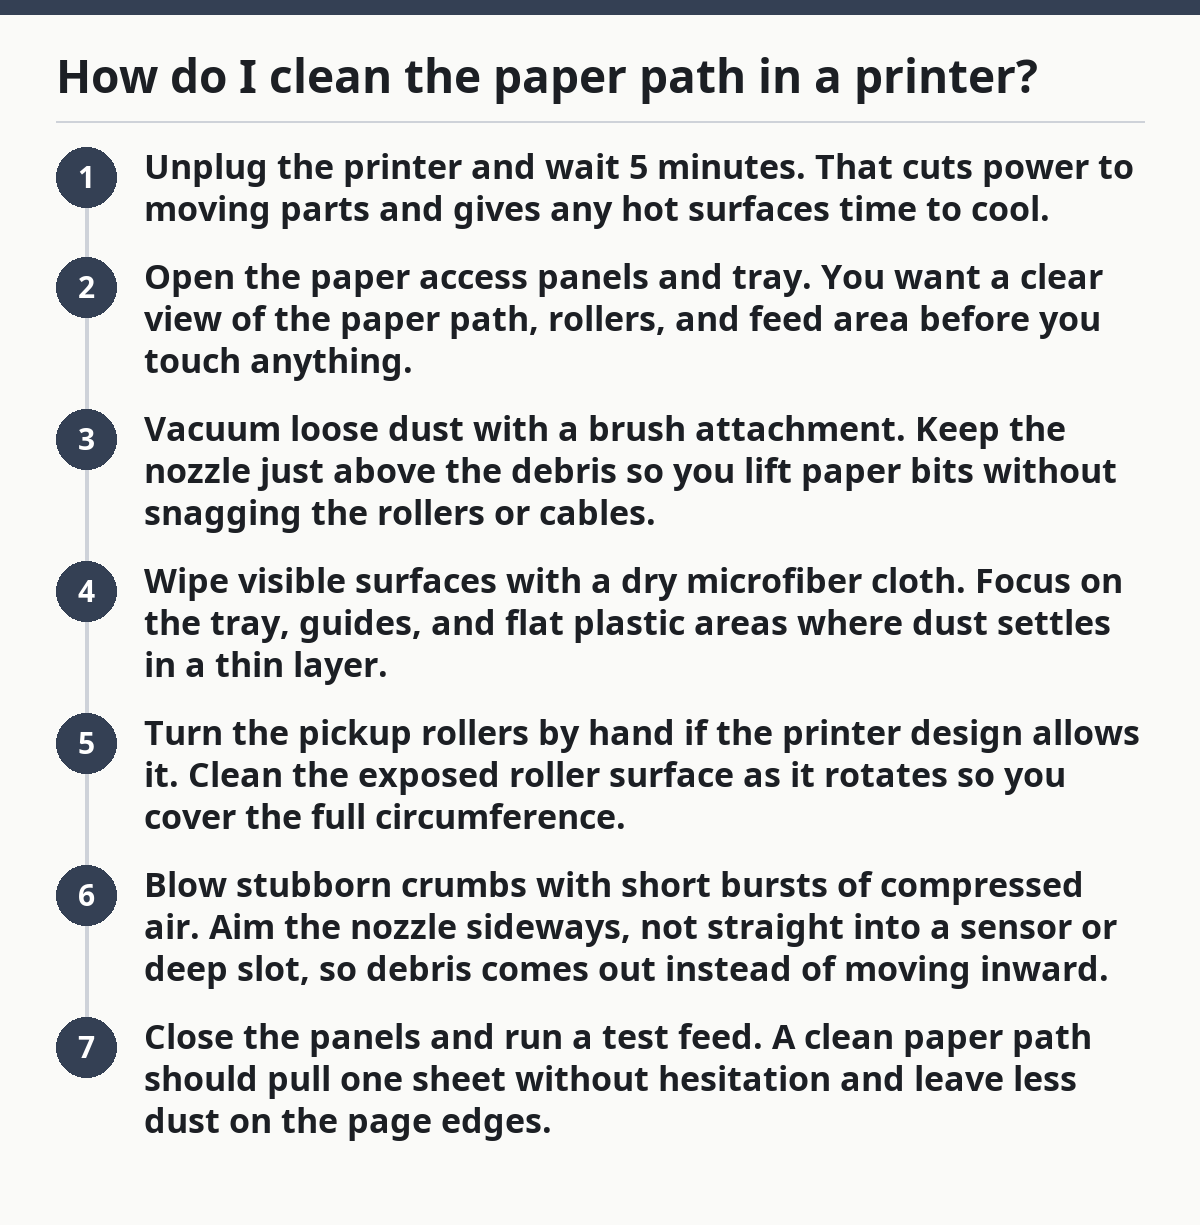
You clean the paper path by powering down the printer, removing loose debris first, then wiping the accessible surfaces and rollers without forcing anything. The key is to work from the tray toward the exit path so you do not push dust into deeper spaces.
-
Unplug the printer and wait 5 minutes.
That cuts power to moving parts and gives any hot surfaces time to cool. -
Open the paper access panels and tray.
You want a clear view of the paper path, rollers, and feed area before you touch anything. -
Vacuum loose dust with a brush attachment.
Keep the nozzle just above the debris so you lift paper bits without snagging the rollers or cables. -
Wipe visible surfaces with a dry microfiber cloth.
Focus on the tray, guides, and flat plastic areas where dust settles in a thin layer. -
Turn the pickup rollers by hand if the printer design allows it.
Clean the exposed roller surface as it rotates so you cover the full circumference. -
Blow stubborn crumbs with short bursts of compressed air.
Aim the nozzle sideways, not straight into a sensor or deep slot, so debris comes out instead of moving inward. -
Close the panels and run a test feed.
A clean paper path should pull one sheet without hesitation and leave less dust on the page edges.
Do not use household spray cleaners, alcohol on unknown plastics, or wet cloths dripping with liquid. That can stain parts, soften rollers, or leave residue that grabs more dust later. The EPA’s guidance on printer and office equipment maintenance is a useful reference for keeping cleaning methods conservative and dry. For toner-heavy machines, the HP support pages on printer maintenance and the Brother support guides on roller cleaning also reinforce the same basic approach.
How to clean printer rollers without damaging them
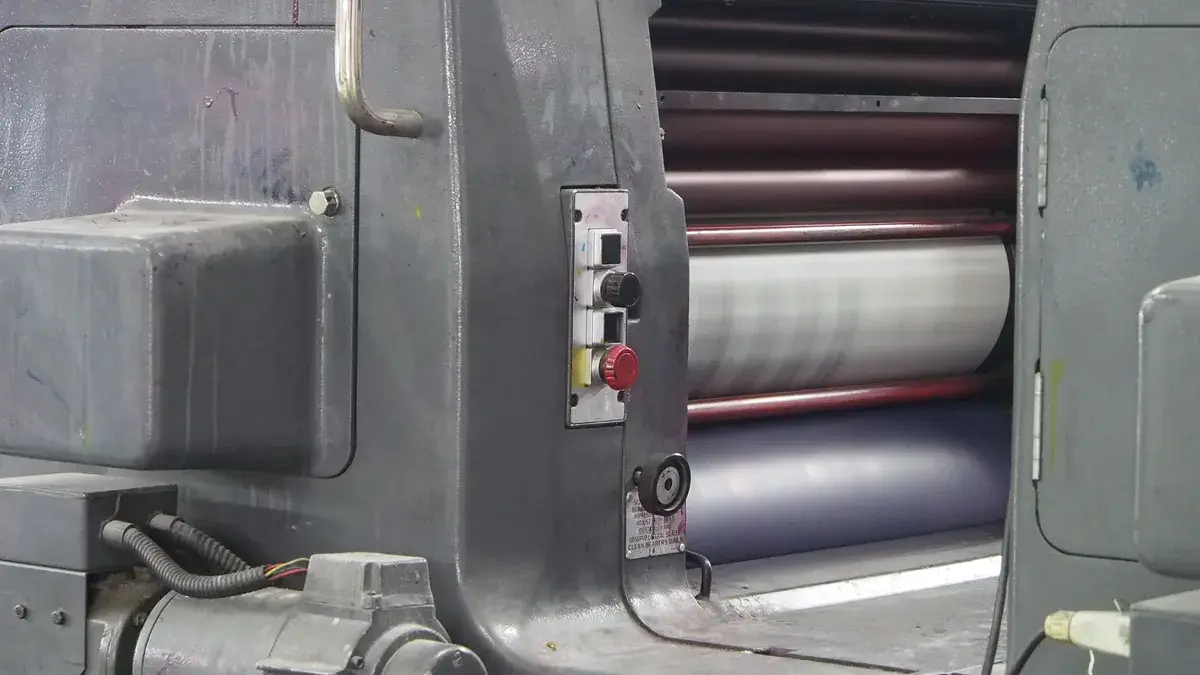
Picture this: the pages keep feeding crooked, and the rollers look shiny with paper dust. You need to clean the roller surface, not scrub it raw. A gentle wipe is enough in most cases, and a harsh cleaner can shorten the roller’s life.
Use a dry microfiber cloth first. If the roller is exposed and your printer manual allows it, moisten a cloth very lightly with water and wipe the rubber surface as it turns. Stop as soon as the dust lifts. A roller that looks dull and grippy again is the goal.
A few rules keep the job safe:
- Do not soak the roller.
- Do not scrape it with a fingernail, blade, or screwdriver.
- Do not use oily cleaners.
- Do not spin the roller faster than the printer’s own movement would.
If a roller is glazed, cracked, or still slips after cleaning, dust is no longer the whole problem. At that point, cleaning will not restore the rubber surface, and a replacement part may be the real fix. That is a different job from debris cleanup.
For an office printer that sees daily use, rollers deserve the same gentle treatment every time the paper path gets dusty. When in doubt, consult the printer manual or a service technician before using water on a roller.
Can I use compressed air or a vacuum inside a printer?
Yes, but only with care, because both tools can move dust into the wrong place if you use them badly. Compressed air is best for loose bits in open areas, while a small vacuum is better for collecting debris already sitting near the tray or base.
Use compressed air in short bursts from the side, not a long blast straight into the printer. A hard stream can drive paper dust deeper into sensors, hinges, and tiny gaps. Hold the can upright so it does not spray propellant.
A vacuum needs the right touch too:
- Use a brush attachment, not a bare nozzle.
- Keep it close enough to catch dust, but not so close that it grabs ribbons or labels.
- Move slowly across the area instead of digging into corners.
- Empty the bag or bin soon after, so captured dust does not puff back out.
Here’s the catch: compressed air can make a mess if you skip the vacuum first. Start by removing the loose debris you can reach, then use air only for the stuff that clings to edges. That order keeps the dust from resettling on the rollers and paper guides. The CDC and OSHA both recommend controlled use of compressed air and proper ventilation in maintenance settings, which is why short bursts beat prolonged blasting.
If your printer has warning labels that tell you not to vacuum a certain compartment, follow those instructions. Some machines have delicate assemblies that should be cleaned only by service staff.
What mistakes make paper dust problems worse?
Picture this: you clean the inside of the printer, but the next stack of paper still feeds poorly. The mistake is often not the dust itself — it’s the way the dust was handled. A few common habits spread debris farther or damage the parts that move the paper.
The biggest mistakes are simple:
- Using wet cleaners on rollers or sensors
- Blowing hard air deep into the machine
- Wiping with paper towels that leave lint behind
- Ignoring the paper tray while only cleaning the center path
- Pulling stuck scraps without opening the right access point
Each one has a cost. Wet cleaner can leave residue. Heavy air can force dust into the feed mechanism. Paper towels can add more fibers than they remove. And if a scrap is trapped near an access latch, yanking it can tear the paper and scatter bits into the gears.
The better move is slower and smaller. Open the proper panel, remove loose pieces by hand if they are easy to reach, and clean one zone at a time. If a torn sheet is still stuck under a roller or inside a narrow path, stop and follow the printer’s paper-path instructions instead of guessing.
A flashlight helps here. It shows whether the inside is actually clean or just looks clean from the door opening.
How often should I clean the inside of a printer?
You should clean the inside of a printer whenever you see dust buildup, loose paper fibers, or signs of feed trouble, and then keep it on a regular schedule based on use. A home printer may only need attention after noticeable buildup, while a shared office printer may need a quick wipe more often.
The right interval depends on three things:
- How much paper the printer handles
- Whether the room is dusty
- How often the tray is opened and refilled
A printer in a clean home office may go a long time between cleanings. A printer near a copy room, workshop, or open window can collect dust much faster. If the feed rollers start picking up two sheets, slipping, or leaving small gray marks, that is a sign to clean sooner.
Use the paper tray as your clue. If you can see lint around the edges or bits of torn paper under the stack, the inside probably needs attention too. A quick 5-minute cleaning is easier than waiting until the machine starts misfeeding every other page.
When should I stop cleaning and get help?
You should stop cleaning and get help if the printer has broken plastic, exposed wiring, a jam you cannot reach, or a part that looks loose inside the paper path. Cleaning paper dust is a routine task; prying into a damaged mechanism is not.
A service call makes more sense when:
- A roller does not turn
- A panel will not close correctly
- A screw, spring, or clip is missing
- The printer shows a service error after cleaning
- You smell burning or see melted plastic
That is especially true on higher-end office printers with deeper maintenance access. Those machines often have more covers, more sensors, and tighter spaces. Guessing can turn a small debris issue into a bigger repair.
The truth is, paper dust cleanup is meant for light maintenance, not reconstruction. If the debris is packed into a broken assembly, leave it there until the printer can be opened and serviced the right way.
What does a clean printer inside look like?
A clean printer inside looks dry, clear, and free of loose fibers, with rollers that show no visible clumps of dust or paper scraps. You should be able to see the paper path, tray edges, and accessible rollers without gray buildup collecting in corners.
A quick check tells the story:
- No loose scraps in the tray
- No dust ridge on the paper guides
- No lint wrapped on visible rollers
- No crumbs under the paper stack
- No debris falling out when you move the printer
That does not mean every surface will look brand new. Some marks are normal wear. What matters is that nothing loose is left to ride into the next sheet of paper.
If you have cleaned the path, the rollers, and the tray area, the printer should feed more consistently and leave fewer stray marks from internal debris. That is the payoff. Not perfection — just a cleaner path for the paper to follow.
Can paper dust cause print problems?
Yes. Paper dust can cause feed trouble, crooked pickup, and small marks on the page if it builds up on rollers or in the paper path. It can also make the printer grab more than one sheet at a time. If the problem keeps coming back right after cleaning, the rollers or another feed part may need attention.
How often should I clean the inside of a printer?
Clean it whenever you see dust, scraps, or feed changes, then adjust the schedule to the room and the amount of printing. A printer in a dusty space will need attention sooner than one in a clean office. A 5-minute check during paper refills is often enough to catch buildup early.
Drafted with AI; not yet reviewed by a person.