Last updated: November 19, 2026
A PDF that comes out smaller usually isn’t broken; the print dialog is shrinking it. How to print a PDF at actual size without scaling starts with choosing Actual Size or 100% in the viewer and making the paper size in the print dialog match the PDF page size.
The steps below show where that setting hides, what fit to page actually changes, and how to catch a page size mismatch before you burn through a stack of paper.
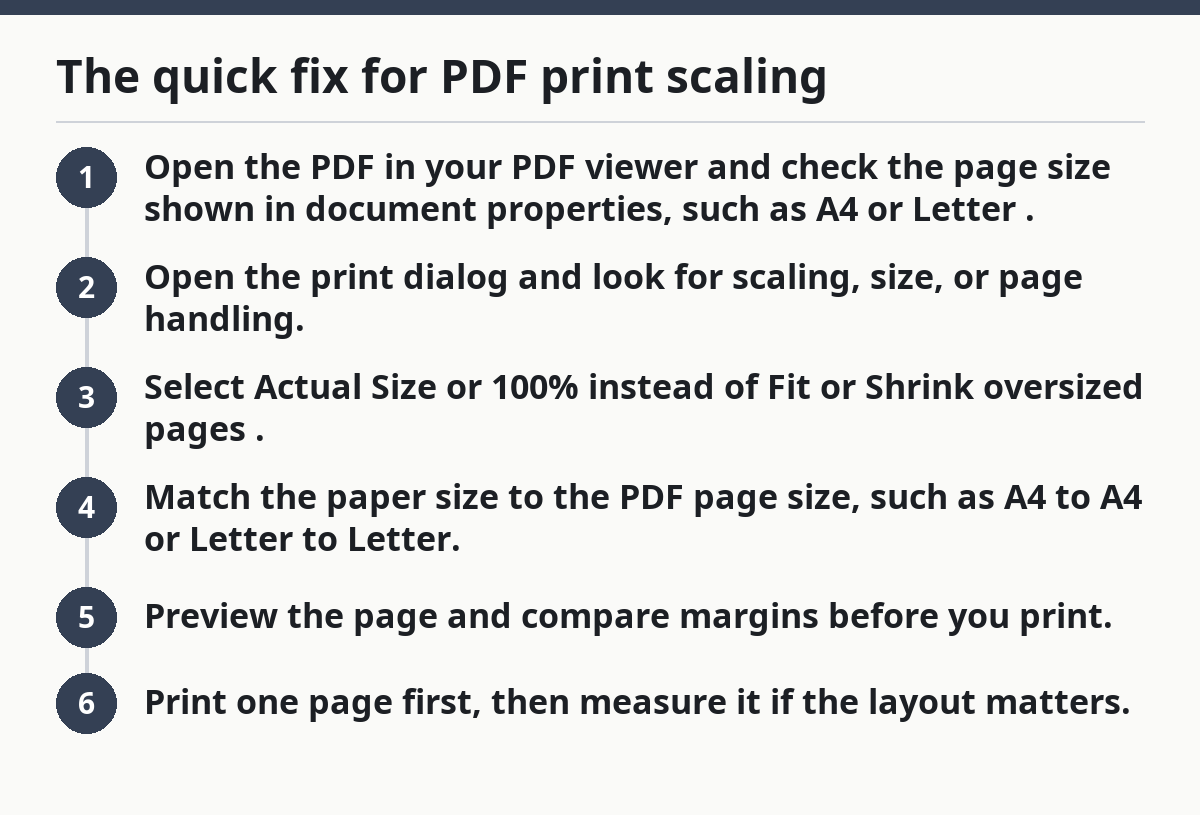
The quick fix for PDF print scaling
Open a PDF, hit print, and the sheet may arrive with extra white space or a ruler that shows it’s off by a few millimeters. Usually, the fix is simple: turn off fit to page and pick 100% scale or Actual Size in the print dialog.
- Open the PDF in your PDF viewer and check the page size shown in document properties, such as A4 or Letter.
- Open the print dialog and look for scaling, size, or page handling.
- Select Actual Size or 100% instead of Fit or Shrink oversized pages.
- Match the paper size to the PDF page size, such as A4 to A4 or Letter to Letter.
- Preview the page and compare margins before you print.
- Print one page first, then measure it if the layout matters.
- If the dialog says Fit, the viewer is resizing the document to fill the sheet.
- If the dialog says Shrink to printable area, the file is being reduced to avoid printer margins.
- If the preview shows a different paper size, fix that before printing the rest.
Key takeaways
- 100% scale is often the setting you want.
- Fit to page changes the size, so avoid it.
- Paper size mismatch is a common cause of surprise shrinkage.
- Print preview is your best warning sign.
Where the setting hides in common PDF viewers
Knowing the file is correct doesn’t help much when every app hides the controls in a different spot. Most PDF viewers keep page sizing inside the print dialog; switch it to Actual Size or 100%.
In Adobe Acrobat Reader, the choice usually lives under Page Sizing and Handling. Browsers like Chrome or Edge often tuck it under More settings, then Scale. macOS Preview does something slightly annoying: the size control sits inside the print sheet, not the main document window.
- Check the viewer’s print panel for a control named Scale, Size, Page Sizing, or Custom.
- Choose Actual Size or type 100 if the app uses a percentage box.
- Disable any box that says Fit to printable area, Fit, or Scale to fit.
- Inspect the print preview for clipped content or sudden margin changes.
- Save the setting only if the app keeps changing it back on the next print job.
- Some viewers remember the last choice for that printer.
- Others snap back to Fit every time, which is why a careful preview matters.
- A few hide scaling under an advanced menu, not the first screen.
What the preview is telling you
The preview can look nearly right and still be wrong. Bigger margins than expected usually mean the printer is reserving a nonprintable border, or the dialog is still applying a scale other than 100%.
A clean preview should show the page shape you expect, the correct paper size, and content that reaches the same edge distances as the PDF. If the preview page looks like a letter page but the file is A4, you already have a size mismatch. That mismatch sneaks in like a bad assumption.
- Correct preview: same page shape, same orientation, no obvious shrink.
- Wrong preview: the document floats inside the page or looks visibly reduced.
- Borderless expectation: not all printers can print to the edge, even at actual size.
How do I stop a PDF from shrinking when I print it?
A PDF that should print at full scale can still come out looking like a reduced copy. The fix is to make the PDF viewer, the print dialog, and the paper size agree, then leave scaling at 100%.
Start with the page setup in the PDF itself. If the PDF was built for A4 and the printer is set to Letter, many viewers will shrink the page to fit the larger printable area. That behavior is normal, but it is not what you want.
- Open the PDF’s document properties and confirm the page size.
- Set the printer tray or page setup to the same size, such as A4 or Letter.
- Turn off options like Fit, Shrink oversized pages, and Scale to fit paper.
- Use 100% or Actual Size in the print dialog.
- Print a single page and check a known dimension, such as a 100 mm line or a boxed margin.
Here’s the catch: some printers still add a tiny border because they cannot print to the edge of the sheet. That does not mean the PDF was scaled. It means the printer has a built-in margin, and the content may shift slightly inside the printable area. Printer math gets a little slippery there.
- If your document has rulers or crop marks, they should stay in the same proportion.
- If a 10 cm reference line prints short, scaling is still on.
- If the whole page is smaller, the dialog likely used shrink instead of actual size.
What to do when paper size does not match the PDF
You’ve got an A4 PDF, but only Letter paper is in the tray. You can still print, yet you have to decide whether to resize the file or change the paper, because the print dialog cannot read your mind.
The cleanest fix is to load the same paper size that the PDF uses. If the document is built for A4, choose A4 in the printer settings. If it is Letter, choose Letter. That keeps actual size honest.
Can’t change the paper? Then use print preview to judge the trade-off. Some viewers keep the page at full size and let the edges clip. Others shrink the page so everything fits, which defeats the point of printing at actual size.
- Identify the PDF page size from document properties or the first page preview.
- Load matching paper in the tray if you can.
- Set the printer paper size to the same format in the print dialog.
- Choose Actual Size rather than any fit setting.
- Preview the page edges and watch for cut-off crop marks.
- A mismatched tray can trigger automatic scaling.
- A mismatched driver setting can override the viewer.
- A duplex setup can also shift the page if the driver applies extra margins.
How crop marks and print marks help you check actual size
Tiny crop marks or a ruler line give you proof that the page came out at the right scale. They’re the fastest way to verify actual size without guessing.
Crop marks sit outside the main artwork, so they show whether the page was centered and sized correctly. A document with marks and a 100% print setting should keep the geometry intact. If the marks sit closer together than expected, the page has been scaled down. If they are cut off, the document may be too large for the selected paper or margins. That’s the red flag.
Use this only as a check, not as a fix. Crop marks tell you what happened; they do not change the print dialog settings.
- Compare the printed marks against the PDF on screen or against a ruler.
- Look for symmetry on all four sides.
- Treat clipped marks as a sign to recheck paper size and scaling.
What not to do
You’re in a hurry, so you hit the biggest button that says Print. That’s how a lot of people end up with a reduced page, because the default is often Fit to page or printer-managed scaling.
Don’t trust memory alone. Some viewers remember the last job, some remember the last printer, and some reset after an update. A quick check takes less than a minute and saves a spoiled sheet.
- Do not leave the dialog on Fit if size matters.
- Do not ignore the first preview.
- Do not assume the printer driver and the PDF viewer agree.
Actual size printing in Adobe Reader, browser viewers, and Preview
The PDF opens in a different app than you expected, and suddenly the controls look unfamiliar. Still, the core rule stays the same across Adobe Reader, browser viewers, and Preview: choose Actual Size or 100%, then match the paper size.
In Adobe Reader, the path is usually the clearest because the app exposes page sizing directly. Browser viewers can bury the scale control under More settings. In macOS Preview, the print sheet often puts the size menu beside the paper choice, which makes it easy to miss.
- Find the scale control in the viewer you are using.
- Set it to Actual Size or 100%.
- Match the paper format in the same panel.
- Check the preview for unintended shrink or clip.
- Print a single page before the rest.
Once you know where the setting lives, the app matters less than the dialog. The mistake is usually not the file. It’s the default. Sneaky, really.
Why this matters for the right kind of PDF
Forms, templates, drawings, and handouts with exact margins all depend on actual size because the layout carries meaning, not just appearance.
This method fits files with rulers, cut lines, coupons, patterns, technical sheets, or any page where the dimensions must stay fixed. It is not the right choice if you want to fill the sheet at any cost or force a small PDF onto larger paper without clipping.
For broader printing workflow questions, this page sits under the printing workflows and output control hub.
- Use Actual Size when dimensions matter.
- Use Fit to page only when size does not matter.
- Fix the paper size before you blame the file.
Why does my PDF print smaller than expected?
Your PDF prints smaller than expected because the viewer or printer is shrinking it to fit the selected paper. The most common cause is a page size mismatch between the document and the tray, such as A4 in a Letter setup. Turn off Fit to page, choose 100%, and recheck the preview before printing again. For setup details, see Adobe’s print help and Microsoft’s print guidance.
How do I stop a PDF from shrinking when I print it?
Set the print dialog to Actual Size or 100% and match the printer paper size to the PDF page size. If the file still shrinks, look for another scale setting in the printer driver, not just the PDF viewer. A single mismatch in the driver can override the choice you made in the app. The Adobe Acrobat Reader documentation and Apple Preview User Guide both describe checking page size and print scaling.
Drafted with AI; not yet reviewed by a person.