Last updated: November 18, 2026
Quick Answer: print 1 test envelope first, then print the rest after you confirm the size, tray, and feed direction. For how to print envelopes on a home printer, match the envelope size in the print dialog, load the stack in the direction your printer manual specifies, and use the envelope setting your printer’s driver calls for. Most bad results come from a wrong size, a flipped envelope, or too many envelopes in the tray.
Key takeaways
- Use the envelope size that matches the envelope itself, such as a standard #10 or A7.
- Set the print dialog to Envelope before you print anything.
- Feed direction matters as much as size; the flap and front side have to face the right way.
- Start with one envelope or a small stack if your printer’s manual says it can take them.
- Skewed printing is usually a loading problem, not a document problem.
What do I need before I print envelopes?
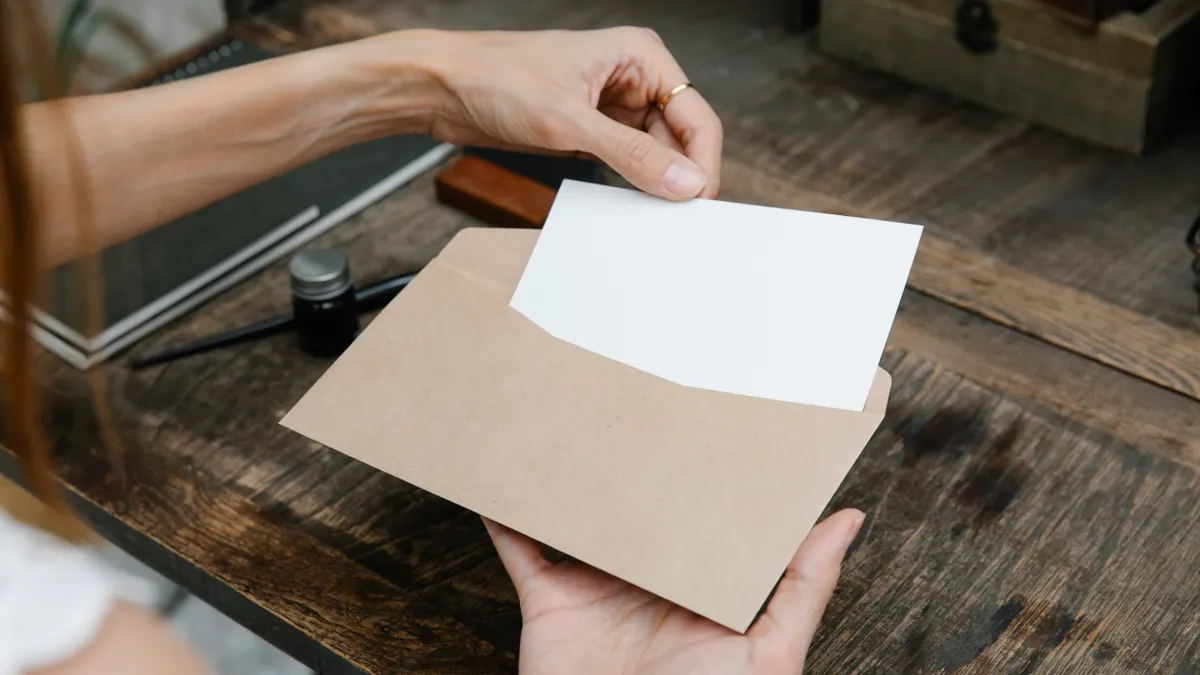
You need the envelope, the printer tray the printer expects you to use, and the print dialog settings from the app you are printing from. A plain home printer can handle this job if it has a manual feed slot or a tray that accepts envelopes, but the exact loading method depends on the model and the paper path. HP’s envelope guidance and Brother’s support pages both stress checking the printer model before loading anything.
Check the envelope size first. Common sizes are #10 for business letters and A7 for cards, but the right choice is the size printed on the box of envelopes, not the size you think looks close enough. If the document is set to Letter at 8.5 x 11 inches while the envelope is smaller, the address can land too low, too far left, or get clipped.
Use a clean envelope with a flat flap. Wrinkled flaps, curled corners, and thick seams can snag in the printer. If the envelope has a peel-and-seal strip, make sure it is fully closed before loading so the glue does not catch rollers. If you are unsure about a thick or specialty envelope, consult your printer manual or a print professional before you run a full batch.
How to print envelopes on a home printer?
You print envelopes by matching the envelope size in the document, loading the envelope into the correct tray, and sending the job through the print dialog with the envelope setting turned on. The order matters because the printer has to know the paper shape before the first page moves. HP and Brother both describe envelope printing as a size-and-feeding setup, not a normal letter-page job.
-
Open the print dialog in the program you are using and choose the envelope setting.
This tells the printer driver that the page is not standard letter size; if the menu offers a printer-specific envelope preset, use that or ask the printer vendor for the correct setup. -
Select the envelope size that matches the envelope in your hand, such as #10 or A7.
The page preview should switch from a full sheet to the envelope dimensions, which is a reliable sign the job is set up correctly. -
Set the address placement in the document so the recipient address sits where the envelope window or front face expects it.
For a normal business envelope, keep the address block centered on the front and leave enough clear space around it so the printer does not clip the edges. -
Load the envelope into the printer tray with the side and flap direction that your printer model requires.
On many printers this is the manual feed slot, not the main paper tray, because the paper path is shorter and bends the envelope less. -
Print one envelope first and inspect the result before printing the rest.
One test piece is cheaper than a stack of wrinkled or misfed envelopes. -
Adjust the print dialog or tray guides if the address lands off center or the envelope feeds crooked.
Small shifts in the side guides can stop rubbing, dragging, and diagonal printing. -
Print the full batch only after the first envelope comes out clean and straight.
A clean first envelope is a good sign that the size, orientation, and feed direction are aligned.
If the printer driver offers an envelope preset, use it instead of a plain paper preset. A preset usually changes the feed path, print speed, and margins in one move, which is safer than trying to fake envelope printing with a letter setting.
Which tray and direction should I use?
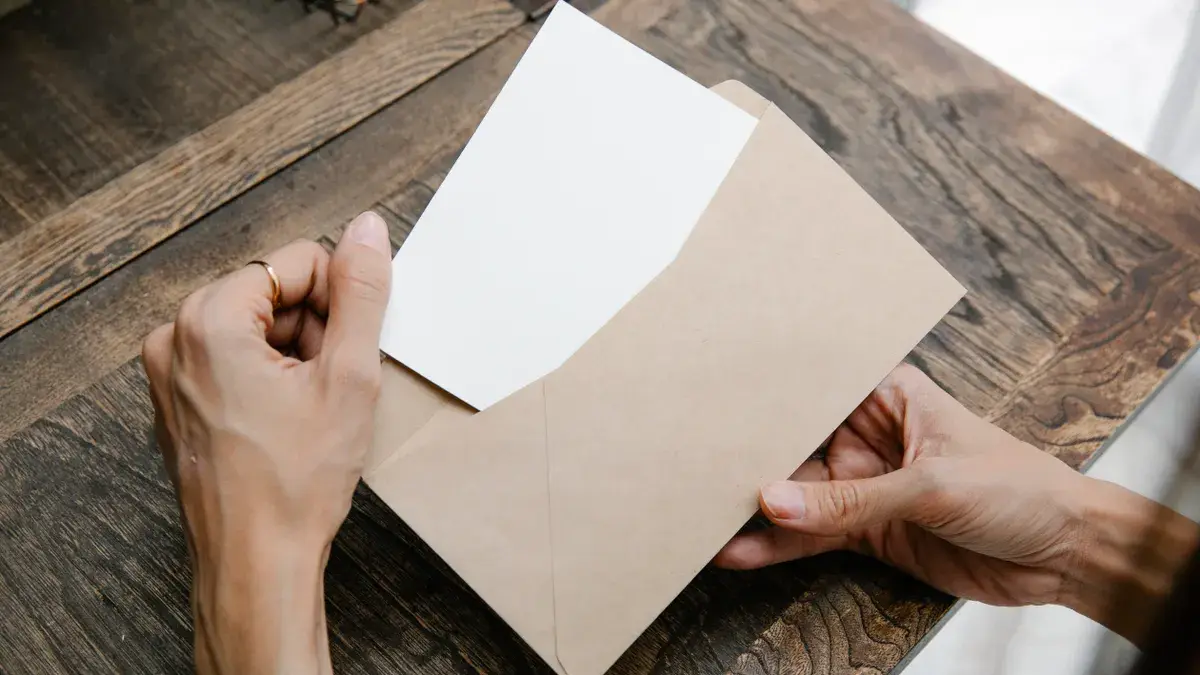
You should use the tray the printer manual assigns to envelopes, because that tray controls how the envelope enters the machine. On many home printers, that means the manual feed slot or a single-sheet bypass slot rather than the main paper cassette.
The right direction depends on the model, so the safest rule is to follow the tray diagram printed on the printer itself or in the manual. Some printers want the envelope face up, others face down. Some want the flap on the left, others on the right. Check the manual or printer support page if the diagram is hard to read, because the rollers care about the leading edge, not what feels natural.
Here is the practical comparison:
| Loading option | Best for | Trade-off | What to watch |
|---|---|---|---|
| Manual feed slot | One envelope or a few envelopes | Slower to load | Exact side and flap direction |
| Main paper tray | Printers that support envelopes in the cassette | More convenient for a batch | Guides must be tight and even |
| Rear feed path | Thicker envelopes or gentler handling | Takes more space behind the printer | Paper path may still need one envelope at a time |
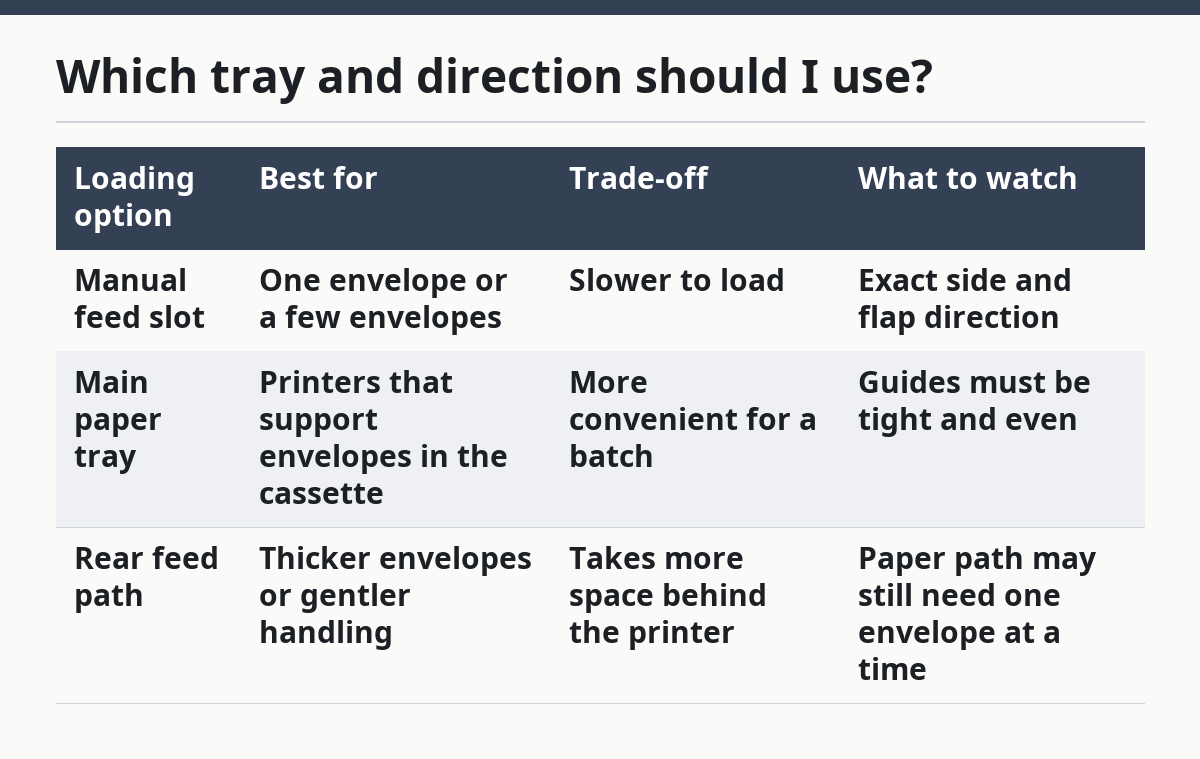
If the printer has both a manual slot and a main tray, the manual slot is often the better choice for a first try. It reduces bending and gives the printer a straighter path. That matters more with thick envelopes, return-addressed envelopes, or envelopes with windows.
Do not overload the tray. Envelopes are stiffer than paper, so a stack that looks harmless can turn into a feed jam. A small pile is safer than a full hand of envelopes, especially if the printer has a note about maximum stack height.
What usually goes wrong?
The most common problem is a mismatch between the envelope size and the print dialog, and the result is an off-center address or a clipped name. A second common problem is loading the envelope in the wrong direction, which causes skewed text, jams, or a blank print on the wrong side.
Another mistake is using too much pressure on the side guides. If the guides pinch the envelope, the printer drags it unevenly and the text can slant. If the guides are too loose, the envelope drifts and the address lands crooked. The fit should be snug, not squeezed.
A third mistake is skipping the test print. That can waste a whole stack if the printer is using the wrong tray or the wrong face orientation. One test envelope is enough to catch the biggest errors before they become a pile of rejects.
Here is a plain checklist of the costs and the fix:
- Wrong size in the dialog: the address prints in the wrong place. Fix it by matching the exact envelope size before you print.
- Wrong feed direction: the printer may grab the envelope crooked or print on the wrong side. Fix it by checking the printer’s tray diagram.
- Loose side guides: the envelope wanders through the rollers. Fix it by tightening the guides until they hold the envelope without bending it.
- Too many envelopes at once: feeds can double up or jam. Fix it by reducing the stack and printing in smaller groups.
If the printer keeps chewing the envelope edge, stop and check the paper path. The issue is usually not the address block itself; it is the route the envelope takes through the machine. A flat, straight path matters more than a fancy layout.
How do I set the address so it prints cleanly?
You set the address so it prints cleanly by building the document around the envelope size, not by shrinking a normal letter page into the shape of an envelope. The recipient block should sit where the printer expects it to be, with enough margin for the rollers and the edge of the paper.
In most home printing apps, the print dialog is the place to confirm paper size and orientation before you click Print. If the app offers portrait and landscape, choose the one that matches the envelope layout, not the way the screen looks. An envelope rotated the wrong way can still “fit” on screen and fail in the tray.
If the envelope has a window, line up the address block with the window cutout before printing. A clean window job depends on exact placement. Even a small shift can put the name halfway out of view.
Do not try to fix placement by forcing the printer to scale the document down too far. Shrinking can make the address hard to read and can move the block in ways that do not match the envelope window or front face.
For general print workflow control beyond envelopes, the main hub on printing workflows and output control covers the larger setup logic. This page stays on envelope printing itself, because that is where tray choice and feed direction usually go wrong.
What should I do when the envelope jams or prints skewed?
You should stop, pull the envelope out gently, and check size, feed direction, and tray fit before trying again. A jam is usually a loading problem, not a broken printer, but forcing the same setup twice often repeats the mistake.
Skewed printing often means the envelope entered at an angle. Tighten the side guides, reduce the stack, and recheck that the envelope is straight in the tray before you send another job. If the printer supports only a manual feed slot for envelopes, use that instead of the main tray.
If the print comes out shifted but not jammed, the simplest fix is to re-open the print dialog and confirm that the envelope size is still selected. Some apps revert to letter paper after a failed job or after you change documents.
A good rule is to change one thing at a time. If you change the size, the tray, and the orientation all at once, you will not know which fix worked. One correction, one test envelope, then the next step.
How do I know when envelope printing is the wrong choice?
Envelope printing is the wrong choice when the printer manual does not support envelopes, when the envelopes are too thick for the paper path, or when the job is large enough that a mail service or print shop would be faster. A home printer is fine for a few envelopes, not for a long mail run.
It is also the wrong choice if you need perfect alignment on a specialty envelope with a window, heavy texture, or unusual flap. Those jobs are more sensitive to feed direction and tray setup, and the result can be inconsistent on a basic home printer.
If the printer keeps jamming even after the size, tray, and direction are right, the time cost can exceed the value of printing at home. At that point, a different printer model or a professional print setup may be the better fit.
FAQ
Do I need a special tray to print envelopes?
No, but you do need the tray or feed slot your printer model assigns to envelopes. Many home printers use a manual feed slot or a bypass tray for better control, while some accept envelopes in the main tray. The printer manual is the final word because feed direction and tray choice vary by model.
Why are my envelopes coming out skewed?
Your envelopes are usually skewed because the side guides are too loose, the stack is too full, or the envelope is loaded in the wrong direction. A diagonal print is a feed problem more often than a document problem. Tighten the guides, print one envelope, and check the tray diagram before trying again.
What size envelope should I choose?
Choose the size printed on the envelope box, such as #10 or A7, and match that exact size in the print dialog. A mismatch can shift the address block by enough to clip the name or move it off center.
Should I print one envelope first?
Yes. Print 1 envelope first, check the placement, and then print the rest only if the first one is straight and clean. That is the safest way to avoid wasting a full stack.
What if my printer manual is unclear?
If the manual does not clearly show the loading direction, stop and check the printer support page or consult a print professional before you send a full batch. A single wrong setup can waste more time than the extra minute spent confirming the tray diagram.
Drafted with AI; not yet reviewed by a person.