Last updated: November 18, 2026
Key Takeaways
- Use the exact cartridge model, a clean hand or tissue, and the manual if the bay is unclear.
- Powering on first helps many printers move the carriage into position.
- Open the lid gently, then release the latch only after the carriage stops.
- Install a sealed cartridge with no tape over the contacts or nozzles.
Replacing a printer ink cartridge means opening the printer lid, releasing the old cartridge from the cartridge carriage, and snapping in a new one with the protective tape removed. This guide on how to replace a printer ink cartridge usually takes 5 to 10 minutes if you have the correct cartridge model and the printer is on the desk in front of you.
What you need before you start
You need the correct ink cartridge model, a clean hand or tissue, and the printer manual if the cartridge bay is not obvious. Most printers use a plastic latch or a small release tab on the cartridge carriage, and the wrong cartridge may not seat properly. Keep the new cartridge in its sealed package until you are ready to install it.
If the printer has just been used, give the print head area a moment to cool. You do not need special tools for a normal ink cartridge replacement. A sheet of paper or scrap card is useful in case a drop of ink lands on the desk.
Before opening anything, check the cartridge number on the old cartridge or in the printer manual. A cartridge that seems close may still be the wrong one, even if it fits the slot shape. If the manual lists multiple cartridges, match the exact code; for model lookup, see the printer manual and the support page from your printer maker.
How to replace a printer ink cartridge
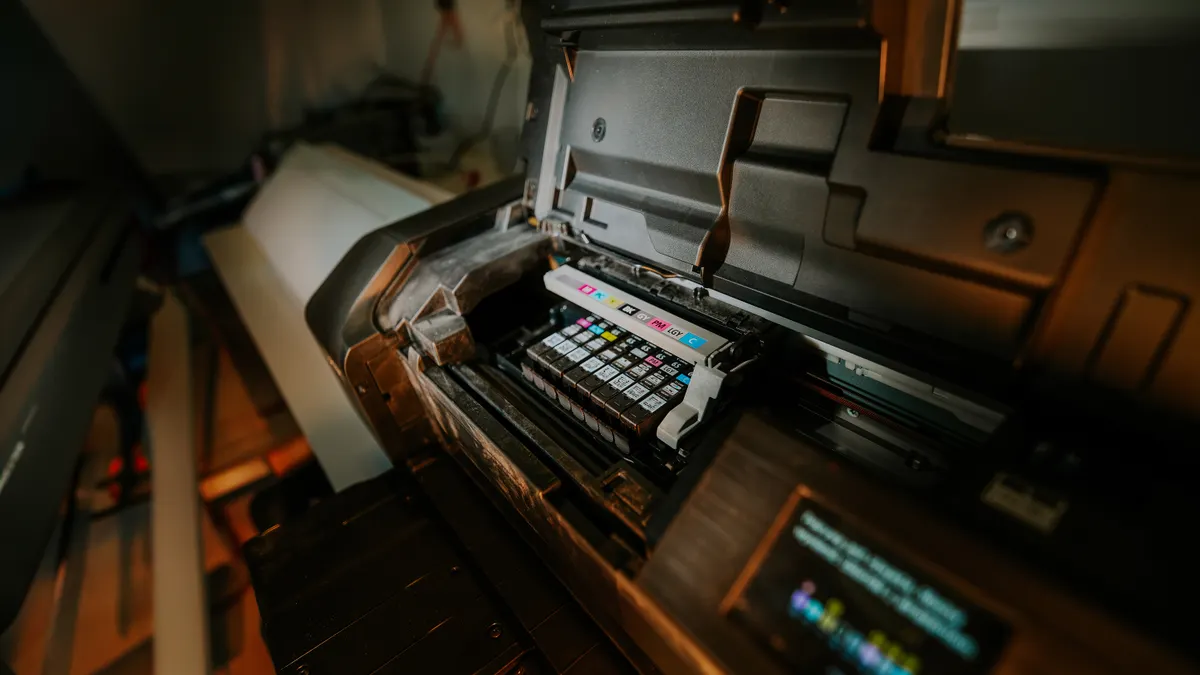
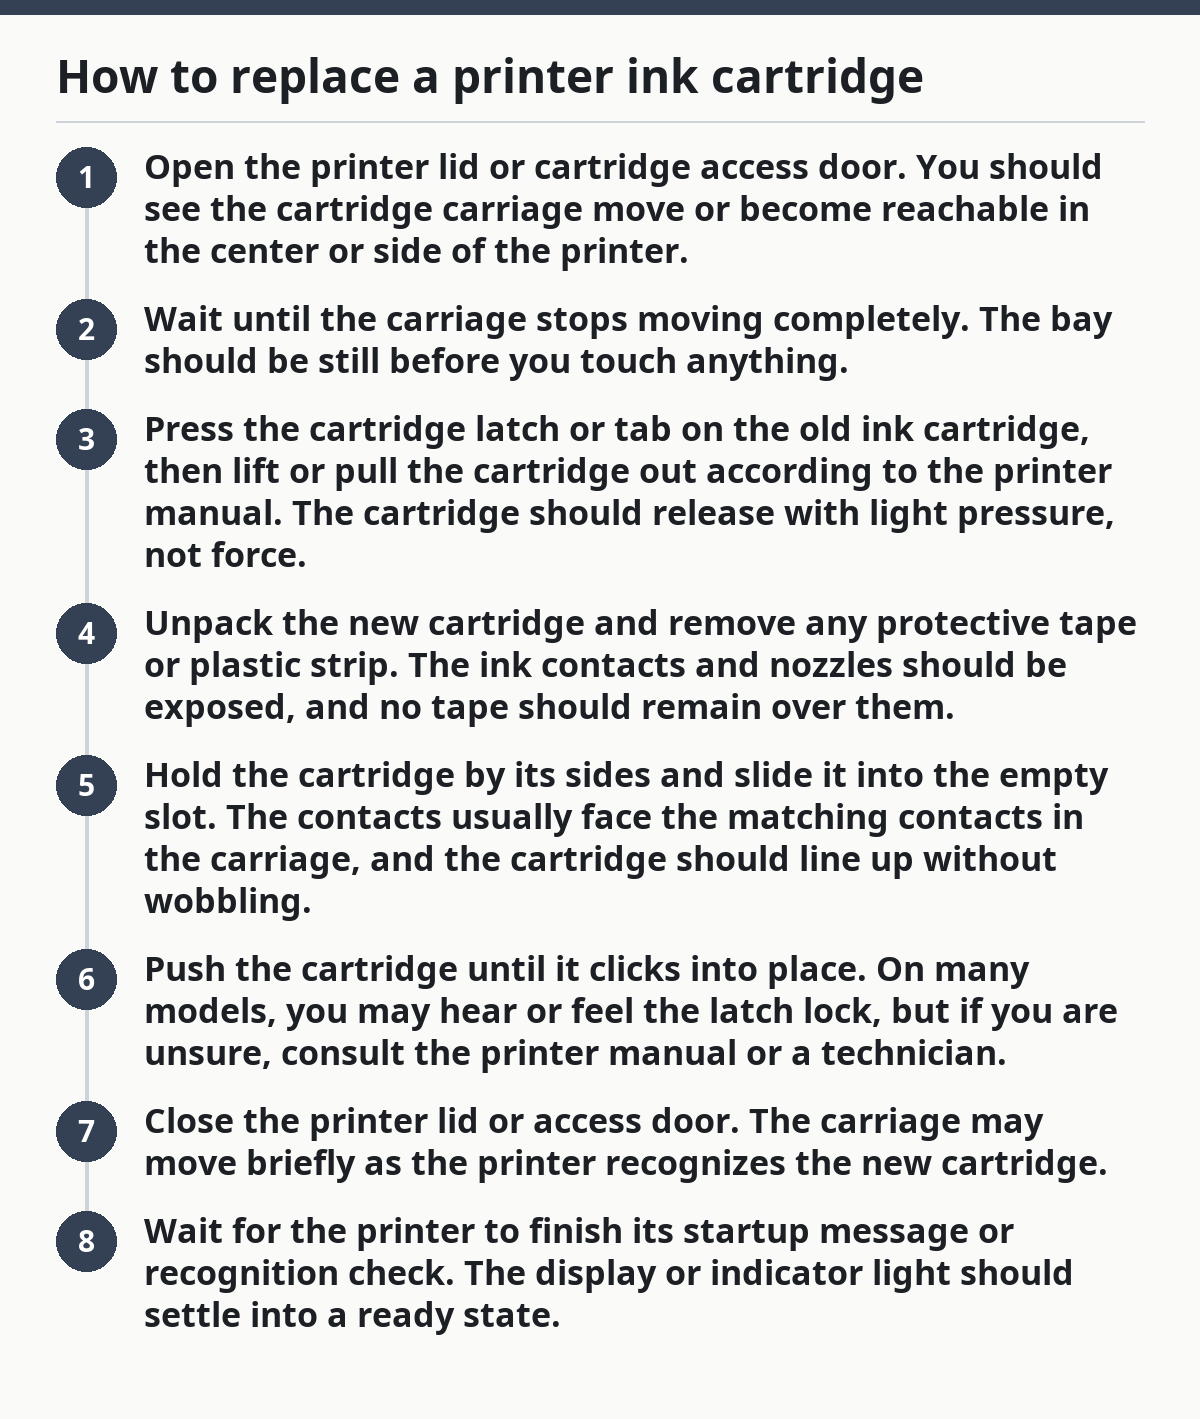
Start with the printer powered on, because many models move the cartridge carriage into a service position only when they have power. Then follow these steps in order.
- Open the printer lid or cartridge access door. You should see the cartridge carriage move or become reachable in the center or side of the printer.
- Wait until the carriage stops moving completely. The bay should be still before you touch anything.
- Press the cartridge latch or tab on the old ink cartridge, then lift or pull the cartridge out according to the printer manual. The cartridge should release with light pressure, not force.
- Unpack the new cartridge and remove any protective tape or plastic strip. The ink contacts and nozzles should be exposed, and no tape should remain over them.
- Hold the cartridge by its sides and slide it into the empty slot. The contacts usually face the matching contacts in the carriage, and the cartridge should line up without wobbling.
- Push the cartridge until it clicks into place. On many models, you may hear or feel the latch lock, but if you are unsure, consult the printer manual or a technician.
- Close the printer lid or access door. The carriage may move briefly as the printer recognizes the new cartridge.
- Wait for the printer to finish its startup message or recognition check. The display or indicator light should settle into a ready state.
If the cartridge does not click in easily, stop and realign it. Forcing the cartridge can bend the contacts or break the latch, and that turns a quick replacement into a repair. A seated cartridge that stays level in the carriage and a closed lid with no immediate error message are good signs, but they are not guarantees on every model.
The printer manual matters here because some models use a front-loading bay, while others expose the cartridges under a top lid. If your model has a cartridge carriage that only moves after you press a specific button, use that button rather than tugging the carriage by hand. For model-specific steps, check the manufacturer support page before moving the carriage.
How do I open the printer lid and release the cartridge?
Open the printer lid gently, then release the cartridge latch or tab only after the carriage has stopped moving. On most inkjet models, that is the safer order. The lid may lift from the top, or a separate access door may swing open from the front. Either way, do not reach in while the carriage is still traveling.
A lot of damage happens in this short moment. People pull on the carriage too early, or they press the wrong end of the latch and crack it. The result is a cartridge that sits crooked or refuses to lock. If the latch is stiff, the printer manual usually shows whether you press down, squeeze inward, or lift a clip. For model-specific examples, the HP and Epson support pages show different access-door designs.
Some printers use one latch per cartridge; others have a single bar that holds both cartridges. In both cases, the release should feel small and controlled. You should not need a screwdriver, and you should not need to shake the printer. If the carriage is stuck behind a closed lid, reopen the door and wait 10 to 15 seconds for the mechanism to reset.
What should the new ink cartridge look like before installation?
The new ink cartridge should be sealed, clean, and free of tape across the contacts or nozzles before you install it. Most cartridges ship in a plastic pouch with a pull tab or small protective strip. That strip must come off before insertion, or the printer may not recognize the cartridge.
Inspect the cartridge for three things: intact packaging, no cracks, and no ink on the gold contacts or copper strip. A little ink smudge on the outside is not unusual, but the contact area should be clear. If the cartridge has a foam vent or tiny air hole, leave it alone. Do not peel off anything that is not clearly labeled as shipping tape.
Hold the cartridge by the edges. Fingerprints on the contacts can interfere with recognition on some models, especially if the cartridge sits in the carriage for only a moment before the printer checks it. If the package contains a color-coded label or model number, save it until the replacement is complete in case you need to compare it with the old cartridge. The Canon and Brother support pages both warn against touching the contact area.
Why the cartridge may not click in place
The cartridge may not click in place because the model is wrong, the tape is still attached, or the cartridge is not lined up with the carriage slot. A cartridge should slide in with steady pressure and then lock with a distinct click. If it stops halfway, do not push harder.
The most common fix is alignment. Remove the cartridge, check that the protective strip is gone, and compare the shape of the new cartridge with the old one. Some cartridges look nearly identical but have different plastic guides or contact layouts. If the slot has a color mark or icon, match the cartridge to that mark.
A second issue is debris in the carriage slot. A small paper fiber or dried ink flake can keep the cartridge from seating fully. A dry, lint-free tissue can clear the area around the slot, but do not scratch the contacts. If the carriage itself seems jammed, the printer manual is the better guide than guesswork.
This page is about replacement, not print-quality diagnosis. If the cartridge installs but the printer later reports an error, that belongs to a different troubleshooting flow. The job here is just to remove the old cartridge and seat the new one correctly.
What happens after the printer recognizes the new cartridge?
The printer usually performs a brief recognition check and then shows a ready message, a steady light, or a normal home screen. On many inkjet models, this takes under a minute. Some printers also prompt for alignment after a cartridge change, which is a separate step from the physical replacement.
If the printer asks for cartridge alignment, follow the on-screen prompt or consult the manual. Alignment helps the printer position ink correctly after a new cartridge is installed, but the exact menu path varies by model. Do not confuse that with the actual insertion step. The cartridge should already be locked in place before you start any alignment routine.
Watch for the cartridge bay during this stage. The carriage may move slightly as the printer scans the new cartridge, and then settle. A calm finish usually means the replacement worked. If the printer keeps opening and closing the same message, recheck that the lid is fully shut and the cartridge latch is locked.
For broader upkeep, the hub on printer maintenance and consumables covers the other common supplies and routine care, but this page stays focused on ink cartridge replacement.
Common mistakes that cost time or cartridges
Skipping the protective tape is the first mistake, and it can stop the printer from recognizing the cartridge at all. The fix is simple: remove the tape before insertion, not after the printer complains. If the tape has already been pulled partway and the cartridge is dirty, replace it rather than trying to reuse a damaged one.
Using force is the second mistake, and it can break the latch or bend the contacts. A cartridge that needs hard pressure is usually misaligned or wrong for the model. Remove it, compare it with the old cartridge, and check the printer manual. A correct cartridge should seat with light pressure and a click.
Touching the contacts is another avoidable error. Skin oils can affect recognition on some models, especially if you handle the cartridge for a long time before installation. Hold the cartridge by the sides and keep the contacts clean.
A final mistake is leaving the printer lid partly open. Many printers will not recognize the cartridge until the door is fully closed, and some will stop the carriage from moving correctly if the lid is ajar. Close it firmly and wait for the printer to finish its short check cycle.
When this replacement is the wrong fix
This replacement is the wrong fix if the issue is a broken cartridge latch, a cracked carriage, or a cartridge that will not physically fit the slot. In that case, replacing ink will not solve the real problem. The printer manual can help confirm whether the part is user-replaceable or needs service.
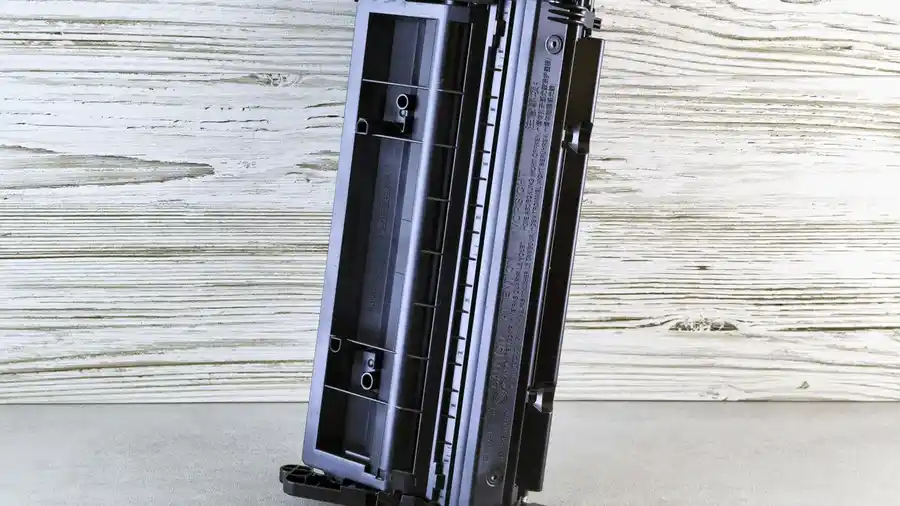
It is also the wrong fix if you are holding a toner cartridge instead of an ink cartridge. Toner uses a different mechanism and should not be installed in an inkjet cartridge bay. Mixing them up wastes time and can damage the printer.
If the new cartridge sits correctly but the printer still will not recognize it, the problem may be with the cartridge itself, the contact area, or the printer’s own detection system. At that point, stop forcing the part and check the model number again before trying another cartridge. If the problem continues, contact the printer maker or a repair professional.
Why does the printer not recognize a new ink cartridge?
The printer may not recognize a new ink cartridge because the protective tape is still on, the cartridge is not fully seated, or the model does not match the printer. First, remove and reinstall the cartridge with the printer lid open and the carriage stationary. If that does not work, compare the exact cartridge number with the printer manual.
Should I shake an ink cartridge before installing it?
No, shaking an ink cartridge is usually not necessary and can make a mess if the seal is already open. Install it as packaged, after removing the protective tape. If a model’s instructions specifically ask for a light shake, follow the printer manual rather than guessing.
How do I know which cartridge model to buy?
The cartridge model is usually printed on the old cartridge, on the printer’s inside label, or in the printer manual. Match the exact code, not just the brand name or color. If the printer supports more than one cartridge type, the model number is the safest guide; when in doubt, check the manufacturer’s support page or ask a service technician.
Drafted with AI; not yet reviewed by a person.