Last updated: November 18, 2026
Quick Answer: To connect a printer to Ethernet, use one Ethernet cable and one open LAN port on a router or switch. In most home setups, the printer gets its IP address automatically through DHCP in a minute or two.
Key Takeaways
- You need a printer with an Ethernet port, an Ethernet cable, and one open router or switch port.
- Ethernet works well near a router or switch, with weak Wi‑Fi, or when a printer drops off the network.
- Connect by cable first, then confirm the link and IP address on the printer control panel.
- The printer is connected when the display shows an IP address and a ready, online, or connected status.
A printer Ethernet connection is a straightforward way to put How to connect a printer to Ethernet onto a wired network: plug the printer into a router or switch with an Ethernet cable, let it get an IP address, and confirm the printer control panel says it is connected. This guide covers that wired network setup, when Ethernet is the better choice than Wi‑Fi, and how to check that the printer actually joined the network.
What you need before you start
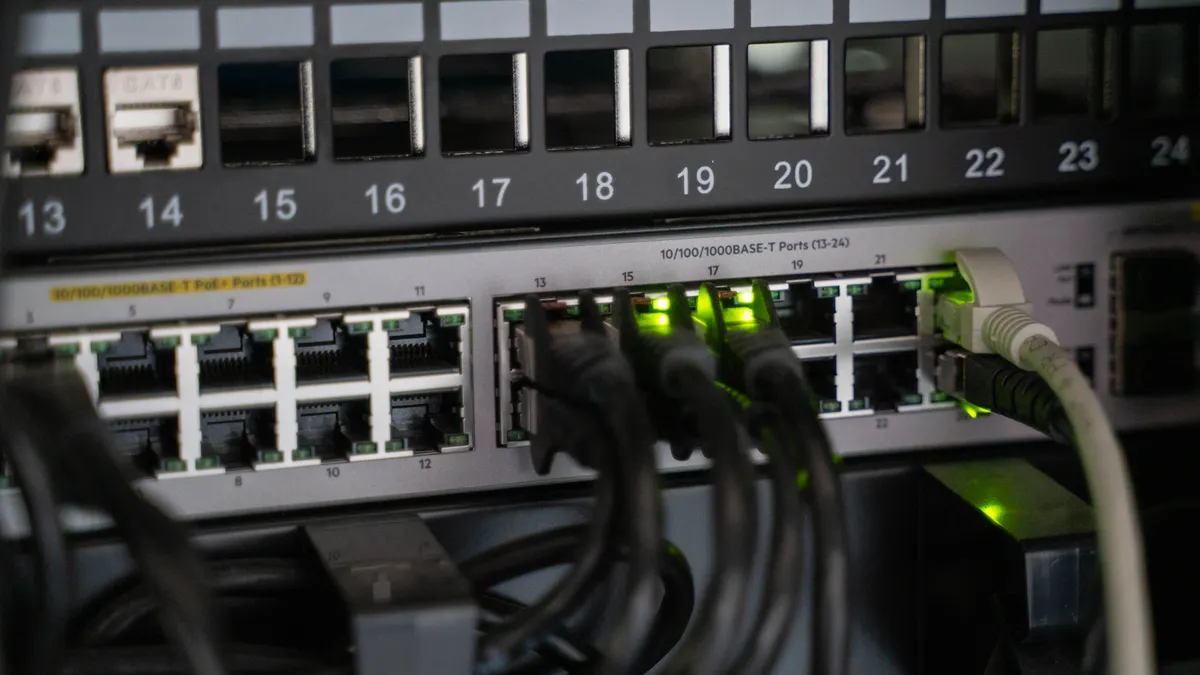
You need a printer with an Ethernet port, an Ethernet cable, and one open port on a router or network switch. Most home and small-office printers use a standard RJ-45 network cable and 10/100 or Gigabit Ethernet, though the exact speed does not matter for setup. If the printer only has USB and no Ethernet jack, this method will not work.
Have the printer near the router or switch long enough to make the first connection. A 1.5 m to 3 m cable is usually enough for a desk setup, but the cable can be longer if your room layout needs it. If you are unsure which port on the printer is the network port, look for the wider RJ-45 socket, not the narrower USB-B port.
You also need access to the printer control panel. On many models, the wired network status is under Network, Ethernet, or Wired LAN. If the printer has a touchscreen, you may see the connection state directly. If it has buttons and a small display, you may need to scroll through menu items.
For background on wired discovery and device setup, the hub page on printer connectivity and device discovery covers the broader network behavior this process depends on.
When Ethernet is better than Wi‑Fi
Ethernet is better when the printer sits near a router or switch, when the wireless signal is weak, or when the printer keeps dropping off the network. A wired connection is also the cleaner choice in offices where a printer must stay visible to several computers all day.
Ethernet has two practical advantages. First, the printer gets a dedicated physical link instead of competing for Wi‑Fi airtime. Second, troubleshooting is simpler: if the cable is good and the port lights are on, the network path is usually the problem you can inspect. That said, Ethernet is not for every setup. If the printer is far from the router and a cable would be awkward, Wi‑Fi may be the better practical choice.
Ethernet is also not the right fix for every printing issue. If the real problem is that a computer has not been told about the printer yet, wired setup alone will not solve it. This page stays focused on the network connection itself, not on adding the printer inside Windows 11 or macOS. For that software step, see the Windows 11 printer setup page or the macOS printer setup page.
How to connect a printer to Ethernet
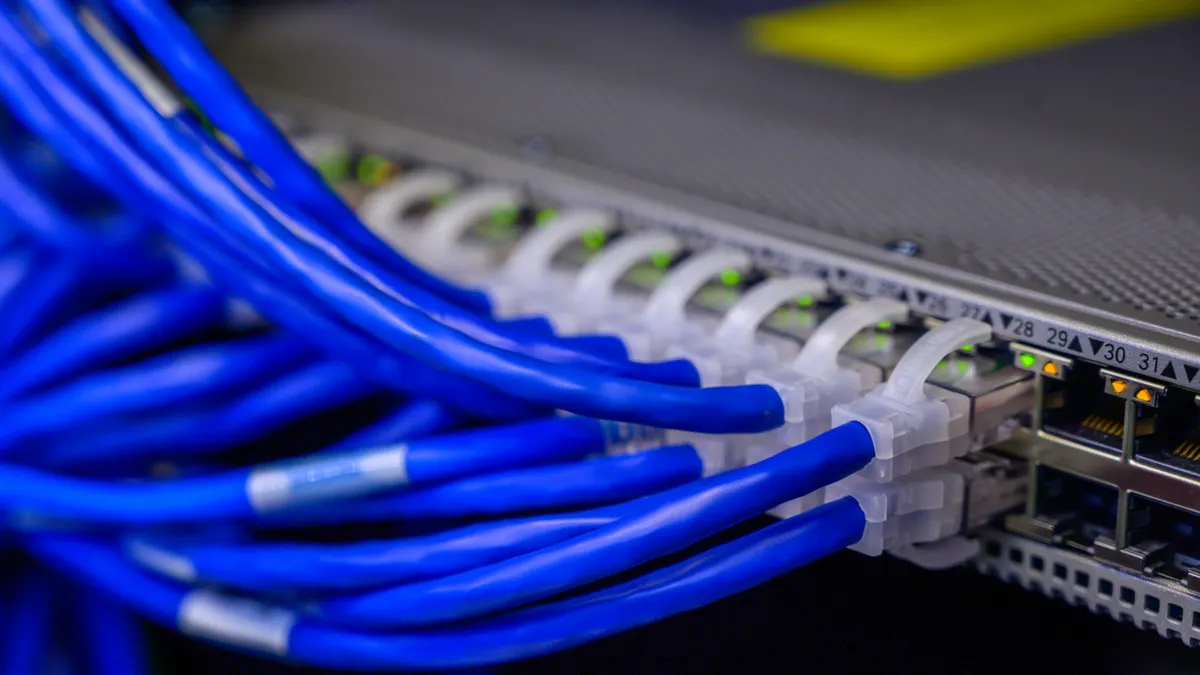
Connect the printer by cable first, then confirm the network link on the printer control panel and check that it received an IP address. The sequence matters because most printers do not finish network setup until the physical link is live.
- Power on the printer and wait until it finishes starting up. You should see the normal home screen, ready light, or idle status before touching the network settings.
- Plug one end of the Ethernet cable into the printer’s RJ-45 network port.
- Plug the other end into an open port on your router or switch. On many routers, the LAN ports are numbered 1 through 4, while the WAN or Internet port is separate and should not be used for the printer.
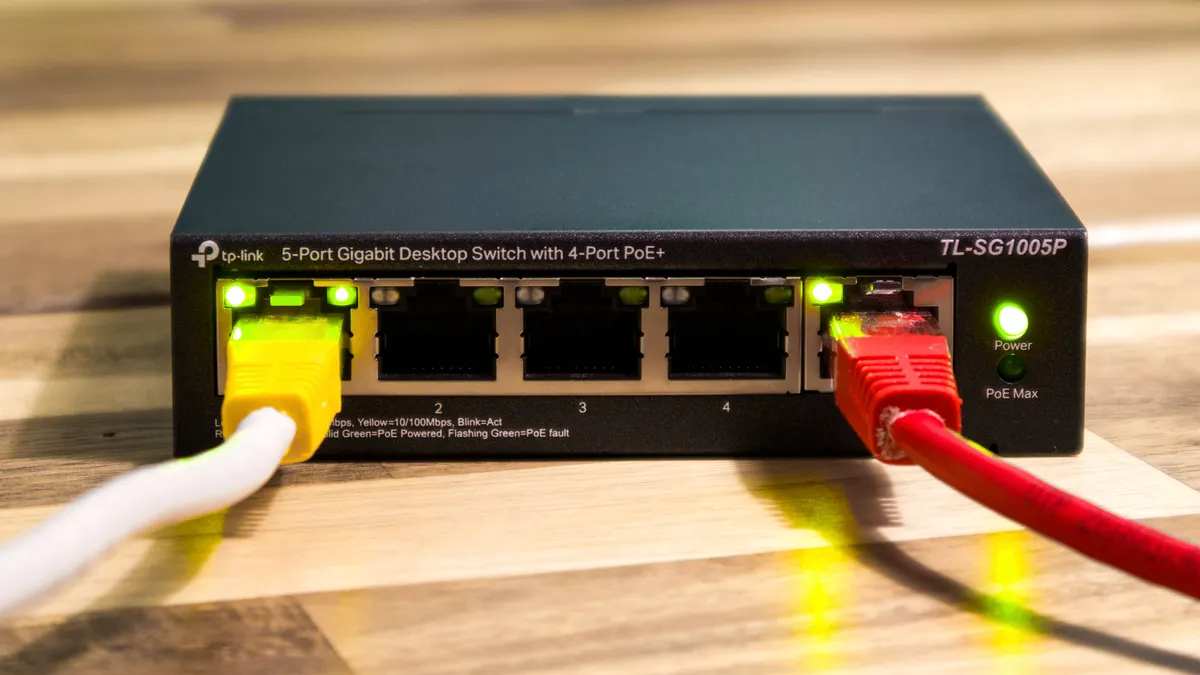
- Watch the port lights on the printer and router. A solid or blinking link light usually means the physical connection is live; if nothing lights up, reseat the cable or try another port.
- Open the printer control panel and go to the network or Ethernet menu. Select wired network settings if the printer offers both wired and wireless choices.
- Set network configuration to automatic, often labeled DHCP or Auto IP. In a typical home router setup, the printer should receive an IP address without manual entry.
- Look for the printer’s IP address on the screen or print a network status page from the control panel. A valid address in the same subnet as your router, such as 192.168.x.x or 10.x.x.x, shows that the printer joined the network.
- Save the settings and let the printer settle for a minute. If the display shows “connected,” “ready,” or a similar status, the wired network setup is complete.
If the printer asks for a static address instead of DHCP, use only if you know your router’s address range. A wrong static setting can put the printer outside the network, which makes it unreachable even though the cable is plugged in.
How do I tell if the printer joined the network?
The printer joined the network when the control panel shows an IP address and the network status says connected, ready, or online. A cable alone is not enough; the printer must also get an address from the router or from a static configuration you entered yourself.
The easiest check is the network status page. Many printers can print a configuration or network report directly from the printer control panel. That page should list the Ethernet connection, the assigned IP address, and sometimes the gateway and subnet mask. If the address is blank, shows 0.0.0.0, or says disconnected, the printer is not on the network yet.
A second check is the port light. If the Ethernet jack on the printer and the router both show a link light, the physical layer is fine. That does not guarantee a usable network address, but it removes the cable from the list of suspects. If the lights are off, start with the cable, then the router port, then the printer port.
A third check is response from the printer itself. Many printers let you open a network summary from the display and show the current IP address without printing anything. If you can see that address and it stays the same for a few minutes, the printer has usually completed wired network setup. If it changes repeatedly, the router may be handing out new addresses too aggressively, or the printer may be switching between wired and wireless paths.
Router port, switch port, and IP address assignment
Use a LAN port on the router or any normal port on a switch, then let DHCP assign the IP address unless you have a reason to set one manually. That is the standard wired network setup for a printer in most homes and small offices.
The router port matters because not every port on a router is meant for local devices. The WAN or Internet port connects the router to the modem or upstream network. The printer should go into a LAN port, often labeled Ethernet, LAN, or numbered ports such as 1, 2, 3, and 4. If you use a switch, any standard port is usually fine as long as the switch is connected to the router upstream.
DHCP is the common default because it reduces manual work. The router gives the printer an IP address automatically, and that address is usually easy to find on the printer control panel or the router’s client list. Static IP assignment is useful when you want the printer to keep the same address every time, but it creates a maintenance task: the address must stay inside the network range and outside the router’s automatic pool.
If you later move the printer, keep the cable path clean and avoid sharp bends, crushed clips, or a run longer than the room needs. Ethernet cabling is forgiving, but a damaged network cable can produce intermittent drops that look like printer failures.
Common mistakes that waste time
Using the wrong router port wastes time because the printer never gets a proper local network path. If you plug into the WAN port, the printer may power up but never receive the address you expect. Move the cable to a LAN port and recheck the port lights.
Mixing up USB and Ethernet wastes even more time. The Ethernet port is wider and uses an RJ-45 connector; the USB-B port is smaller and shaped differently. Forcing the wrong cable into the wrong port can damage the connector. Stop and match the port shape before trying again.
Leaving the printer on Wi‑Fi and Ethernet at the same time can also confuse discovery on some models. Some printers keep both radios active, while others prefer one connection and use the other as backup; if the issue persists, check the printer manual or consult a professional. If the printer keeps appearing and disappearing from the network, turn off the unused wireless connection or check the printer’s network preference menu. That keeps the device from bouncing between two paths.
Assigning a static IP address without checking the router range is another classic failure. If the printer ends up on an address outside the subnet, other devices may never reach it. Use DHCP unless you know why the printer needs a fixed address, and if you do set one manually, keep it in the router’s same network block.
What to do if the printer still does not show up
Check the cable, the port, and the printer’s assigned IP address in that order. That sequence finds most wired printer problems faster than changing settings blindly.
Start with the obvious physical checks. Try a different Ethernet cable if you have one. Move the printer cable to another LAN port on the router or switch. If a link light appears after that, the original cable or port was the problem.
Next, open the printer control panel and look for the network status. If the printer has no IP address, the router may not be handing one out. Reboot the printer and the router, then wait a minute or two for DHCP to finish. On many networks, that is enough to restore the address assignment.
If the printer shows an IP address but nothing else can reach it, the address may be outside the current subnet or the printer may still be prioritizing Wi‑Fi. Use the network menu to confirm that Ethernet is active and, if needed, disable wireless on the printer temporarily. That forces the wired connection to stay in charge during setup.
If you need a deeper map of how wired printers are discovered across a network, the printer connectivity and device discovery hub is the right next stop after the basics here. For broader network troubleshooting, see the router setup page and the network printer troubleshooting page.
Do I need a router to connect a printer by Ethernet?
Usually, yes, if you want the printer to work with multiple devices on a normal home or office network. A router hands out the printer’s IP address and lets computers find it on the same local network. A switch can work too, but it normally sits behind a router that provides addressing.
How do I tell if the printer is on the network?
The printer is on the network when the control panel shows a valid IP address and the status says connected or ready. A network or configuration page can confirm this by listing the Ethernet address details. If the printer shows 0.0.0.0, blank fields, or disconnected, it has not joined yet.
Can a printer use ethernet and wi-fi at the same time?
Sometimes, but it is not always a good idea. Some printers keep both radios active, while others prefer one connection and treat the other as backup. If discovery becomes unreliable, pick one path and disable the other on the printer control panel so the device does not switch between links.
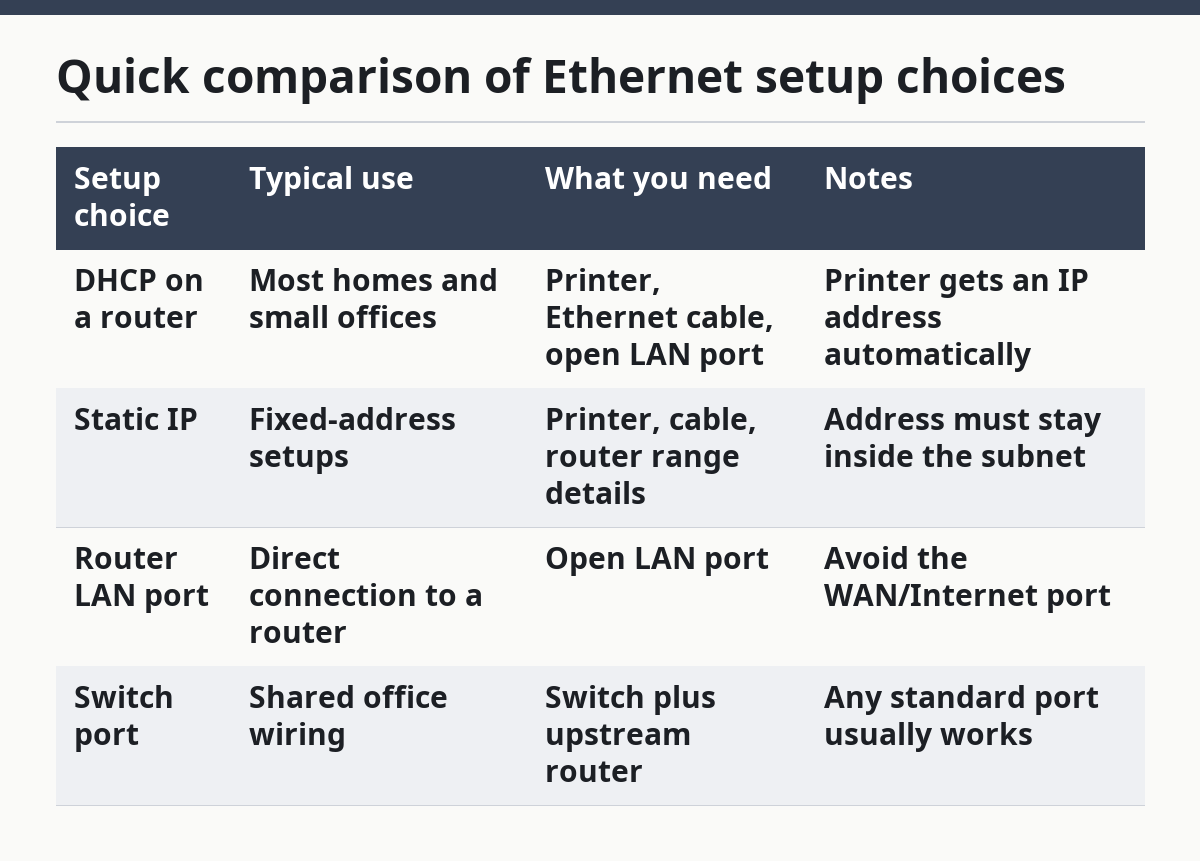
Quick comparison of Ethernet setup choices
| Setup choice | Typical use | What you need | Notes |
|---|---|---|---|
| DHCP on a router | Most homes and small offices | Printer, Ethernet cable, open LAN port | Printer gets an IP address automatically |
| Static IP | Fixed-address setups | Printer, cable, router range details | Address must stay inside the subnet |
| Router LAN port | Direct connection to a router | Open LAN port | Avoid the WAN/Internet port |
| Switch port | Shared office wiring | Switch plus upstream router | Any standard port usually works |
Sources
- Apple: Add a printer on Mac
- Microsoft: Install a printer in Windows
- HP: Set up a network printer
Drafted with AI; not yet reviewed by a person.