Last updated: November 18, 2026
Key Takeaways
- Match the cartridge to your exact laser printer model, and keep a clean flat surface and disposal spot ready.
- Replace parts in order, and stop if the cartridge sits crooked or the cover needs force to close.
- Check the toner first, then suspect the drum unit if the new cartridge does not solve the print problem.
- Keep the used cartridge level, cover the outlet, and seal loose toner before disposal or recycling.
Replacing a printer toner cartridge is usually a 5- to 10-minute job: open the laser printer cover, remove the old toner cartridge, install the new one, and close the machine so it can reset. For How to replace a printer toner cartridge, the basic steps are the same on most models, and the job usually takes 5 to 10 minutes. If the printer uses a separate drum unit, check that part before you shut the cover, because toner replacement and drum replacement are not always the same task.
What you need before you start
You need the correct toner cartridge for your exact laser printer model, a clean flat surface, and a place to put the used cartridge. The model number matters more than the brand name on the box; two printers from the same series can take different cartridges. A pair of disposable gloves and a paper towel help if the old cartridge leaves toner dust behind.
Have the printer powered on but idle before you begin. That gives you a normal starting point and lets the machine detect the new cartridge after the cover closes. If your printer has a separate drum unit, note how it is seated before you remove anything. In many Brother, HP, Canon, and Lexmark laser printers, the toner cartridge clips into the drum unit or sits in a combined assembly.
Keep the new cartridge sealed until the old one is out. Toner cartridges often have a protective toner seal or pull tab that must stay in place until installation. If you remove that seal too early, toner can spill, and you may need to clean the bay before the printer will accept the cartridge.
This page is part of the printer maintenance and consumables hub, where the bigger job is keeping the machine printing cleanly without replacing parts too soon. For related setup help, see the printer maintenance guide, the laser printer troubleshooting page, and the toner vs. ink comparison.
How to replace a printer toner cartridge
Follow these steps in order, and stop if the cartridge does not sit flat or the printer cover will not close without force.
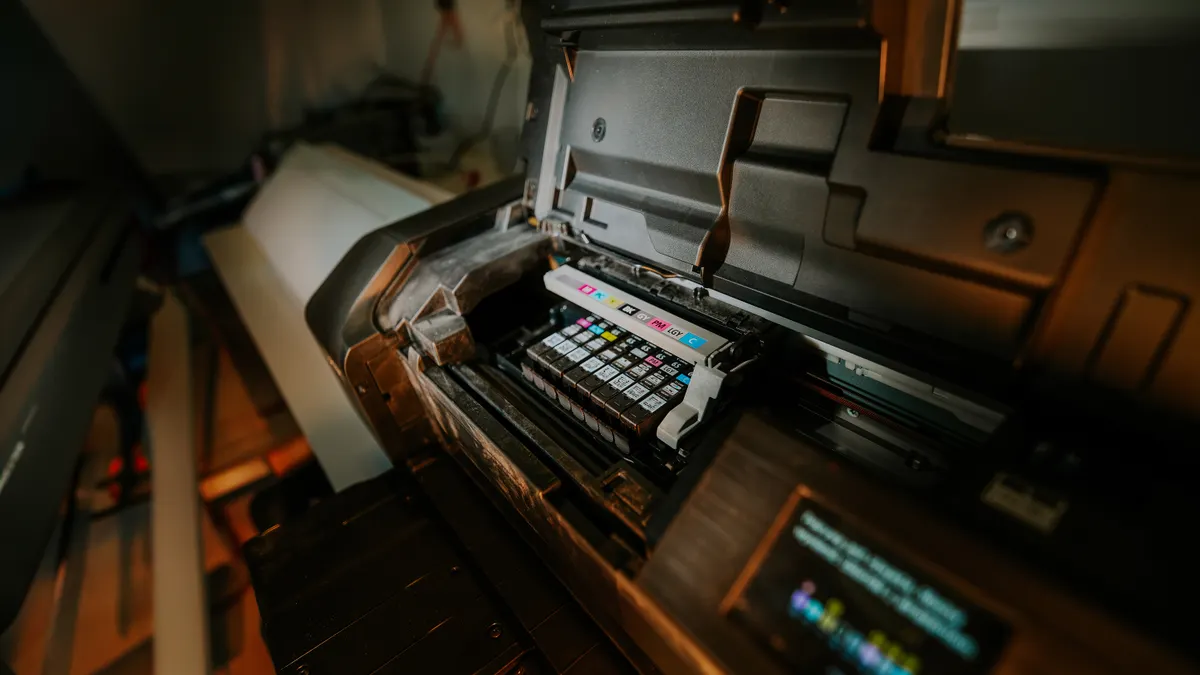
- Open the printer cover or front door. Lift the laser printer cover fully until it stays open on its own; many models have a front door for toner access and a separate top cover for paper jams. You should see the toner cartridge, and in many printers the drum unit will be attached behind or beneath it.
- Wait for the carriage or assembly to stop moving. If the printer is still warm or the gears are moving, give it about 30 seconds. The assembly should be still before you touch it, which reduces the chance of pulling on a moving part or smearing toner inside the bay.
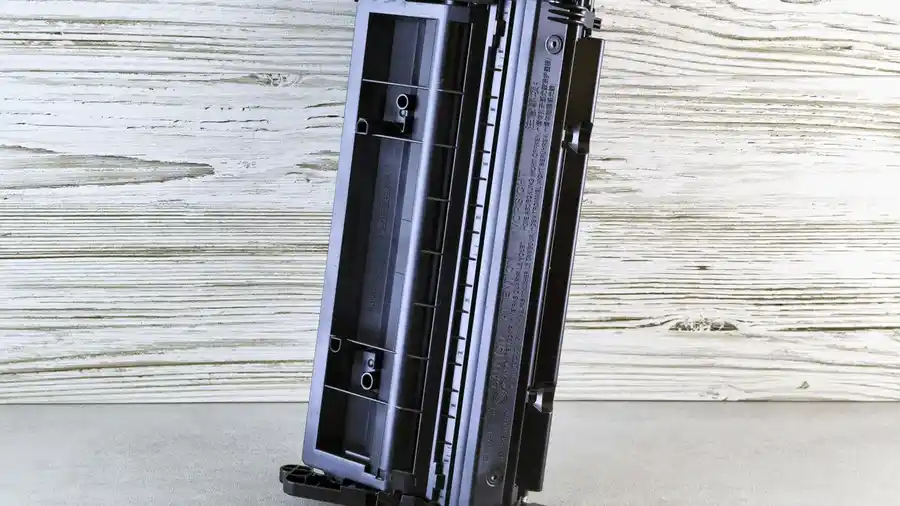
- Remove the old toner cartridge carefully. Grip the handle or the molded edge and pull straight out. A correctly removed cartridge comes free without twisting or yanking; if it catches, stop and check for a latch, release lever, or a drum unit that needs to come out with it.
- Set the old cartridge on paper and inspect the drum unit. Place it on a flat sheet so any loose toner stays contained. If the drum unit is separate, look for scratches, heavy streaking, or a worn surface; a damaged drum can cause print defects even after a fresh toner cartridge goes in.
- Unpack the new cartridge and remove the toner seal. Keep the cartridge level, peel off the shipping tape or pull tab, and gently rock the cartridge side to side once or twice if the maker instructs that. The cartridge should feel ready to seat, with no packaging left across the outlet.
- Install the new toner cartridge into the drum unit or printer bay. Slide it into place until it clicks or stops firmly. A proper fit leaves the cartridge flush with the housing, not tilted, and the latch should close without pressure.
- Close the printer cover firmly. Lower the cover until it latches. The printer should power its internal parts, run a brief initialization cycle, and then return to ready status rather than showing a cover-open message.
- Run a test print and check the output. Print one page from the printer menu or computer. A successful swap gives you even text, no “replace toner” warning, and no loose toner streaks near the page edges.
If the printer asks for a cartridge change confirmation, follow the on-screen prompt or press the OK button once. Some models clear the warning automatically; others need a manual reset from the control panel.
A test page gives you a quick check, and one clean page is usually enough to confirm the install.
How do I know if the toner cartridge or the drum unit needs changing?
You check the toner cartridge first, but a worn drum unit is the part to suspect when the new cartridge does not fix the print problem. Toner is the powder that goes onto the page; the drum unit transfers that powder. In a lot of laser printers, the toner cartridge may empty while the drum still has life left, which is why these parts are often replaced on different schedules.
Look at the printer display, not just the pages. Messages such as “Replace Toner,” “Toner Low,” or “Toner End” usually point to the cartridge. A “Drum End Soon” or “Replace Drum” message points to the drum unit instead. If the printer uses a combined toner/drum assembly, you replace both together because they are built as one module.
There is a practical difference in cost and waste here. Replacing only the toner cartridge is cheaper and easier when the drum is still healthy. Replacing the drum unit too early means throwing away a part that may still have useful life. Waiting too long to replace a worn drum can leave you with repeated streaks, faded bands, or a gray background even after the new toner cartridge is installed.
A generic article often misses this point and tells readers to “just replace the cartridge,” which is wrong for printers that separate these consumables. Check the exact wording in the printer manual or on the display before you buy another part. If the printer model uses a drum unit, the manual usually names the compatible cartridge and the separate drum part number.
Handling the old cartridge without making a mess
You handle a used toner cartridge by keeping it level, avoiding the outlet opening, and sealing loose toner before you carry it to the trash or recycling point. Toner powder is fine and dry, so it can scatter from a cartridge that is tipped, dropped, or squeezed. A flat sheet of paper or a plastic bag under the cartridge catches most residue.
Do not shake the old cartridge hard. A light tap may dislodge clumps, but shaking can spill toner into the printer bay or onto clothing. If the cartridge has a toner shutter or seal left on it, leave it closed for transport. If toner leaks onto the printer interior, use a dry lint-free cloth or toner-safe vacuum rather than a wet rag; water turns toner into paste and makes cleanup worse.
The cartridge shell can usually go in regular waste only if local rules allow it, but many manufacturers run cartridge recycling programs. The right choice is to follow the recycling label on the box or the instructions from the printer maker. That part matters because a toner cartridge is not the same as a paper waste item; it contains mixed plastics and residue.
This section is also where people get the most frustrated with a first-time replacement. The mess usually comes from handling the cartridge at an angle, not from the printer itself. Keep the replacement box nearby so the spent cartridge has somewhere to go immediately, and you will spend less time cleaning the shelf, the floor, or the inside of the machine.
For recycling details, check the manufacturer’s toner return program and your local waste rules before you toss the box.
What to do if the new toner cartridge is not recognized
If the printer does not recognize the new toner cartridge, reseat it, check the shipping seal, and confirm that the cartridge is the right part for the exact model. A printer that shows a continue or replace message after installation is usually reacting to a poor fit, a missed locking tab, or a cartridge with a protective strip still in place.
Open the cover again and remove the cartridge once. Look for any orange or yellow shipping pieces, adhesive tape, or a plastic pull strip at the toner outlet. If that strip is still attached, the printer cannot use the cartridge. Reinstall it straight into the guides and press until the latch clicks. On some models, a cartridge that is even 2 or 3 millimeters off its track will prevent the cover from sensing a proper close.
Some printers need a toner reset from the control panel after installation. That reset may be a menu option, a button sequence, or a confirmation prompt when the cover closes. The printer manual can show the exact sequence, because the steps vary by model. Avoid random button combinations from forums unless they match your model number exactly.
A new cartridge that still prints blank or faded pages can also point back to the drum unit, the transfer roller, or a low-quality compatible cartridge. That is where a careful model match matters most. If the printer accepts the part but the output is wrong on the first test page, the problem may still be the toner cartridge, the drum unit, or the transfer path.
Common toner replacement mistakes that cost time
The biggest mistake is installing the wrong cartridge and forcing it to fit. That can crack a tab, damage the cartridge guides, or leave the printer cover ajar. The fix is simple: match the model number on the old cartridge, the printer label, or the user manual before opening the new box.
The second mistake is touching the drum surface with bare fingers. The drum is light-sensitive and easily marked by oils and scratches. A fingerprint on the drum can show up as repeating marks on the page, and a scratched drum can keep causing defects until it is replaced. Hold the cartridge by its handle or the outer frame, not the shiny cylinder.
A third mistake is closing the printer cover before the cartridge is fully seated. The printer may make a grinding sound, refuse to initialize, or report a cover-open condition even though the door is shut. If the cover will not close with normal pressure, something is out of line. Open it again and check the cartridge track, drum unit, and latch.
A fourth mistake is ignoring the toner reset prompt on printers that require one. The machine can print fine but still show a “replace toner” warning if the counter was not cleared. That wastes a perfectly good cartridge because the printer thinks the old one is still installed.
The fastest way to avoid these mistakes is to work through one step at a time. One careful install is usually enough.
When to stop and read the manual
You stop and read the manual when the printer uses a combined toner/drum assembly, when the cover layout is unusual, or when the machine gives a hardware error after replacement. That is often the safest choice because laser printers do not all store parts the same way, even within the same brand.
A manual is also worth checking when the printer has a side access panel, a transfer belt in the same compartment, or a reset sequence that is not obvious from the display. Those details affect the replacement order. On some models, the drum unit must stay in the printer while the toner cartridge slides out of it; on others, the whole assembly comes out together first.
If the printer is under warranty, the manual matters for another reason: some manufacturers expect you to follow specific replacement steps to preserve coverage on consumable-related issues. That is not legal advice, but it is a practical reason to avoid improvising.
For model-specific instructions, the manufacturer’s support pages and user guide can be the best reference. Names to look for include HP support, Brother support, Canon support, and Lexmark support, along with the exact printer model number.
Use the support page, the quick-start sheet, and the full user guide together when the display message is unclear.
FAQ
What is the difference between toner and ink?
Toner is a dry powder used in laser printers, while ink is a liquid used in inkjet printers. That difference matters because a laser printer needs a toner cartridge, not an ink cartridge, and the replacement process is built around a drum unit, a laser path, and a fuser rather than liquid nozzles.
Do I need to replace the drum with the toner?
Not always. If your printer has a separate drum unit, you replace it only when the printer indicates drum wear or the drum shows print defects, not every time you change toner. If the machine uses a combined toner/drum cartridge, the two parts come together and are replaced as one assembly.
How do I avoid toner dust?
Keep the cartridge level, remove the toner seal only when you are ready to install it, and set the old cartridge on paper instead of shaking it. Toner dust stays controlled when you avoid dropping the cartridge, do not blow into the printer, and wipe residue with a dry lint-free cloth rather than a wet one.
Where can I find the right cartridge number?
Check the old cartridge, the printer label, and the model page on the manufacturer’s site. The cartridge code is usually printed on the housing, and the same code appears in the user guide or support listing.
Drafted with AI; not yet reviewed by a person.