Last updated: November 19, 2026
Quick Answer: 3 steps usually solve it — find the new SSID, enter the new password, and print a test page. A new router can make a printer look broken even when it’s fine. How to set up a printer on a new home network usually means moving the printer to the new Wi‑Fi network, entering the new password, and confirming the connection with a test page. The steps below cover the common setup path and what to do when the old network name no longer works. For broader home-network basics, see the Wi‑Fi setup guide and printer troubleshooting.
Key takeaways
- The printer needs the new network name and password, not the old router details.
- The printer control panel is often the best place to start if the model has one.
- A router restart often helps after the printer saves the new SSID.
- A test page tells you whether the printer joined the network or just saved bad settings.
- If the printer cannot see the new network, the router band, security mode, or signal strength is usually the reason.
How to set up a printer on a new home network
Picture this: your home network changed, the printer still shows the old Wi‑Fi name, and nothing prints from your laptop or phone. How to set up a printer on a new home network starts with the new SSID, the new password, and a test page to confirm the connection.
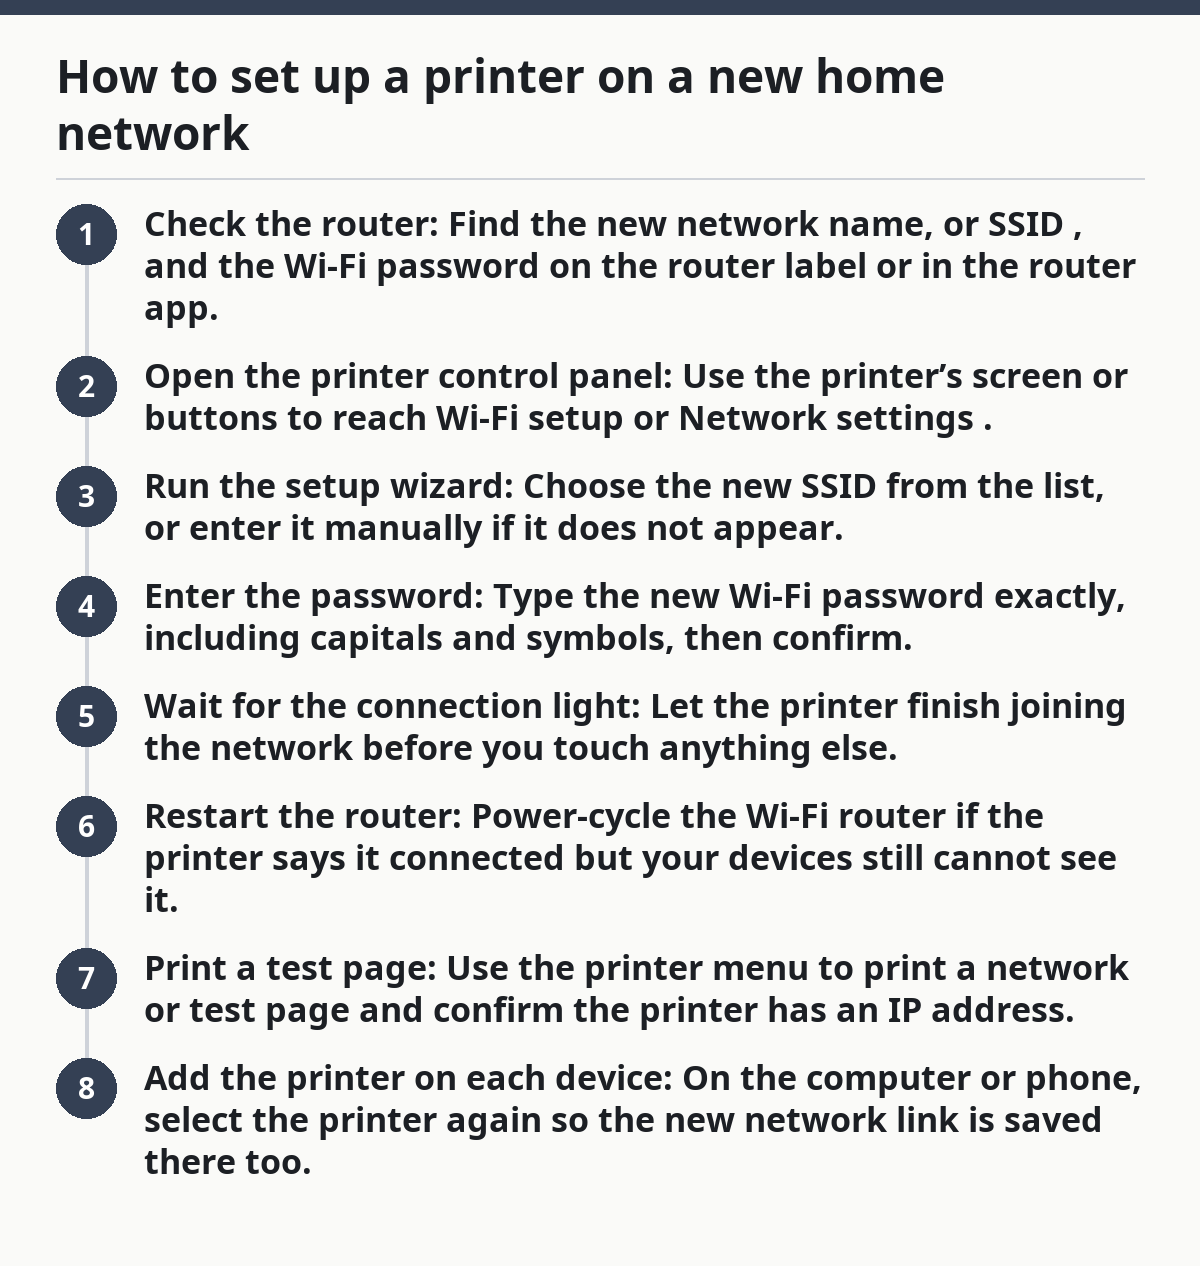
- Check the router: Find the new network name, or SSID, and the Wi‑Fi password on the router label or in the router app.
- Open the printer control panel: Use the printer’s screen or buttons to reach Wi‑Fi setup or Network settings.
- Run the setup wizard: Choose the new SSID from the list, or enter it manually if it does not appear.
- Enter the password: Type the new Wi‑Fi password exactly, including capitals and symbols, then confirm.
- Wait for the connection light: Let the printer finish joining the network before you touch anything else.
- Restart the router: Power-cycle the Wi‑Fi router if the printer says it connected but your devices still cannot see it.
- Print a test page: Use the printer menu to print a network or test page and confirm the printer has an IP address.
- Add the printer on each device: On the computer or phone, select the printer again so the new network link is saved there too.
Here’s the catch: the printer can store the new password and still fail to show up on your laptop if the device is still pointing to the old printer entry. Remove the old printer profile first if the system keeps trying to use it.
Start with the printer control panel, not the laptop
Picture this: the router changed last night, and your printer still thinks the old network exists. The printer’s own control panel is often the shortest path because that is where the setup wizard can find the new SSID without guessing.
Most home printers have a wireless menu under Settings, Network, or Setup. If the screen offers Wireless Setup Wizard, Wi‑Fi Setup Wizard, or Network Setup, use that path first. It will usually scan for nearby networks, show the new router name, and ask for the password.
If the printer has no screen, the method changes. Some models use a Wi‑Fi button pair or a WPS-style setup flow, but that only works if the router supports it and the model supports it too. On many newer routers, WPS is turned off by default, so the printer menu method is more reliable.
- Look for these menu labels:
- Wi‑Fi Setup
- Wireless Setup Wizard
- Network Settings
- Setup Wizard
- Expect one of these results:
- The new SSID appears in a list
- The printer asks for the password
- The printer gives a connection error and asks you to try again
The best part? This step tells you quickly whether the problem is the printer or the router. If the printer cannot even see the network name, the next section matters more than the password screen.
Which network name should I pick?
Pick the new home SSID that matches your router, not the old network that the printer used before. If your router broadcasts two names, usually one for 2.4 GHz and one for 5 GHz, choose the one your printer supports; many printers still prefer 2.4 GHz because it reaches farther and is less picky about distance.
Picture this: the screen shows three nearly identical network names, and one has “5G” at the end. A printer that only supports the older band may not join the fastest one, so the cleanest choice is the network the router setup page says is meant for home devices.
A few rules help here:
- Use the exact SSID, including upper- and lowercase letters.
- Skip guest networks unless another page on the site tells you otherwise.
- If the router has separate 2.4 GHz and 5 GHz names, try the 2.4 GHz one first.
- If the SSID is hidden, you may need to enter it manually in the setup wizard.
The password matters just as much. A printer keypad is slow, and one wrong character can break the whole setup. Double-check common trouble spots like 0 versus O, 1 versus l, and whether the password includes symbols your printer has trouble entering.
What if the printer cannot find the new network?
If the printer cannot find the new network, restart the router, move the printer closer, and try the 2.4 GHz band again. That fixes a lot of cases because the printer may be too far away, the signal may be weak, or the router may be using a band the printer does not like.
Picture this: you are standing in the next room, but the printer list is empty or missing the router name. That usually means the printer is not failing at the password step — it is failing earlier, at discovery.
Try this sequence:
- Restart the router: Unplug it for about 30 seconds, then plug it back in.
- Move the printer: Put the printer within a few feet of the router for setup.
- Retry the wizard: Open the printer’s wireless menu again and search for networks.
- Check band names: Pick the 2.4 GHz SSID if both bands are available.
- Watch security mode: If the router uses an unusual security setting, the printer may reject it.
This is also where a changed router can cause trouble if the SSID stayed the same but the password changed. The printer may look “connected” to a remembered network entry that no longer works. In that case, forget the old network on the printer, then run the setup wizard again from scratch.
Why does the printer say connected but still not print?
The printer can say connected and still fail if the computer or phone is still using the old printer profile. That usually means the network link on the printer is fine, but the device list on your laptop, tablet, or phone needs to be refreshed.
Picture this: the printer’s Wi‑Fi light is solid, the test page works, and yet your document stalls in the queue. The printer is often not the real problem anymore.
Use this cleanup list:
- Remove the old printer entry from the computer if it shows the old network or an offline status.
- Add the printer again using the current network name.
- On a phone, reopen the print menu so it scans for the new device.
- Clear stuck print jobs if the queue still holds the old connection.
- Print another test page after re-adding the device.
The test page is the clearest proof that the printer joined the network. If the page prints, the wireless setup is usually done. If the page fails but the printer menu shows a connection, the issue is often not the printer itself — it can be the device that is trying to print to it.
Common mistakes that waste an hour
Picture this: you have typed the password three times, but the printer still refuses the network. The usual mistakes are small, but they cost time because each one looks like a bigger problem than it is.
The most common errors are simple:
- Using the old SSID: The printer remembers the old router name, but that network is gone.
- Typing the password wrong: One symbol off, and the printer rejects the setup.
- Choosing the wrong band: A printer that prefers 2.4 GHz may not join a 5 GHz-only network.
- Skipping the router restart: The printer may need the router to refresh before it shows up on other devices.
- Ignoring the test page: A saved network is not proof of a working connection.
The better move is to change one thing at a time. Start with the SSID, then the password, then the router restart, then the test page. If you change all four at once, you lose the trail that shows where the setup failed.
For more setup paths and troubleshooting branches, the printer setup and connectivity hub is the right place to start, and the router setup page can help if the network itself changed.
How do I know the setup worked?
The setup worked when the printer joins the new SSID, gets a valid network address, and prints a test page without error. If the printer shows a wireless icon, lists the new network in its status screen, and responds from a laptop or phone on the same home network, the job is done.
Picture this: the printer light is steady, the page comes out clean, and your device finds the printer without a fight. That is the finish line.
Check these signs:
- The printer’s network menu shows the new SSID.
- A test page prints from the control panel.
- The computer sees the printer as online.
- The phone can find the printer from the print menu.
If any one of those fails, go back one step instead of starting over from the beginning. That is usually faster than wiping the whole setup and guessing again.
How do i connect a printer to a new router?
You connect it by opening the printer’s wireless menu, choosing the new router’s SSID, and entering the new Wi‑Fi password. The printer control panel usually has a setup wizard that handles the switch in a few screens. If the router changed bands or security settings, restart the router and retry the wizard.
Why won’t my printer join my home network?
The printer usually won’t join because the SSID is wrong, the password was entered wrong, or the router band doesn’t match the printer’s support. A weak signal or a stale saved network can also block setup. Restart the router, move the printer closer, and try the wireless setup wizard again.
Drafted with AI; not yet reviewed by a person.