Last updated: November 19, 2026
If your laser printer is pulling dusty sheets, smearing toner, or chewing paper, How to clean a laser printer’s paper path safely starts with a careful cleaning. Quick answer: power down, clear loose toner with a dry, lint-free cloth, and clean the pickup rollers and separation pads without soaking them. The steps below show what to touch, what to leave alone, and what to do if the paper path still misfeeds.
Key Takeaways
- Turn the printer off and let it cool before opening any access door.
- Use a dry, lint-free cloth for toner dust; avoid water inside the path.
- Clean pickup rollers and separation pads with light pressure only.
- Don’t blow toner deeper into the machine with compressed air.
- If the paper path still jams after cleaning, the problem may be worn rollers or a hidden jam, not dirt.
What part of the laser printer paper path needs cleaning?
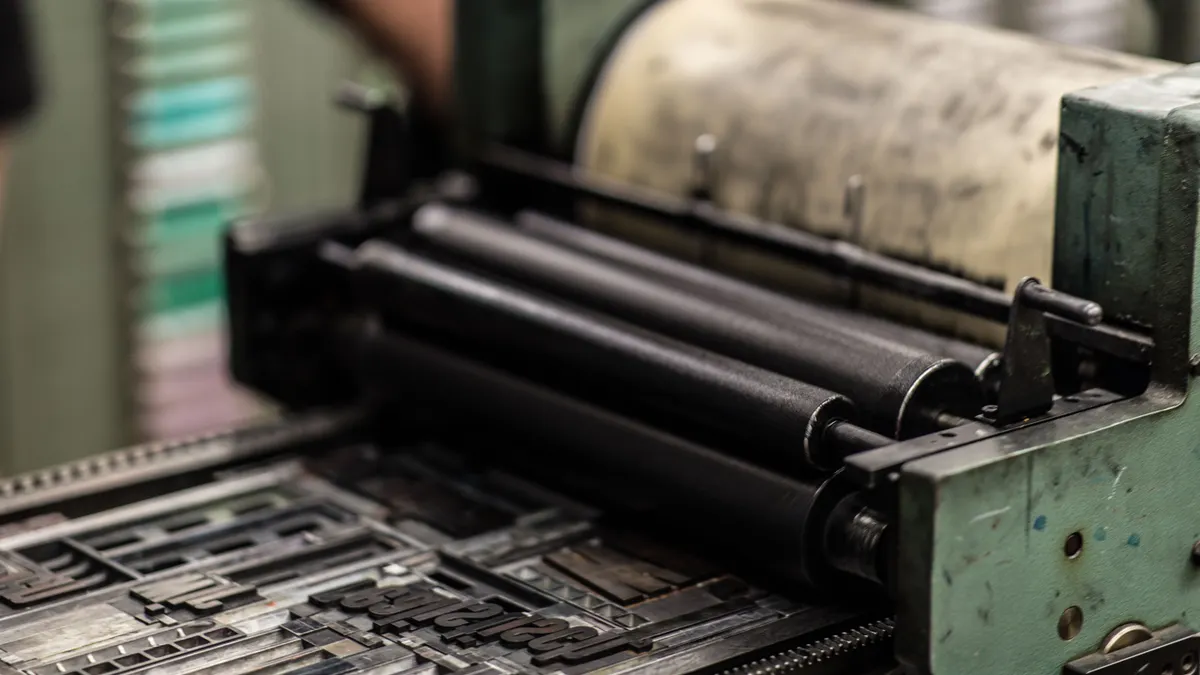
The paper path is the route a sheet takes from the tray to the exit rollers, and the parts that usually need attention are the pickup rollers, separation pads, and the inside surfaces that collect toner dust. If you’re opening the printer to clear debris, this is the section that matters, not the drum or fuser unit. Those parts can be hot, delicate, or both.
Picture this: you’re lifting the front tray and seeing gray dust on the feed rollers and loose toner around the entry slot. That’s the normal place to start, because paper picks up dust where it first enters the machine. A clean path helps the sheet feed squarely instead of slipping or double-feeding.
For this job, the useful tools are simple:
- A dry, lint-free cloth
- Cotton swabs for tight corners
- A small flashlight
- A vacuum made for electronics, if you already have one
Skip paper towels. They shed fibers and can leave lint where the rollers need grip. Keep liquids off the page path unless the printer manual specifically allows a damp cloth on a removable roller.
The truth is, most paper-path cleaning failures come from using too much force or the wrong tool. A roller that looks black and shiny is not “clean enough” if its surface has gone slick from toner. But a roller soaked with cleaner can swell, glaze, or slip.
How do you clean a laser printer paper path safely?
You clean a laser printer paper path safely by shutting the printer down, opening the right service access panels, wiping loose toner from reachable surfaces, and cleaning the rollers with a dry cloth and light pressure. The order matters. If you scrub first and inspect later, you can push debris deeper into the feed route.
-
Turn off the printer and unplug it before opening any door.
Wait a few minutes if the printer has been running, because the fuser area can stay hot. -
Open the paper path access panels and remove the paper tray.
This exposes the feed rollers, pickup rollers, and any toner dust sitting in the entry path. -
Wipe visible toner dust with a dry, lint-free cloth.
Use short passes and pick up the dust instead of rubbing it around the housing. -
Clean the pickup rollers with the cloth while turning them by hand, if the printer design allows it.
Stop when the rubber feels grippy again, not slick. -
Wipe the separation pad with the same dry cloth.
That pad helps prevent double-feeds, so dirt here often shows up as two sheets moving at once. -
Remove loose scraps of paper or labels with tweezers.
Pull them straight out so you don’t tear them deeper into the path. -
Reinstall the tray, close the panels, and load plain paper.
Run a single test page to check for smooth feeding and clean transport.
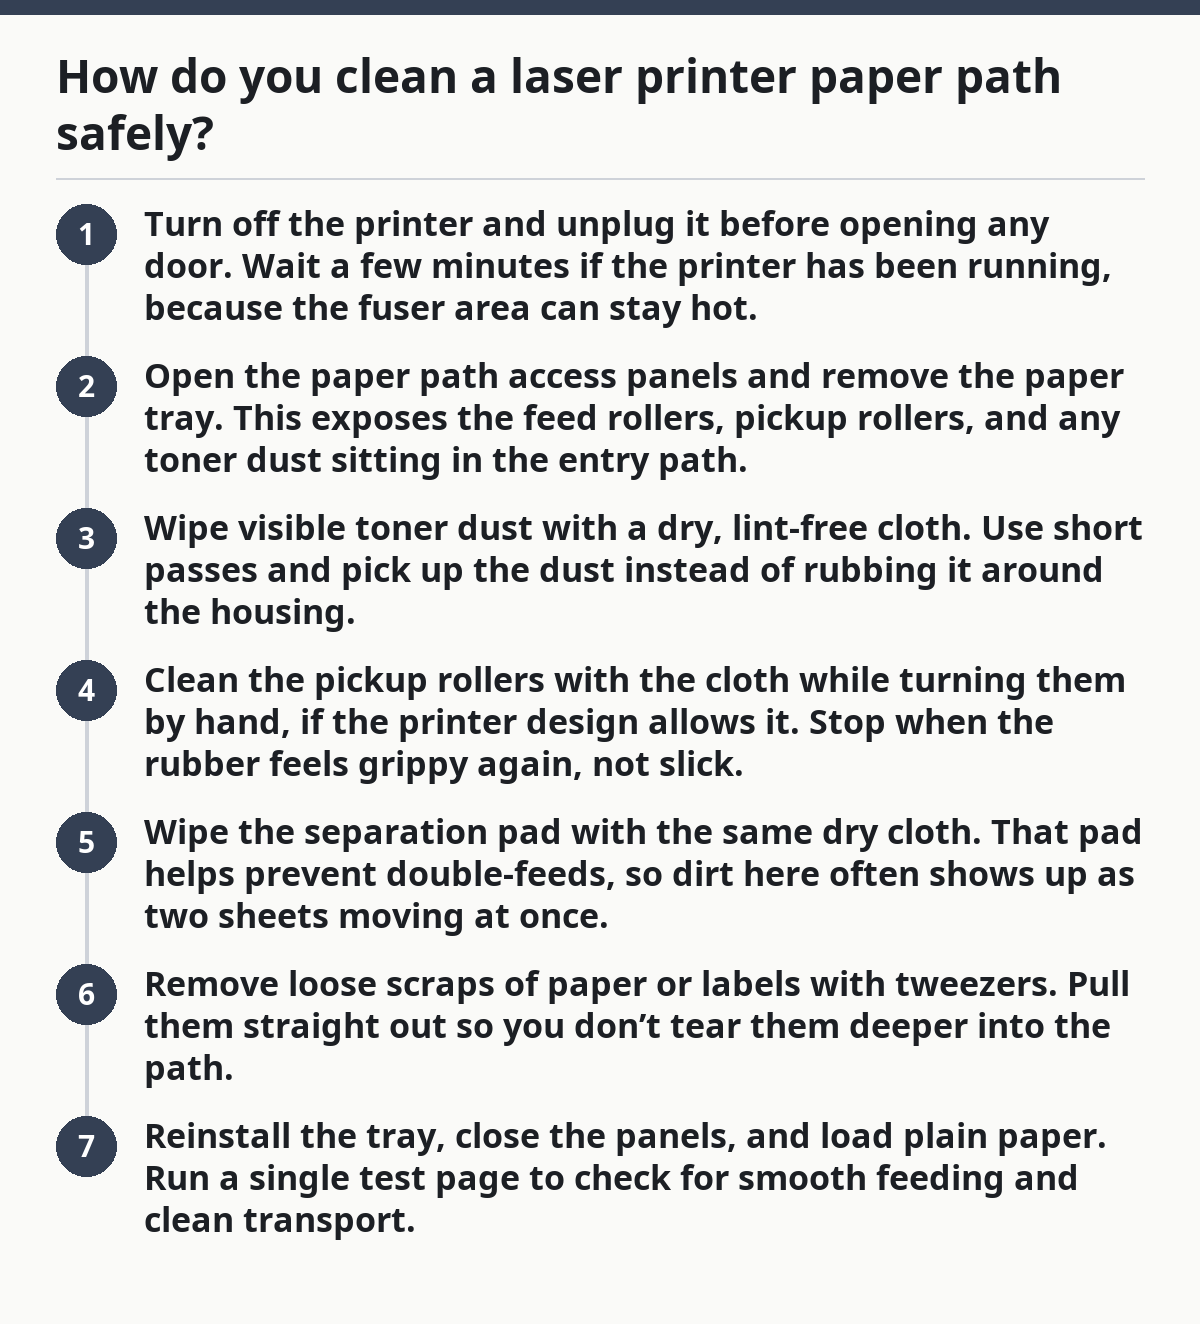
Each step is about control, not speed. If you see heavy toner inside the machine, don’t keep brushing at random. Reach the easy areas only. The paper path is not the place for a deep soak, a blast of air, or a metal tool.
On the flip side, a lot of printers have a manual feed slot or rear access door that gives you a cleaner angle on the rollers. Use that service access if your model provides it. A lower-stress angle usually means less chance of bending a latch or dragging debris across a roller.
What should you not use inside a laser printer?
You should not use compressed air, household spray cleaners, or a wet rag inside a laser printer unless the manual specifically allows it. Toner dust is fine and powdery, so a strong air blast can send it into sensors, gears, and the exit path. That turns a small cleaning job into a bigger mess.
Here’s the catch: compressed air can look like the fastest fix, but it can move toner dust away from the spot you can see and into the places you can’t. That matters because the paper path depends on clean sensor windows and clean roller surfaces, not just a dust-free tray.
Avoid these mistakes:
- Compressed air canisters: can scatter toner and sometimes leave moisture if used too close or at the wrong angle.
- Liquid cleaners: can soften rubber rollers or leave a film that makes feeding worse.
- Alcohol on every part: may help on some removable rollers, but it is not a universal cleaning step.
- Sharp tools: can scratch the pickup roller or tear the separation pad.
The best part is that you usually don’t need any of those. A dry cloth, a steady hand, and a flashlight are enough for most paper-path cleaning jobs. If a spot looks glazed or sticky, stop and check the printer manual for that exact part number or service step before you add any cleaner.
This is also where toner dust deserves respect. It is not regular dust from a shelf. It is fine, dark powder that clings to plastic and rubber, and it marks easily. Wipe it away gently so you don’t smear it into a gray film.
How do you clean pickup rollers and separation pads?
You clean pickup rollers and separation pads by wiping them gently, turning the rollers only as far as the printer design allows, and stopping once the surface feels tacky again. These parts do the real work of grabbing one sheet at a time, so they need grip more than shine.
Picture this: the printer pulls paper, stops, and then grabs two sheets together. That points straight at the feed rollers or the separation pad. Cleaning here is about restoring friction, not making the part look glossy and new.
Use this simple sequence:
- Roller surface: wipe with a dry cloth until toner dust lifts.
- Roller edges: clean the ends where dust builds up near the bearings.
- Separation pad: wipe the contact face, especially where paper first touches it.
- Tray guides: remove dust so the stack sits flat and centered.
A cotton swab can help on corners, but don’t leave fibers behind. If the printer uses a removable pickup roller, follow the service-access path in the manual and remove only that part. Reinstall it exactly as it came out. A roller that sits crooked can feed worse than a dirty one.
The truth is, worn rollers and pads eventually need replacement. Cleaning helps when the problem is dust or glaze. It won’t fix cracked rubber, a flattened pad, or a roller that has lost its texture. If the printer still double-feeds after a careful wipe, the part may be past cleaning.
That’s the limitation most generic guides skip. Not every feed problem is dirt. A cleaner path can still fail if the rubber has aged out. In that case, the right next step is replacement, not more scrubbing.
How do you know the paper path is clean enough?
You know the paper path is clean enough when the rollers feel grippy, no loose toner remains on reachable surfaces, and a test sheet feeds straight through without skewing or double-pulling. The goal is clean transport, not a spotless interior.
Use this quick check:
- Load 5 to 10 plain sheets and fan the stack.
- Re-seat the tray so the guides touch the paper without bending it.
- Print one page and watch the first pickup.
- Look for smooth entry, no repeat grab, and no fresh gray marks.
A printer that still slips on the first sheet may need one more pass on the pickup roller, especially if the roller surface feels slick. A printer that makes a grinding sound or shows a jam message after cleaning may have a hidden scrap of paper in the path. That is a different job from cleaning and should be handled as a jam-clearance problem.
On the safe side, don’t keep testing over and over if the printer is clearly binding. Repeated attempts can push a torn edge deeper into the mechanism. One or two test pages are enough for a cleaning check.
For broader care, this page fits the print quality and maintenance hub because paper-path dirt affects feeding, not just output quality. If you need the deeper maintenance set, that hub is the right place to go next. For related upkeep, see the printer maintenance guide, the laser printer troubleshooting guide, and the print quality guide.
When should you stop and get service help?
You should stop and get service help if the printer has a hot fuser area you can’t safely reach, if a sheet is torn deep in the mechanism, or if the rollers look damaged rather than dirty. Cleaning is for toner dust and light residue. Broken parts need repair.
Picture this: you’ve cleaned the rollers, but the printer still pulls crooked, squeals, or jams in the same place. That usually means a worn roller, a bent guide, or a hidden obstruction in a service area that normal cleaning won’t reach. At that point, more force does more harm than good.
Use service help when you see:
- Melted paper or label adhesive
- A cracked pickup roller
- A separation pad that is polished smooth
- A jam behind a cover you can’t remove safely
- Repeated feed errors after one careful cleaning cycle
There’s also a safety line. Fuser units can stay hot enough to burn skin, and toner dust should not be rubbed into air vents or electronics. If the access path requires removing a high-temperature assembly or a part the manual says is service-only, stop there.
A clean paper path is worth the time, but it has limits. If the printer is old enough that the rollers are hardened or the pads are shiny and flat, cleaning won’t restore the grip you need. Replacement parts or a technician are the better fit.
Is it safe to use compressed air in a laser printer?
No, compressed air is usually not the safe choice inside a laser printer. It can blow toner dust deeper into sensors, gears, and vents, and it can spread the mess across the paper path. A dry, lint-free cloth is the safer first step for reachable areas.
If the manual specifically allows air for one spot, use only the lightest touch and keep the nozzle well back from the part. Even then, a cloth is better for pickup rollers and separation pads.
What parts of a laser printer can I clean at home?
You can usually clean the pickup rollers, separation pads, tray guides, and reachable paper-path surfaces at home. Those are the parts that collect toner dust and affect feeding. Leave the drum, fuser, and deeper service-only assemblies alone unless the printer manual gives you a clear home-access step.
If a part is hot, sealed, or marked as service-only, that is a stop sign. Cleaning should stay on the outside edge of the paper path, where you can wipe dust without disturbing the printer’s internal mechanism.
Drafted with AI; not yet reviewed by a person.