Last updated: November 19, 2026
Quick Answer: For how to scan receipts for expense tracking, use a phone or scanner to capture the full receipt, save it as a PDF or image, and attach it right away. A good scan takes under a minute.
Key Takeaways
- A receipt scan should prove one expense later, with the key details easy to read.
- Settings matter more than the device.
- Include the full receipt, sharp text, and the lines software needs.
- Keep receipts in dated folders with consistent names for every month.
Receipt scanning turns paper receipts into searchable files your expense tracker can read, sort, and attach to reports. For how to scan receipts for expense tracking, use a camera app, OCR, and a PDF workflow, and the mess becomes a clean record. The steps below show what to capture, how to name it, and how to keep it useful for taxes.
What receipt scanning needs to do
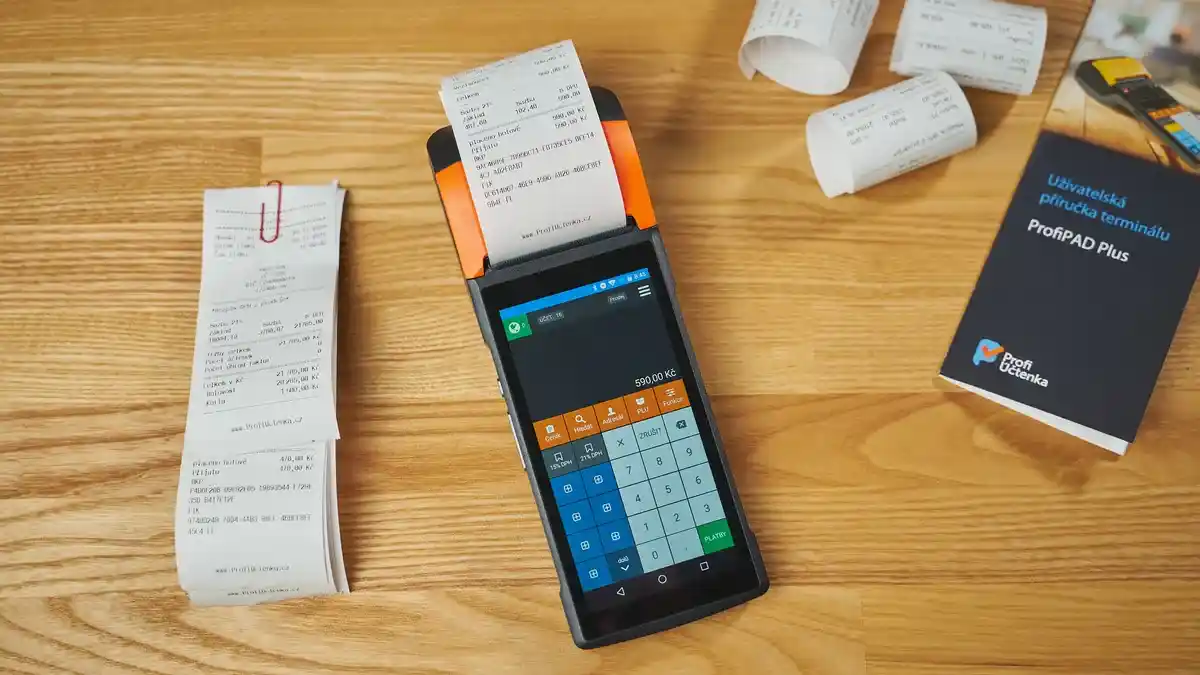
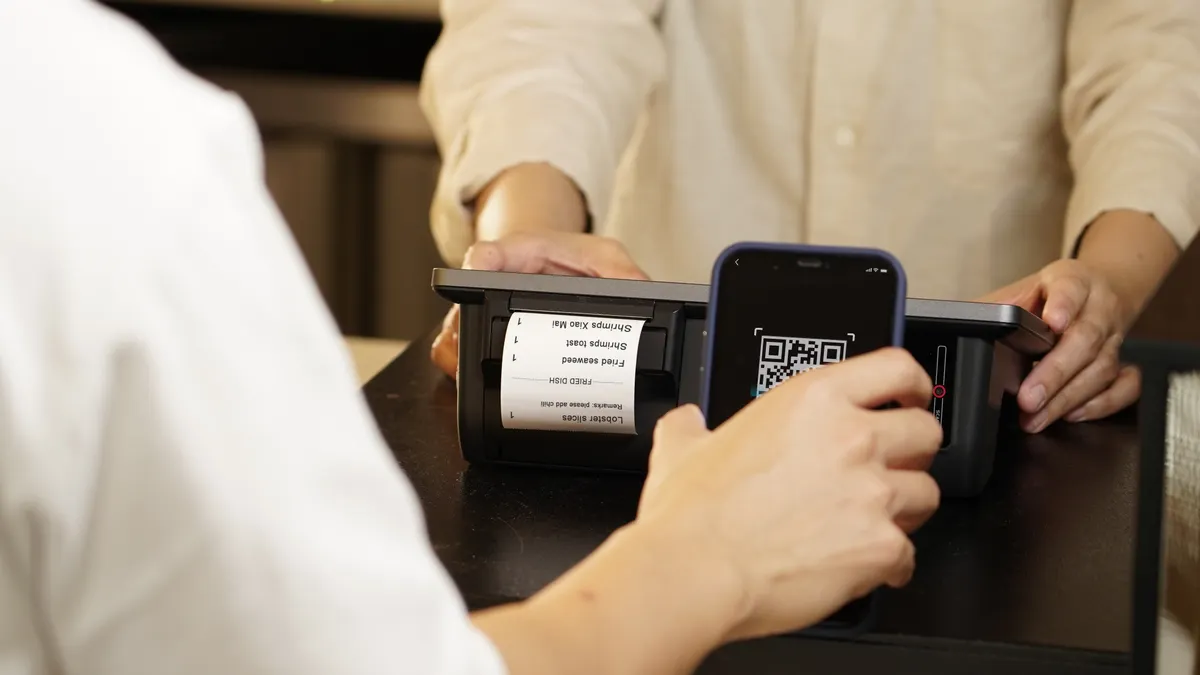
Receipt scanning needs to make one expense easy to prove later. That means the image should show the merchant name, date, total, and tax without blur or glare, and the file should land where your expense app or folder can find it fast.
Because of that, a scan should also be quick to repeat. If you can finish it in under a minute, you are more likely to do it before the receipt fades.
Picture this: you’re leaving a store with a small paper receipt, and you know it will vanish in a coat pocket by dinner. You need a routine that takes under a minute and ends with a PDF or image your tracker can store.
- Keep the receipt flat.
- Capture the full slip.
- Save the file with a name you can search.
- Send it to the same place every time.
If you only do one thing, make it this: scan the receipt the day you get it, before ink fades and before the paper curls. Thermal receipts can get faint fast, and a faded line item helps no one.
How do you scan receipts for expense tracking?
You scan receipts for expense tracking by using your phone or scanner to capture the whole receipt, saving it as a PDF or image, and attaching it to the transaction in your expense app. That gives you a digital copy with the details needed for bookkeeping.
After that first capture, the goal is consistency. The same scan method should work on a lunch receipt, a taxi slip, or an office supply invoice.
Picture this: you’re at your desk with a stack of receipts, an expense tracker open on your laptop, and a phone in your hand. The job is not to make art. It’s to make a clear record that shows what was bought, when, and from whom.
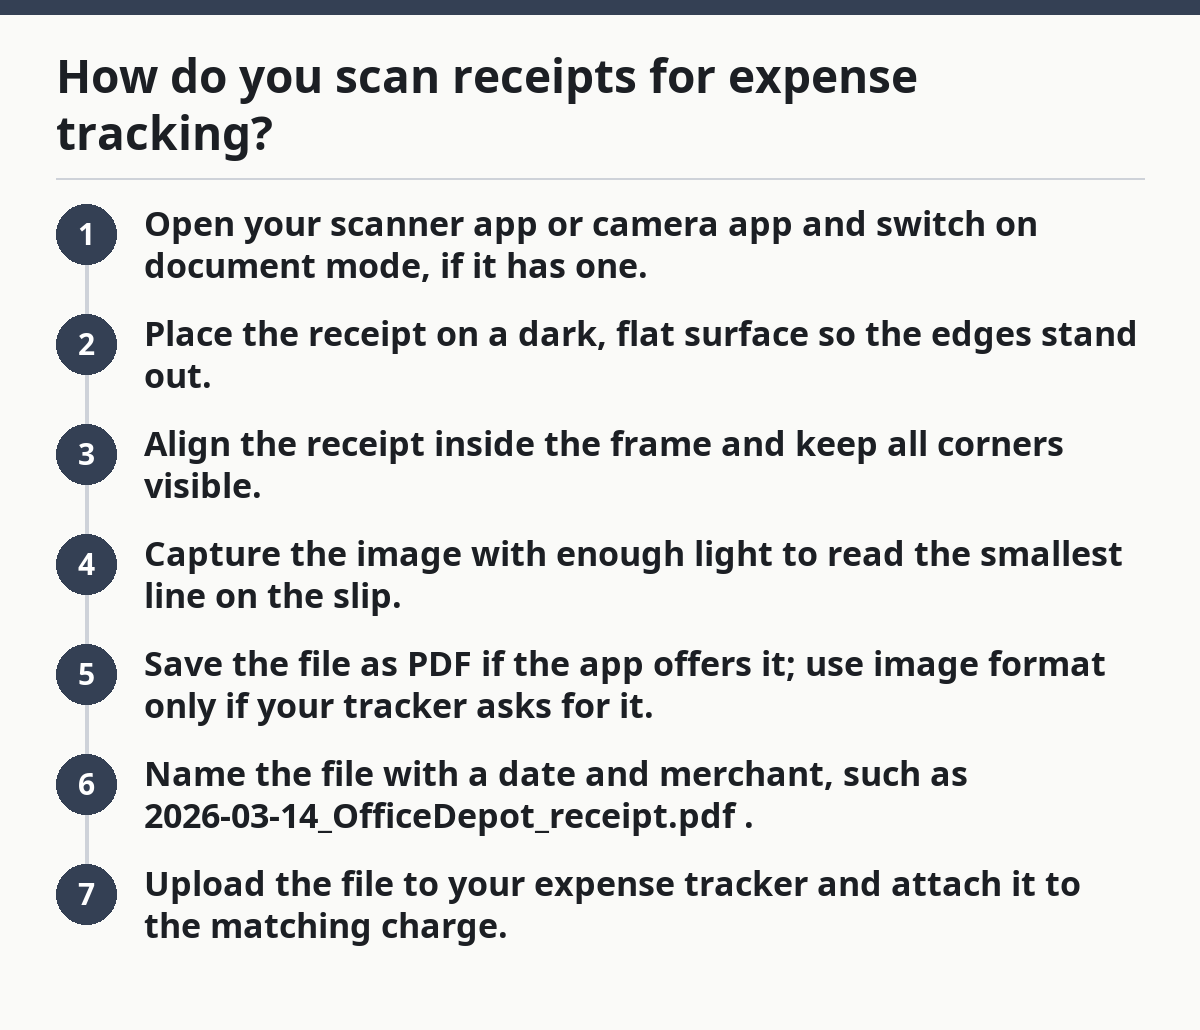
- Open your scanner app or camera app and switch on document mode, if it has one.
- Place the receipt on a dark, flat surface so the edges stand out.
- Align the receipt inside the frame and keep all corners visible.
- Capture the image with enough light to read the smallest line on the slip.
- Save the file as PDF if the app offers it; use image format only if your tracker asks for it.
- Name the file with a date and merchant, such as
2026-03-14_OfficeDepot_receipt.pdf. - Upload the file to your expense tracker and attach it to the matching charge.
A scanner app with OCR can read printed text and fill in fields like merchant name or amount, but you still need to check it. OCR makes mistakes on crumpled paper, partial receipts, and faded totals. The catch is simple: machine text is helpful, not final.
For more on capture quality and file handling, see the site’s scan quality, file handling, and capture workflow hub.
Which app settings matter most?
The right settings matter more than the device name. A clean scan from a basic phone usually beats a fancy app with the wrong crop, wrong light, or wrong save format.
Once the receipt is in the frame, the app settings do most of the work. A strong default setup also saves time across a whole month of expenses.
Picture this: you’re choosing between a default camera, a note app, and a dedicated expense app. You do not need every feature on the market. You need fast capture, OCR, and export to PDF or direct upload to your bookkeeping tool.
- Document mode: Use it if available. It straightens edges and boosts contrast.
- Auto-crop: Good for one receipt on a table; risky if the app trims a corner.
- OCR: Helpful for merchant names and amounts, but still verify by eye.
- Cloud sync: Useful if you switch between phone and laptop.
- Export options: PDF is often a practical default for record keeping.
Expense apps differ in one practical way: some let you snap a receipt inside the app and match it to a card charge right away, while others make you import later. If you scan receipts every day, the first setup is faster. If you only file receipts once a week, the second can be fine.
For scanning terms and file handling, the guide to the site’s scan quality, file handling, and capture workflow hub belongs here. The IRS also explains that records should be kept so they are accurate and available when needed, which is why a clear file rule matters: https://www.irs.gov/businesses/small-businesses-self-employed/recordkeeping
What should a good receipt scan include?
A good receipt scan should include the full page, sharp text, and the lines that tax and accounting software need. If the merchant name is cut off or the total is fuzzy, the scan is weak even if it looks clean on your phone.
That standard matters because a receipt is only useful when someone can verify it later. A scan that misses the total or the date can slow down reimbursement or bookkeeping.
Picture this: you’ve scanned a lunch receipt, and the amount is clear but the tax line is hidden under a finger. That’s not enough. A later expense review may ask for the date, vendor, total, and tax, not just the final amount.
Use this quick check before you save:
- Can you read the merchant name without zooming in?
- Is the date visible near the top or bottom?
- Can you see the full total and currency?
- Is the receipt flat, not curved or folded?
- Did the scan catch any handwritten tip or note?
If the answer to any of those is no, rescan it right away. A 10-second rescan now saves a hunt through old photos later. That is the whole point of receipt scanning for expense tracking: less searching, fewer gaps, cleaner records.
For tax-related recordkeeping, the IRS recordkeeping page is a useful reference point: https://www.irs.gov/businesses/small-businesses-self-employed/recordkeeping
How should you file receipts so they stay usable?
You should file receipts in a dated folder structure with consistent names, and you should keep the same rule for every expense month. A folder like 2026/03 or 2026/Q1 is easy to sort, and a name like 2026-03-14_Merchant_Amount.pdf is easy to search.
Once the scan is done, filing becomes the difference between a useful archive and a pile of files. A small naming rule keeps the whole system searchable.
Picture this: it’s tax time, and you need one receipt from six months ago. If your files are named IMG_4832.jpg, you will waste time opening random images. If they are named with a date and merchant, the right file pops out in seconds.
A simple system works best:
- One folder per year for long-term storage.
- One subfolder per month if you have many receipts.
- One file name pattern for every scan.
- One backup copy in cloud storage or another drive.
PDF is usually a practical archive format because it keeps the receipt together as one file and plays nicely with most expense trackers. Images can work too, but they are easier to scatter across camera rolls, message threads, and downloads folders. That is the trade-off: PDF is cleaner to store; images are quicker to grab.
For tax records, keep the receipt scan long enough to match your record-keeping rules in your country or business setup. If you are unsure about how long that is, check the rules that apply to your filing situation or ask a tax professional.
Common mistakes that break expense tracking
The biggest mistakes are missing data, bad filenames, and scattered storage. Each one costs time later, and the fix is easy if you catch it the same day.
Once those habits slip, the whole system slows down. A receipt that should take seconds to find can take minutes instead.
Picture this: you scan three receipts quickly, but one is cropped, one has no date, and one went to a random photo album. None of them is truly lost, yet all of them are annoying to use. That is how expense tracking turns messy.
- Cropping too tight: You lose the merchant or date. Fix it by leaving a small border around the receipt.
- Using screenshots instead of scans: Screenshots miss the paper edges and often blur text. Fix it by using document capture.
- Saving without a name: The file becomes impossible to sort later. Fix it with a date-first filename.
- Mixing personal and business receipts: This creates a cleanup job at month end. Fix it by scanning into separate folders or separate app categories.
- Ignoring faded receipts: Thermal paper can fade within months. Fix it by scanning as soon as you get the receipt.
The honest limit here is simple: a scan is only as useful as the record around it. If your expense tracker has no merchant match, no category, or no note, the receipt still exists—but the filing job is not finished.
When should you use an expense app instead of a folder?
You should use an expense app instead of a plain folder when you need matching, categories, or team approval. A folder stores the file; an expense app helps attach the file to the transaction and move it through a review process.
That choice depends on volume, not status. A freelancer with a few receipts each month may be fine with folders. A small team with reimbursements may need the app.
Picture this: you’re self-employed and only need to keep proof of lunch, mileage, and supplies. A well-named PDF folder may be enough. Now picture a small team with reimbursements, policy checks, and monthly close. A dedicated expense app earns its keep there.
Here’s the catch:
- Use a folder-first setup if you want simple storage and already reconcile expenses elsewhere.
- Use an expense app if you want receipt capture tied to card charges.
- Use both if you want a clean archive and a working ledger.
That trade-off matters. A folder is simpler and less cluttered, but it leaves more manual work. An expense app saves steps, but only if you keep the scan, the transaction, and the category aligned. If your receipts are few, the folder may be enough. If they’re constant, the app is the better fit.
FAQ
What is the best format for scanned receipts?
A PDF is often the most practical format for scanned receipts because it keeps the receipt in one file, is easy to name, and works well with most expense trackers. Use an image format only if your app requires it or if a specific workflow needs JPG or PNG.
How do I store receipts for taxes?
Store receipts in a dated folder system with clear filenames and a backup copy. Keep the scan long enough for the tax rules that apply to your situation, and keep the full receipt, not just the total. If you are unsure about retention rules, check the guidance for your filing setup or ask a tax professional.
Can receipt scans be used for expense reports?
Yes, receipt scans are commonly used for expense reports. The scan should show the merchant, date, and total so the report can be checked against the charge. If your company or app needs more detail, include tax lines and any handwritten notes before you submit it.
Drafted with AI; not yet reviewed by a person.