Last updated: November 19, 2026
Printer setup over USB is the fastest path when you want a printer working on one computer first, and USB is the right choice when you want a direct, low-fuss connection before any wireless setup. The steps below settle when to use a usb cable, what the printer driver has to do, and how to get a machine seen by Windows or Mac.
Key takeaways
- USB is the cleanest first step when the printer sits near one computer and you want it working before Wi-Fi.
- A direct cable can help the computer find the printer even when wireless setup is not ready yet.
- The right usb port, a known-good cable, and the correct printer driver matter more than most people expect.
- USB setup can be temporary: many printers can move from cable setup to wireless later.
- If the printer is not detected, the cable, port, or driver is usually the first thing to check.
When printer setup over USB makes sense
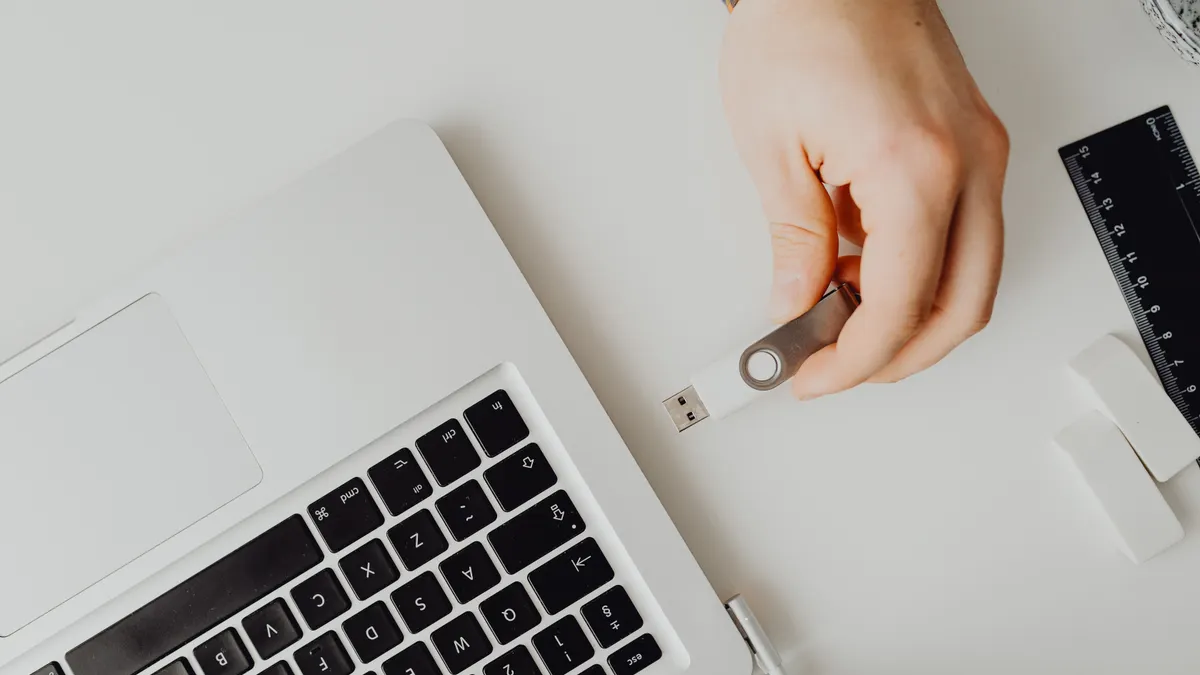
Printer setup over USB makes sense when you want the printer working on one desk, with one cable, and without depending on a router. Picture this: you’ve just unpacked a printer, the Wi-Fi name isn’t obvious yet, and you want a page out of it before you worry about anything else. USB gets you to that first print path fast.
That route is strongest for first-time setup, temporary setup, and printers that sit close to a computer. It also helps when you need to confirm the device powers on, feeds paper, and responds before you move on to wireless settings. A direct cable is often the simplest bridge between the box and a working printer.
Use USB when:
- the printer is beside one computer
- you need a quick first print
- the wireless network is not ready
- the printer setup screen is easier to reach through a cable
- you want a fallback while Wi-Fi is being configured
On the flip side, USB is not the best fit if the printer needs to live in another room or serve several devices at once. Then wireless or network setup is the better long-term path. The USB cable ties the printer to one machine, so it solves the “get it working now” problem better than the “share it everywhere” problem.
The truth is, some printers are designed to be more forgiving over USB than over Wi-Fi during setup. That does not mean every printer works the same way. A printer driver still has to match the model, and some systems spot the printer faster than others. For background on the broader setup path, the hub on printer setup and connectivity can sit nearby as the bigger map.
What you need before you plug anything in
You need the printer, a USB cable, a computer, and the printer’s driver path ready before you connect the cable. Picture this: you are at the desk with the box open, but the computer is waiting for a device it cannot name yet. That is the point where a missing cable type or wrong port turns a five-minute job into a long one.
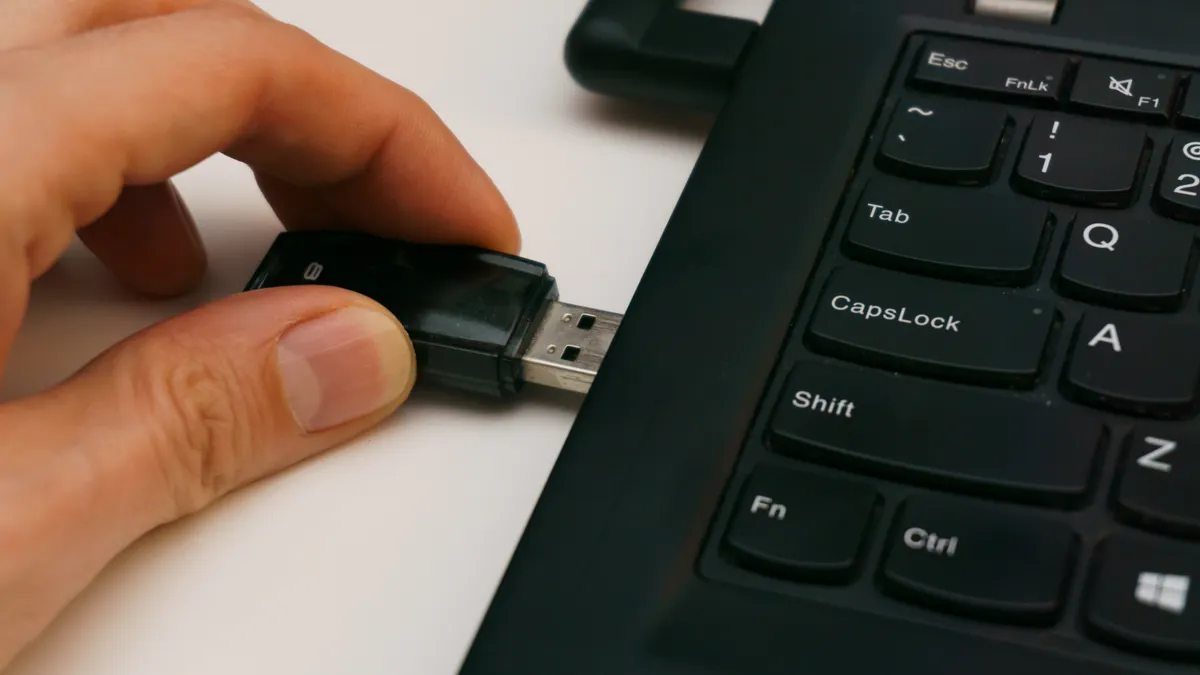
Start with the right cable. Many printers use a USB-A to USB-B cable, with the square printer end going into the printer and the flat end going into the computer. Some newer machines and laptops may use other USB shapes, so check the ports before you force anything. Never jam a connector in at an angle.
You also need the driver source. Some printers install through built-in support on Windows or macOS, but others work better with the model-specific driver from the printer maker. If the computer shows a generic device name instead of the printer model, the driver is probably the missing piece. That is not a cable fault every time.
Before you start:
- Check the printer model on the label or box.
- Find the correct cable shape for both ends.
- Plug the printer into power first.
- Turn the printer on and wait for its ready light.
- Keep the computer awake so it can detect new hardware.
A good setup also needs the right port choice. Use a direct port on the computer when possible, not a keyboard hub or a dock that may drop the signal. A short, known-good cable cuts down on detection problems. If the printer has a USB icon or a setup prompt on its screen, follow that path before trying anything more complicated.
How to set up a printer over USB, step by step
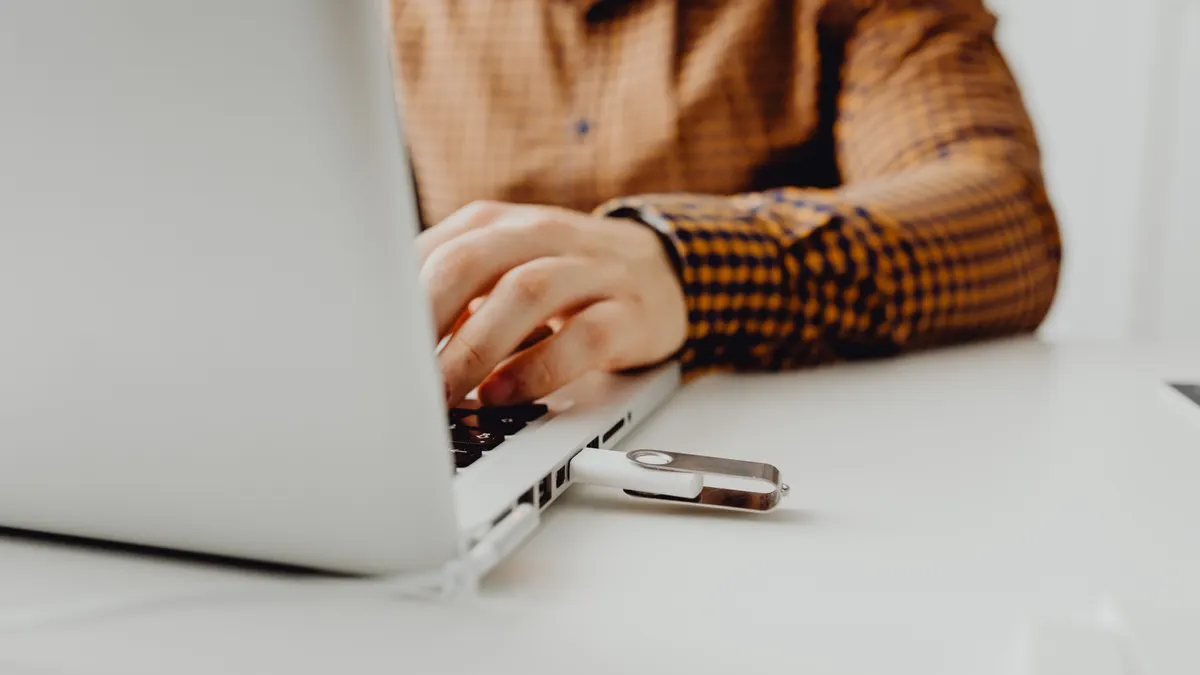
You set it up by connecting the printer directly, waiting for detection, then finishing the driver step on Windows or Mac. Picture this: the printer is on, the cable is in, and the only question left is whether the computer sees it as a real printer or as an unknown device. That is the moment to move in order, not by guesswork.
-
Power on the printer.
Turn the printer on first and wait until the ready light or idle screen appears. A printer that is still starting can miss the connection and make the computer look at the wrong time. -
Connect the usb cable directly.
Plug one end into the printer and the other into a computer port, not a hub. A direct link gives the clearest signal and reduces weird detection problems. -
Wait for the computer to detect it.
Give it a short pause while Windows or macOS notices the new device. The printer may show up by model name, or it may appear as a new printer in the system list after a brief delay. -
Finish the driver step.
If the system asks for a printer driver, choose the one that matches the model. A matching driver is what turns the connection from “device found” into “printer ready.” -
Print a test page.
Send a simple test page or a one-page document. The result you want is a clean page with no skipped lines, blank sheets, or error lights. -
Keep the cable path clean.
Leave the printer on the same port for the first session. Moving the cable around during setup can make the computer lose track of the printer.
The best part? Once the USB link works, you know the printer itself is responding before you touch Wi-Fi. If the printer does not show up, stop and check the cable, the port, and the driver in that order. Those three account for most first-time USB setup failures.
Windows and Mac handle the detection step differently in the background, but the job is the same: the computer has to see the printer, match the driver, and finish the setup. If the printer is already tied to another machine, disconnect it there first so the new computer can claim it cleanly. That detail matters more than people think.
Why a printer is not detected over USB
A printer is not detected over USB because the cable, port, driver, or printer state is wrong. Picture this: you plug in the cable and nothing happens, or the computer flashes a generic device name that does not help at all. That is usually a connection problem, not a dead printer.
The most common miss is the cable itself. A charge-only cable can power some devices but carry no data, and a loose connector can fail without looking broken. Try a different usb cable before you change settings. A second problem is the port: front-panel ports, docks, and cheap hubs can be less reliable than a direct port on the computer.
Driver mismatch is the next big one. If the computer has no driver for that exact model, it may not show the printer correctly. The device may still be present, but it will not behave like a printer until the driver step is complete. That is why the model number matters.
Common fixes:
- unplug and reconnect the cable at both ends
- use a direct computer port
- try another known-good usb cable
- restart the printer and the computer
- check that the printer driver matches the model
- remove the printer from the system list and add it again if the OS got stuck
Do not skip the simple checks. A printer that is asleep, paused, or in an error state can look like a detection failure. Paper jams and low ink can also keep it from finishing setup cleanly, even though the USB link itself is fine. That is a setup failure with a supply problem underneath it.
The truth is, people often blame Windows or Mac first. Sometimes the computer is fine and the printer is just waiting for a cleared error light. A plain restart of both ends fixes more USB setup trouble than a long round of guessing.
How to switch from USB to Wi‑Fi later
You can switch from USB to Wi‑Fi later by using the working USB connection as your bridge to wireless setup. Picture this: the printer already works from the cable, and now you want it in another room or on the home network. That is the smart time to move, because you have a known-good baseline.
Use the USB connection first to confirm the printer is alive. Then open the printer’s wireless setup path on the printer screen or in the printer software. Many models use the USB link to hand off the network settings before you disconnect the cable. That reduces the chance of ending up with a printer that is half-set and nowhere useful.
A good switch plan:
- Set up the printer over USB first.
- Confirm a test page prints.
- Open the printer’s wireless setup menu or utility.
- Choose the Wi‑Fi network and enter the password.
- Wait for the wireless indicator to show it is connected.
- Print another test page over Wi‑Fi before removing the cable.
Do not pull the USB cable too early if the printer still needs it to finish the wireless handoff. Some printers keep using the cable during the transition. Others let you remove it after the network connection is saved. The manual or on-screen prompt usually tells you which path your model uses.
This is the cleanest reason to start with USB: it lets you separate two problems. First, make the printer work. Then move it to the network. That order saves time when the printer is new, the router is busy, or the wireless name is hard to type on a tiny screen.
What not to do during USB printer setup
You should not treat every USB port, cable, or driver as interchangeable. Picture this: the printer is half-detected, the cable is loose behind the desk, and the computer keeps trying the wrong driver. Small shortcuts here cost time fast.
Avoid these mistakes:
- plugging into a dock or hub before trying a direct port
- using a cable that only fits physically but does not carry data well
- assuming the operating system picked the right driver
- moving the cable between ports during the first setup
- skipping the test page and assuming the printer is ready
A few of these errors create the same symptom: the computer “sees” something, but the printer never finishes setup. That leads people to reinstall things they do not need to touch yet. A direct cable, a matching driver, and a single port are the cleanest first pass.
If the printer is for a shared office or a setup where several computers need access, USB alone is usually the wrong final answer. It can still be the right first step, but it does not solve multi-user printing. In that case, use USB to confirm the printer works, then move to wireless or network sharing.
The best habit is simple: change one thing at a time. Swap the cable. Then try a different port. Then check the driver. That sequence is boring, and it works.
Can I set up a printer with USB and then switch to wireless?
Yes, most printers can be set up over USB first and moved to Wi‑Fi later. The USB connection gives you a known working setup before you deal with network settings. That helps if the printer is new, the Wi‑Fi name is long, or the router is not ready yet.
The safest order is USB first, test page second, wireless setup third. Some printers use the USB link to carry the wireless settings over, so don’t remove the cable until the printer says the network setup is done.
Why is my printer not detected over USB?
Your printer is usually not detected over USB because the cable, port, driver, or printer state is wrong. Start with the simplest checks: confirm power, try a direct computer port, and swap in a known-good usb cable. A hub, dock, or loose connector can stop detection even when the printer seems fine.
If the computer still does not show the printer model, the driver may not match the device. Restarting both the printer and the computer can also clear a stuck connection.
Drafted with AI; not yet reviewed by a person.