Last updated: November 19, 2026
Key Takeaways
- Borderless printing works when the image fills the whole sheet and the driver is set to print past the edge.
- To print borderless photos at home, match the paper size, enable borderless mode, and let the image crop to the sheet edge.
- In most cases, the printer driver matters more than the app.
- Use photo paper made for your printer and the print size you want.
Borderless photos at home usually fail because the paper size, borderless setting, and crop don’t match.
The fix is to use borderless printing in the printer driver, choose the right photo paper size, and crop the image to the paper’s aspect ratio.
This guide to how to print borderless photos at home shows the steps that usually get a clean full-bleed result without cutting off faces or leaving white edges. If you want the short version, the answer is: match the paper, turn on borderless mode, and check the preview before you print.
What borderless printing actually needs
Borderless printing works when the image fills the whole sheet and the driver is told to print past the edge. Picture this: you’ve got a 4 x 6 photo in an image file, glossy photo paper in the tray, and a home printer that supports edge-to-edge output—but one wrong setting can leave a thin white frame. That can happen even with a model that supports borderless photo printing.
The truth is, borderless printing is not a single button in your photo app. It depends on three things at once: the printer’s support, the paper size, and the crop inside the printer driver. A lot of people miss the driver part and blame the file.
Here’s the catch:
- The printer must support borderless printing for the size you want.
- The image must match the paper’s ratio, like 4 x 6 or 5 x 7.
- The driver or app must be set to photo paper and edge-to-edge output.
If one of those is off, the print can shrink, clip, or leave a white edge. A generic office document setup will not help here. For deeper color work later, this page sits under the site’s printer output quality and color management hub.
How do I print borderless photos at home?
You print borderless photos at home by matching the photo paper size, turning on borderless mode in the printer driver, and letting the image crop to the sheet edge. That is the short answer, and it’s the one that matters.
The usual workflow for how to print borderless photos at home starts with the photo itself, then the paper, then the driver. Picture this: you’re at the computer with a finished photo, and the print dialog is open. You want the picture to hit all four edges of the paper, not sit in the middle like a flyer. The job is mostly settings, not magic. Here’s the sequence that usually works.
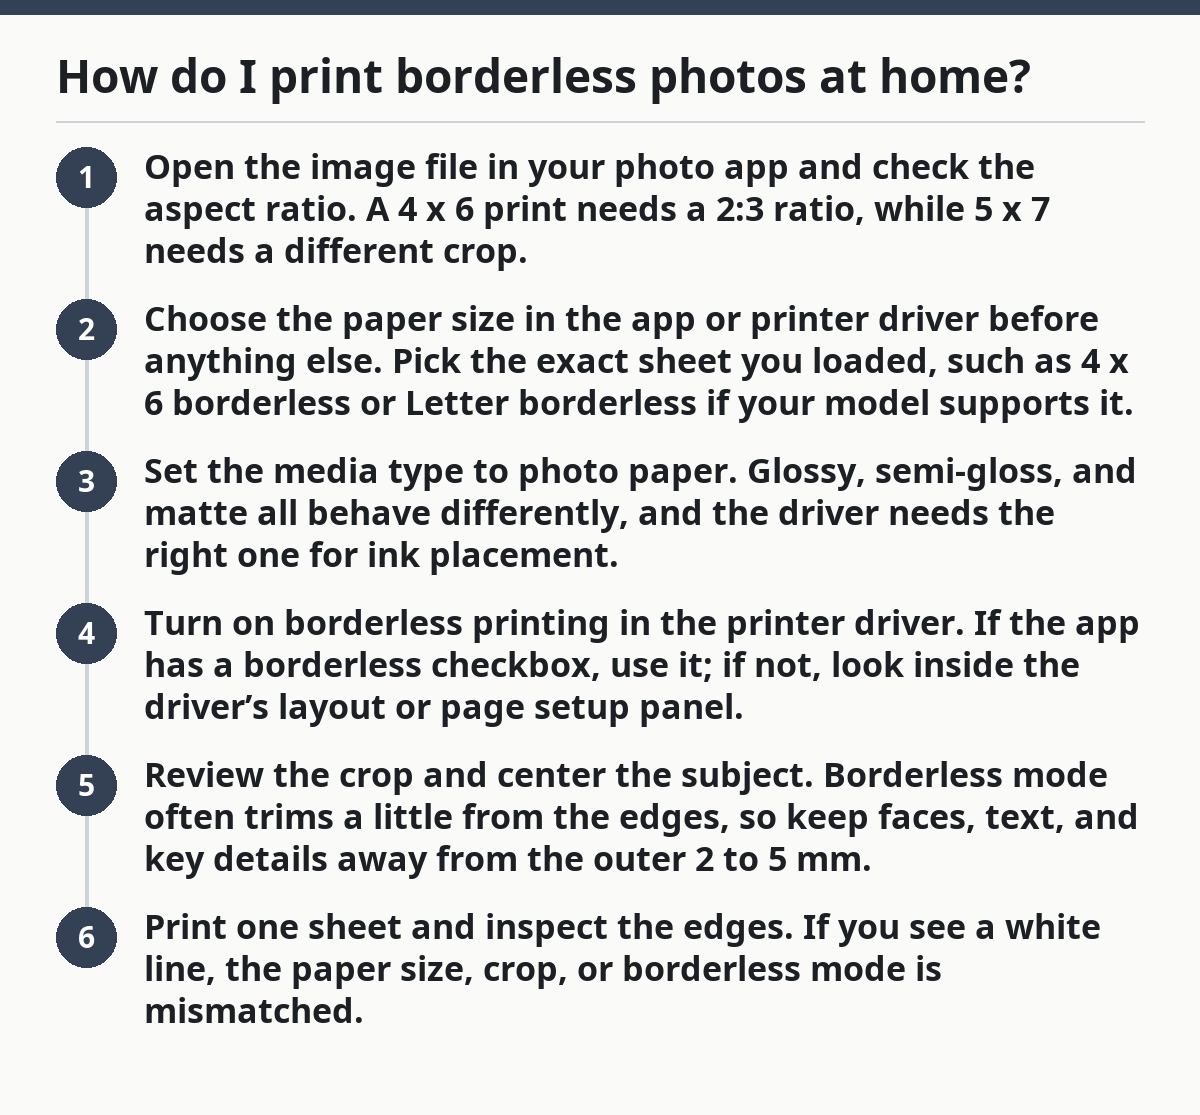
- Open the image file in your photo app and check the aspect ratio. A 4 x 6 print needs a 2:3 ratio, while 5 x 7 needs a different crop.
- Choose the paper size in the app or printer driver before anything else. Pick the exact sheet you loaded, such as 4 x 6 borderless or Letter borderless if your model supports it.
- Set the media type to photo paper. Glossy, semi-gloss, and matte all behave differently, and the driver needs the right one for ink placement.
- Turn on borderless printing in the printer driver. If the app has a borderless checkbox, use it; if not, look inside the driver’s layout or page setup panel.
- Review the crop and center the subject. Borderless mode often trims a little from the edges, so keep faces, text, and key details away from the outer 2 to 5 mm.
- Print one sheet and inspect the edges. If you see a white line, the paper size, crop, or borderless mode is mismatched.
The result is usually repeatable once those steps line up. The bad part is that photo apps sometimes hide the real control in the printer driver, so you may need to look in both places.
Which printer settings matter most?
The printer driver matters more than the app in most cases. Picture this: the same image file looks fine on-screen, but the print comes out with a clipped chin or a thin white border because the driver still thinks it’s printing a normal document. That’s the mismatch.
Use these settings first:
- Paper size: select the exact photo paper size, not “Fit to page.”
- Borderless mode: turn it on in the driver, not only in the photo app.
- Media type: choose the right paper surface, such as glossy or matte photo paper.
- Scaling: leave it at the default that preserves the aspect ratio, unless the app asks for a borderless crop.
- Orientation: match portrait or landscape before printing.
Specifically, the most common failures come from a few setup mistakes:
- Wrong ratio. A square crop sent to a 4 x 6 sheet will either cut off content or leave gaps.
- Plain paper mode. That can make ink land too lightly or dry oddly on photo paper.
- “Shrink to fit.” This often adds a margin, which defeats borderless output.
- Ignoring printer support. Some models only do borderless on certain sizes, not every paper size in the menu.
The truth is, the driver decides where ink can go. The app just hands over the image. If the driver’s borderless option is missing for that size, the printer may not support that exact setup. Check the model manual or the maker’s support page for the supported photo sizes before you keep tweaking the file.
What paper should I use for borderless photo printing?
You should use photo paper made for your printer and the print size you want. Borderless output on plain copier paper usually looks soft at the edges and can bleed, while proper photo paper gives the driver a stable surface to cover all the way to the edge.
The paper choice matters in borderless photo printing because the finish changes how the edge looks. Picture this: you have a stack of paper that looks close enough, but the finish is wrong and the printer keeps missing the edge. The sheet itself matters. A borderless photo on glossy photo paper behaves differently from one on matte photo paper, and the driver needs the correct media type to place ink well.
Use this quick guide:
- Glossy photo paper for rich color and sharp shine.
- Luster or semi-gloss if you want less glare and a more studio look.
- Matte photo paper for softer contrast and less reflection.
- The exact size the driver expects, such as 4 x 6 or 5 x 7, because some printers only support borderless on specific formats.
Don’t mix this up with generic copy paper. Borderless printing can still work in the technical sense, but the result often looks dull, fuzzy, or patchy at the edge. If your printer is fussy, use the paper brand the maker recommends for that model. That is usually the shortest path to a clean edge.
How do I keep faces and text from getting cut off?
You keep faces and text safe by leaving a small buffer near every edge before you print. Picture this: the photo looks perfect in the preview, then the print trims off part of someone’s hair or the date stamp in the corner. Borderless mode is the culprit, but not because it’s broken.
Borderless printing usually extends the image a little past the paper edge so no white line shows. That means the outer edge of the image may be cropped by a few millimeters. The safest approach is to leave the edge as dead space.
Use these guardrails:
- Keep important content at least a few millimeters inside the edge.
- Avoid placing names, dates, or logos right at the border.
- Crop the image yourself before printing if the subject is too close to the edge.
- Use the print preview at 100% or actual photo size, not a scaled desktop view.
On the flip side, don’t overcompensate by shrinking the photo too much. That creates a borderless print that looks smaller than it should. A better move is to crop the image in the photo app so the important subject sits safely inside the frame, then let the driver print it full bleed.
Why are the edges getting cut off or leaving a white line?
The edges get cut off or leave a white line because the image ratio, borderless setting, or paper size doesn’t match. That is the usual failure pattern, and it’s easy to confuse one problem for another.
Picture this: you print a 4 x 6 photo on 4 x 6 paper, but a slim white strip still appears on one edge. That often means the app sent a non-borderless job, the driver scaled the file, or the paper size was set to a similar but different format. A borderless job is picky about exact matches.
Check these in order:
- Confirm the paper size in the driver matches the sheet in the tray.
- Confirm borderless mode is on for that exact size.
- Check the crop in the preview and center the subject.
- Confirm the photo paper type matches the loaded paper.
- Reprint a single page before running a stack of 20 sheets.
Some printers also need a specific borderless option for each size. A model may support borderless 4 x 6 but not borderless 8 x 10 on every tray. If the setting is grayed out, the printer driver is telling you the size or tray is not supported.
For more on color, profiles, and output behavior, the related guide in the printer output quality and color management hub goes deeper than this page does.
FAQ
Can every printer print borderless?
No, not every printer can print borderless. Many photo-capable models support it only on certain paper sizes, often 4 x 6 or 5 x 7, and some do it from one tray only. If the driver does not show a borderless option for your size, that size is probably not supported.
Why are my photo edges getting cut off?
Your photo edges are getting cut off because borderless printing trims a little past the paper edge. That is normal, not a defect. Move faces, text, and other important details away from the outer edge, and crop the image to the paper ratio before you print.
What paper do I need for borderless printing?
You need photo paper that matches both your printer and the print size. Glossy, luster, semi-gloss, and matte all work differently, so choose the finish you want and set the media type in the printer driver to match. Plain paper is a poor choice for clean borderless photo output.
Drafted with AI; not yet reviewed by a person.