Last updated: November 19, 2026
Quick Answer: One blank test page and one final print will usually spare you a stack of ruined label sheets, so long as the template, orientation, and scaling all match. This guide on how to print labels without wasting sheets keeps the setup to a few checks; no endless trial and error. It also works for 30-up, 10-up, and 4×6 stock.
Key Takeaways
- Match the exact template before printing, or every later fix turns into guesswork.
- To print labels without wasting sheets, do one blank alignment pass and one final run with the same settings.
- Keep the file orientation, feed direction, and tray setup aligned.
- Scaling, margins, and page source save the most paper.
Waste happens when the layout, orientation, or test print misses the template. Print a blank test page first, then print the real sheet only when the positions line up. The steps below show which settings matter, which ones to leave alone, and how to avoid burning through adhesive paper. For printer setup basics, see the printer settings guide and the mail merge tips page.
Start with the right label sheet and template
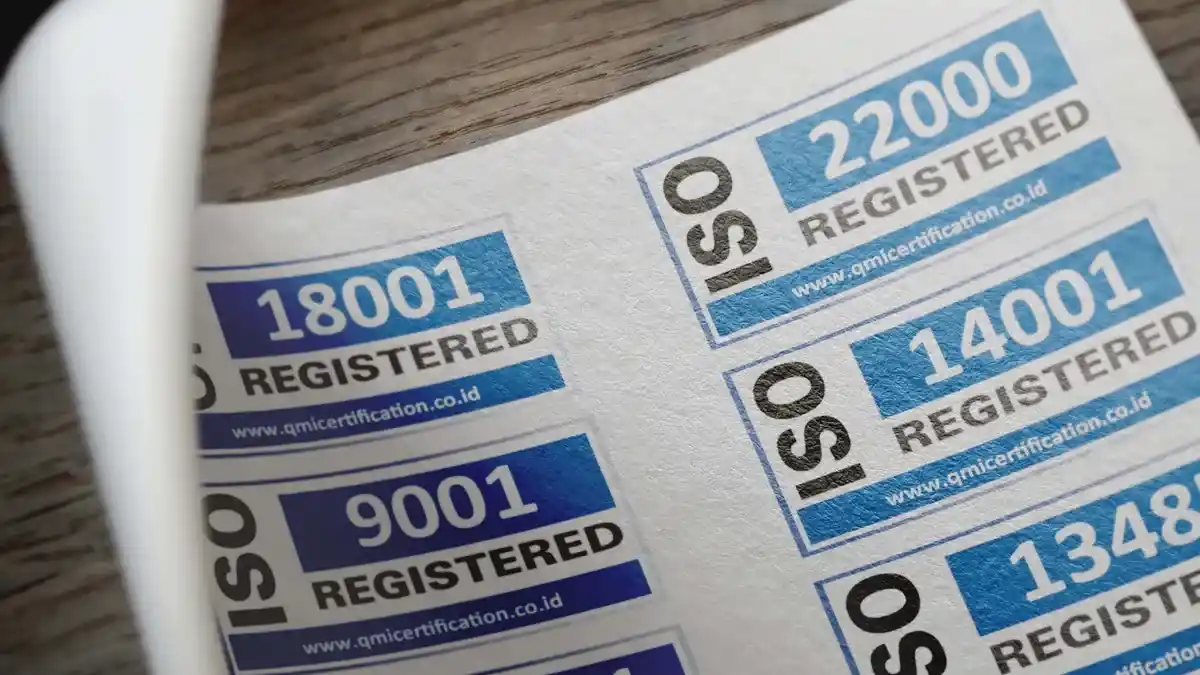
Picture a stack of mailing labels, one address, and a tray of sheets that cost more than plain paper. Before the first page goes through, you need the right template; otherwise, every other fix is just guessing. The cleanest result starts with the exact label sheet brand and layout.
Don’t grab a generic “same size” file. The template made for that sheet is the one to use. If the sheet is 30-up, 10-up, or 4×6, the spacing between labels is part of the job. A file that’s off by even a few millimeters can push text into the gap or clip the edge—tiny miss, big mess.
- Match the sheet count on the package to the file.
- Check whether the labels are letter-size or another format.
- Confirm the template is for your exact sheet layout, not just the brand.
How do you print labels without wasting sheets?
Do one blank alignment pass, then a single final run with the same printer settings you’ll use for the real job. The trick is to stop changing variables one at a time.
Start with paper size, orientation, and scaling. 100% works only when the template is built for that setting. When the software auto-fits the page, it can shift every label just enough to waste the whole sheet. Keep the same paper type and size for both the test and final print. That math stops working fast.
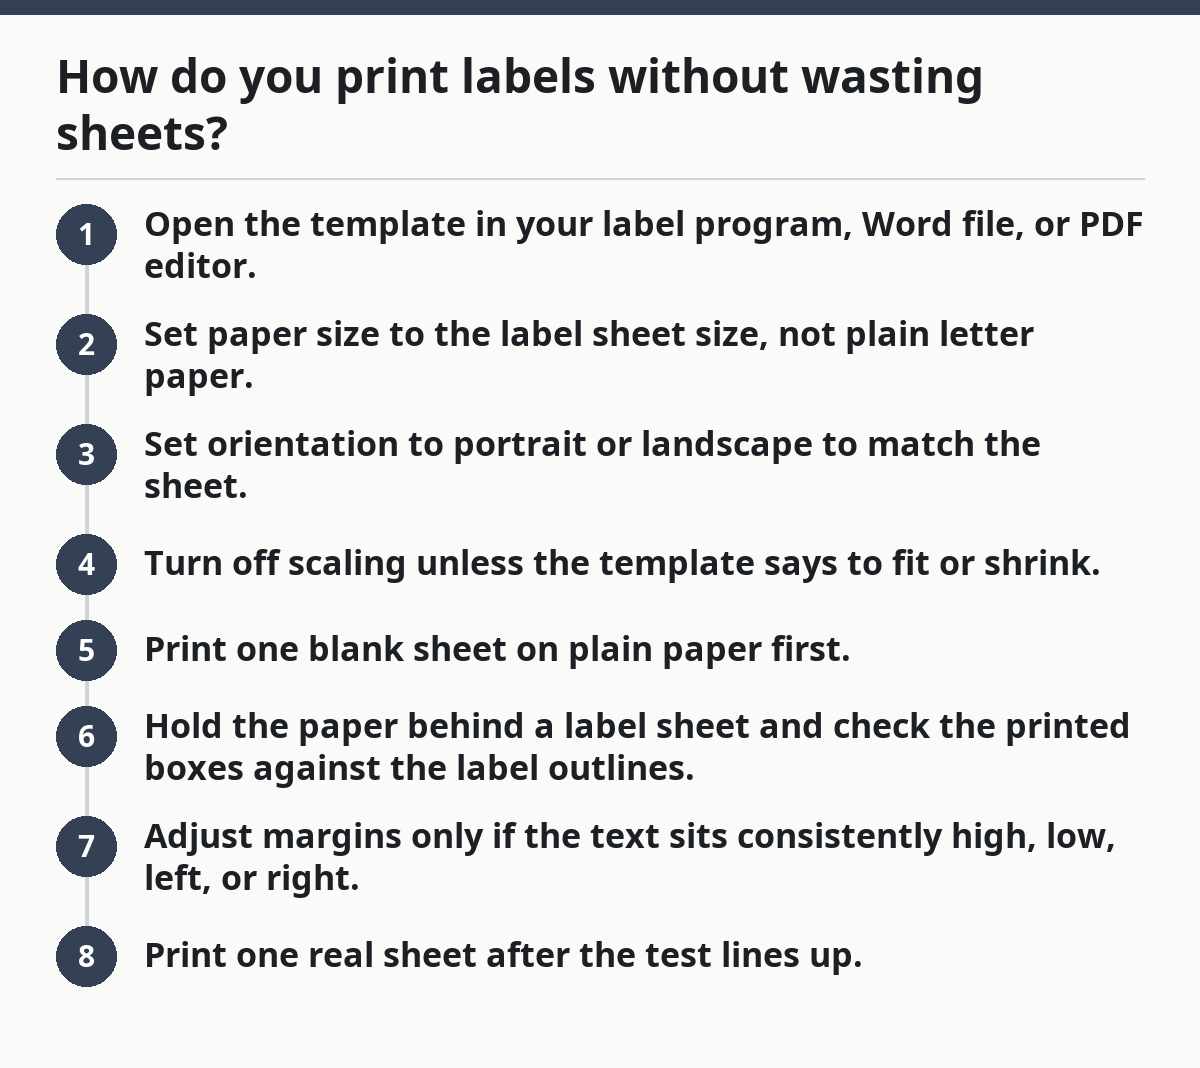
- Open the template in your label program, Word file, or PDF editor.
- Set paper size to the label sheet size, not plain letter paper.
- Set orientation to portrait or landscape to match the sheet.
- Turn off scaling unless the template says to fit or shrink.
- Print one blank sheet on plain paper first.
- Hold the paper behind a label sheet and check the printed boxes against the label outlines.
- Adjust margins only if the text sits consistently high, low, left, or right.
- Print one real sheet after the test lines up.
One wasted test sheet can save ten bad address sheets. A fair trade. It saves money.
Match the sheet orientation before you send a job
Your labels can look fine in preview and still land sideways if the sheet was loaded the long way. In that case, you don’t need a different template—you need the same orientation in the file, the feed direction, and the tray setup.
This is where many people lose a whole pack. They flip the paper after the preview looks wrong, then the margins shift again. If the sheet has a leading edge or a top edge marked on the package, use that as the reference every time. That small detail keeps the feed path consistent.
A common mistake is printing on the wrong side of the label stock. Some adhesive paper has a clear face and a backing side that feels different or looks less glossy. If the print lands on the wrong side, the sheet is gone. Dead simple, expensive mistake.
- Load the stack the same way every time.
- Use the package arrows or corner marks if the sheet has them.
- Keep the tray guides snug so the sheet does not drift.
- Do one quick 1-page test before a full mailing run.
What settings save the most adhesive paper?
Scaling, margins, and page source save the most paper. Those three decide whether the design lands inside the label or drifts across the gaps.
Leave the margins alone unless you know the shift is consistent. If every line is 2 mm too high, a small margin change helps. If the output jumps around, the problem is usually a bad feed, a mismatched template, or auto-scaling. Change one setting, then run a single blank test page to see the effect.
Mail merge can chew through sheets fast when the data file has empty lines or duplicate records. Clean the list first. If the merge pulls in blank addresses, you may print half a sheet before you notice.
For address work, keep the merge preview open and check the first record, one middle record, and the last record. That catches cut-off postal codes, extra commas, and cells that overflow the label space.
- Turn off “Fit to page” unless the template says otherwise.
- Use the same paper source for test and final runs.
- Clean the mail merge list before the first print.
- Preview record 1, a middle record, and the last record.
How do you test print labels the smart way?
Start with plain paper, then move to one label sheet only after the layout looks right. That method costs far less than guessing with adhesive stock.
A plain-paper test shows where every line lands. Hold the test page behind the label sheet and look through a window or bright light. If the text sits centered in each label box, you’re ready. If it drifts, note which side is off before you change anything. Then you’ll know whether the fix belongs in the template, the margins, or the feed path.
For a mailing label job, print the first page only from the merge, not the whole batch. If the first page is wrong, you stop before the rest of the stack is wasted. Then print the full run once the spacing holds.
Use a spare sheet of the same label stock for the final check if you have one. A 1-page test is far cheaper than reprinting 20 or 50 addresses.
- Print one plain sheet before any adhesive stock.
- Hold it behind the label sheet under light.
- Compare the top row and bottom row, not just the center.
- Run only page 1 of a mail merge before batch printing.
What causes the most wasted sheets?
Template drift, scaling errors, and feeding the sheet the wrong way cause the biggest waste. Those three problems can burn through an entire pack of label sheets without giving you a single usable address.
Template drift happens when the file is close but not exact. A small offset can look harmless on screen and still ruin every label in the sheet. Scaling errors are worse because the page may look “normal” in preview while the print lands smaller or larger than the template. Wrong-side loading is the quickest way to lose a sheet outright.
If half the sheet prints correctly, do not keep going and hope the next page improves. Stop, fix the cause, and only then continue.
The best habit is simple: print one sheet, check one sheet, then print the batch. Dull? Sure. It also saves money.
- If the preview and the print differ, check scaling first.
- If every label is shifted the same way, check margins next.
- If the sheet jams or feeds crooked, check loading and tray guides.
- If the merge output is wrong, inspect the data file before anything else.
Can you print labels on a normal printer?
Yes, you can print labels on a normal printer if the machine accepts the sheet size and can feed adhesive paper without jamming. The issue is not the device class; it’s whether the printer settings and paper path match the stock.
Many standard office machines handle mailing labels well when the tray is set for the right size and the manual feed path is used for thicker stock. Some models are pickier about adhesive paper, especially if the sheet curls or the backing is too stiff. If the feed rollers struggle with plain paper, labels will be a poor fit.
For that reason, the safer move is to check the machine’s paper specifications and the label sheet package before you print a batch. If both allow it, run one test sheet and watch for skew, smudging, or a slow feed. The printer paper specs page can help you compare the tray limits before you start.
For broader printer quality topics, the hub on printer output quality and color management fits here.
- Use the paper size the machine can actually feed.
- Prefer manual feed if the stock is heavier.
- Avoid curling sheets.
- Stop if the first test sheet skews or jams.
Mailing labels: the final pass before a batch
The template is right, the preview looks clean, and you’re one click from printing 40 addresses. That’s the moment to slow down for 30 seconds and check the merge, the tray, and the first page. A short final pass beats redoing the whole stack.
For mailing labels, the last check is about consistency, not creativity. Confirm that the address block sits where you expect it, the postal code is not cut off, and the sheet edge matches the feed direction. If any one of those is off, stop there.
A simple naming habit helps here, too. Save the file with the sheet layout in the name, like 30-up or 4×6, so you don’t grab the wrong template next time. That tiny habit cuts repeat errors on future jobs.
If the same job prints often, keep one verified template and one plain-paper test page with notes. That reference is worth more than a fresh guess every time.
- Save templates by sheet layout.
- Keep one verified test page for future runs.
- Recheck the first page on every new batch.
- Use the same paper path for repeat jobs.
How do I align labels in a printer?
Align labels by matching the template, the sheet orientation, and the page scaling before you print the real stock. The easiest check is a plain-paper test held behind the label sheet. If the text is off in the same direction on every label, adjust margins. When the result changes page to page, the feed or scaling is the problem.
What is the best way to test label printing?
Print one blank test page on plain paper, then hold it behind a label sheet under light. That shows the placement without wasting adhesive stock. If the layout is close, print only page 1 of the mail merge next, then confirm the full batch after that.
Can I print labels on a normal printer?
Yes, if the machine supports the sheet size and can feed adhesive paper without skew or jams. Use the correct tray setting, turn off unwanted scaling, and run a single test first. If the labels feed badly or the sheet curls, a different feed path or a better-suited machine is the safer choice.
Drafted with AI; not yet reviewed by a person.