Last updated: November 18, 2026
Quick answer
A document scan on Windows and Mac is usually a 3-step job: open your scanner app, choose PDF or JPEG, then save the file where you can find it. For most paperwork, 300 dpi is the practical default.
Key takeaways

- You need a scanner or all-in-one printer already connected to the computer before the scan starts.
- PDF is the usual choice for forms, receipts, and multi-page documents; JPEG works better for single-page images you may edit.
- A higher resolution gives sharper text but creates a larger file and a slower scan.
- The simplest path on both Windows and Mac is the built-in scanner app first, then a third-party scanner app only if you need extra features.
- If the file lands in the wrong place, the scan still worked; the fix is usually in the save location setting, not the scanner itself.
What you need before you start
You need a scanner that is already connected by USB or on the same network as your computer, plus the document you want to scan. If the device is an all-in-one printer, the flatbed glass or automatic document feeder, often called the ADF, will do the job. Most home and office scanners also let you choose between PDF and JPEG before you start.
Have the scanner powered on and ready. A flatbed scan usually takes a few minutes if you are scanning one page at a time, while an ADF can pull through multiple pages in a single run. That difference matters because it changes how you prepare the pages: flatbed scanning rewards careful placement, while ADF scanning rewards clean, straight stacks with no staples or torn edges.
The two settings that matter most at the start are file format and resolution. PDF is the usual choice for paperwork because it keeps pages together. JPEG is better if you want a single image file or plan to edit the scan later. For text-heavy pages, 300 dpi is the common starting point; higher numbers create bigger files.
If you are setting up the device from scratch, the scanner setup guide on this site is the better place to start before you scan the first page.
How do you scan a document on Windows?

You scan a document on Windows by opening the built-in scanning app or your printer’s scanner app, choosing a format such as PDF, and saving the file to a folder you can find again. The exact name of the app depends on the brand, but the workflow is usually the same on Windows 10 and Windows 11.
-
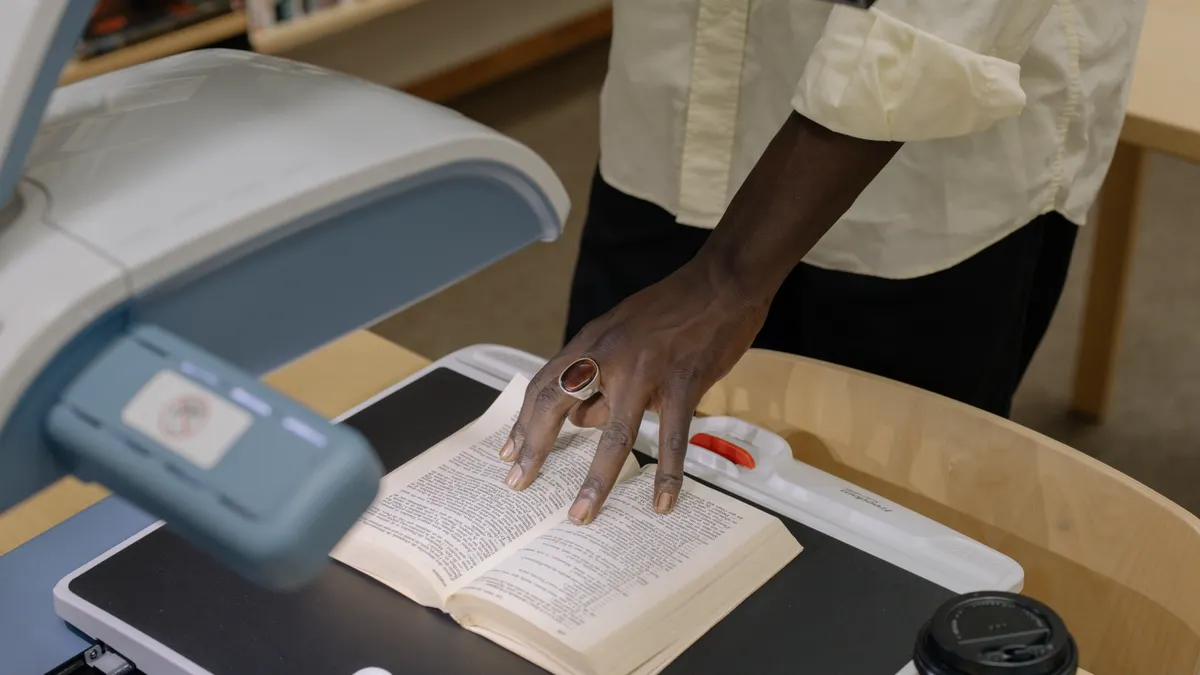
Turn on the scanner and load the document. Place one page face down on the glass, or feed the pages into the ADF face up if your model uses that tray. When this part works, the scanner light turns on or the feeder shows the paper is ready.
-
Open the scanner app on Windows. Start with the built-in app if it is available, or open the scanner software that came with the device. On many systems, the app shows the scanner name in a drop-down list, which tells you the computer has found the device.
-
Choose the source and scan type. Select flatbed for one page on the glass or feeder/ADF for multiple pages. Pick color, grayscale, or black-and-white depending on the document; a typed black-and-white form does not need color unless the original has marks that matter.
-
Set the file format to PDF or JPEG. Choose PDF for a document you want to keep as a readable record, or JPEG for a single image file. When the choice sticks, the format will appear beside the scan settings before you start.
-
Set the resolution. Use 300 dpi for most documents. If the scan includes small text, handwriting, or stamps, increase the resolution only as needed because the file will get larger and slower to open.
-
Choose the save location. Pick a folder such as Documents, Desktop, or Downloads, then name the file before saving. The scan worked if the app shows a saved file in the folder you chose instead of hiding it in a default directory you will forget.
-
Start the scan and check the preview. Click the scan button and wait for the preview or final file to appear. If the preview looks cropped or skewed, fix the page placement and scan again before saving the final version.
-
Save or export the final document. Confirm the file name, format, and destination folder, then save it. A successful scan usually ends with the file opening in a viewer or appearing in File Explorer.
Windows apps often vary by brand, but the settings above are the ones that matter most. If the app offers an “auto” mode, treat it as a shortcut, not a guarantee; manual control over PDF, JPEG, and 300 dpi gives you more predictable results, and if the result still matters for a legal, medical, or financial record, consult the device manual or a qualified professional.
How do you scan a document on Mac?
You scan a document on Mac by opening the built-in Preview or Image Capture workflow, selecting your scanner, choosing PDF or JPEG, and saving the file to the folder you want. macOS makes the process look different from Windows, but the same three decisions still control the result: source, format, and resolution.
-
Place the document on the scanner. Put a single page on the flatbed or stack multiple pages in the ADF, depending on the hardware. If the page is on the glass in the wrong direction, the preview will show it upside down or sideways.
-
Open the scanning window. In macOS, use Preview’s import option or Image Capture, depending on the scanner and the version of macOS you have. When the scanner is detected, its name appears in the left panel or a source list rather than as a blank screen.
-
Select the scanner and paper source. Choose the correct device if more than one is listed, then pick flatbed or document feeder. This matters because the app may default to the glass even when the feeder is loaded.
-
Choose the file format. Set the scan to PDF if the pages belong together, or JPEG if you want a separate image file. PDF is the usual choice for statements, forms, and multi-page documents because it keeps everything in one file.
-
Adjust resolution and color mode. Start with 300 dpi for normal text documents. Use color only when the original has colored marks, charts, or highlights that you need to preserve; otherwise grayscale keeps the file smaller.
-
Pick the save location. Choose a folder before you scan if the app allows it, or move the file right after saving it. A successful scan shows the file in the folder or in the app’s saved-items list, not just in a temporary preview.
-
Scan the page. Click the scan button and wait for the file to build. If you are scanning several pages, confirm that each page appears in the correct order before you export or save the PDF.
-
Review the file once. Open the saved document and check page order, orientation, and readability. If the result is blurry, go back to the resolution setting instead of rescanning at random.
macOS is friendly once the device is recognized, but it can be less obvious than Windows for where files are saved. That makes the save location step worth checking every time.
Choosing PDF, JPEG, and resolution without guessing
You should choose PDF for documents and JPEG for image-style scans, then use 300 dpi as the default resolution for readable text. Those three choices decide whether the scan is practical or annoying to use later.
PDF is a strong all-around file format for paperwork. It keeps multiple pages together, opens on nearly every computer, and is easy to email or archive. A PDF also avoids the problem of separate image files for each page, which becomes messy fast on a 4-page or 20-page document.
JPEG is useful when the scan is really just a picture of a page, signature, or form section. It is a common file format, but it is not ideal for multi-page documents because every page becomes its own file. JPEG compression can also soften small text, so it is a weaker choice for contracts, invoices, and any page with fine print.
Resolution is the trade-off between clarity and file size. At 200 dpi, some documents will be readable but not crisp. At 300 dpi, most normal office documents scan well enough for storage, sharing, and printing. At higher settings, the file grows quickly and the scan may take longer, which matters if you are scanning a 25-page stack.
A plain paper document is usually fine at PDF and 300 dpi, but the best setting depends on what you need the file to do next. If the page has tiny text, faint signatures, or a stamp you need to preserve, raise the resolution a step. If the file is only for quick reference, do not over-scan it.
For standards-minded readers, the term of art you will see most often is dpi, which means dots per inch. It is the scanner’s sampling rate, not a promise of legibility by itself. The National Institute of Standards and Technology has background on imaging terms, and scanner vendors often describe the same setting in their manuals.
Common mistakes that waste a second scan
The most common mistakes are the wrong file format, the wrong save folder, and a resolution that does not match the job. Each one costs time in a different way: the wrong format forces a rescan, the wrong folder makes the file look lost, and the wrong resolution creates either blurry text or an oversized file.
A frequent mistake is choosing JPEG for a document that should have been PDF. The cost is usually multiple files spread across a folder, especially if there are 3 or 10 pages. Use PDF unless you have a clear reason not to.
Another mistake is leaving the save location on a default folder you do not check. The scan may succeed, but the file seems to disappear because it landed in Pictures, Downloads, or a software-specific folder. The fix is simple: choose the destination before you press scan.
People also skip the preview step and end up with a page cropped at the edge or rotated 90 degrees. That costs a second scan and sometimes a third if the page was loaded crooked in the feeder. A 5-second preview is cheaper than fixing a bad file later.
A fourth mistake is setting the resolution too high for a basic form. At 600 dpi or above, files get large quickly and can be slower to open or email. Unless you need tiny text or fine detail, 300 dpi is the better default.
This is not the page for scanner troubleshooting, and it is not a photo-scanning guide. If the device is not showing up at all, that is a different problem from scanning a document correctly once the scanner is already available.
How to save, rename, and find the scan later
You should save the scan into a named folder and rename it immediately so the file is easy to find later. That habit matters more than the scan button itself, because a good scan with a bad filename still turns into clutter.
Use a folder that fits the purpose: Documents for records, a project folder for work files, or Desktop only if the scan is temporary. A clear folder path saves time the next time you need the file. If the app lets you choose the filename before saving, use a format like Tax-Form-2026.pdf or Lease-Signed.pdf instead of scan1.pdf.
If you scan more than one page, keep the pages in one PDF when the app allows it. That is much easier to manage than 6 separate JPEG files. A single PDF also reduces the chance that one page gets forgotten in a folder.
After saving, open the file once. Check that the pages are in order, the orientation is correct, and the text is readable at normal zoom. If the file is meant to be shared, send yourself a copy first so you can verify that the other computer or phone opens it without issue.
On both Windows and Mac, a scan that can be found later is more useful than a perfectly named file that ends up in the wrong directory. The goal is not just to create a file; it is to create one that is easy to retrieve 30 seconds or 30 days later.
How do I scan to PDF?
Choose PDF in the scanner app before you start the scan. PDF is the right format for multi-page documents, forms, and records you may need to open on different devices. If your scanner app offers “Save as PDF” or “Multiple pages in one file,” use that setting and then save the file to a folder you can find again.
Why won’t my scanner be detected?
The scanner is usually not detected because the app is looking at the wrong device, the scanner is off, or the connection is not ready yet. Start by checking the scanner name in the app and confirming the device is powered on and selected. If the scanner still does not appear, that is a device-connection problem, not a scan-setting problem.
How do I choose scan resolution?
Choose 300 dpi for most documents and raise it only if the text is small or faint. Higher resolution creates a larger file and usually takes longer to scan, so it is not automatically better. For a normal typed page, 300 dpi is the practical default on both Windows and Mac.
Drafted with AI; not yet reviewed by a person.