Last updated: November 18, 2026
Quick answer: For how to scan a photo without losing quality, start with a flatbed scanner, 600 dpi, 24-bit color, and TIFF for the master file. A good photo scan starts with the right settings: use a flatbed scanner, scan at a higher dpi than you think you need, and save in a lossless format if you want to keep detail. The biggest quality losses usually come from low resolution, the wrong color mode, and overcompressing the file.
Photo scan settings that matter most for how to scan a photo without losing quality
For how to scan a photo without losing quality, a flatbed scanner set to 600 dpi, 24-bit color, and TIFF is a strong default if you want maximum quality. That combination preserves detail, color transitions, and editing room without forcing the scanner to invent missing pixels.
The settings matter because a photo is not a text page. Fine textures, skin tones, fabric, sky gradients, and film grain all show damage fast if the scan is too small or too compressed. A 300 dpi scan may be fine for a memo, but a photo often benefits from 600 dpi or higher, especially if you may crop later. If the image is tiny, damaged, or old, 1200 dpi can be useful in some cases, though it creates larger files and longer scan times.
Use color mode, not grayscale, for almost every photo. Even black-and-white prints often contain subtle warm or cool tones in the paper and shadows, and a color scan gives you more control if you later correct dust, yellowing, or tint. Turn off “auto enhance” or any aggressive color correction if the scanner software tends to oversharpen or flatten the image. Those features can be helpful on a casual copy, but they can also eat edge detail.
A flatbed scanner is the right tool here. Unlike a sheet-fed scanner, it keeps the photo flat and stationary, which matters for curled prints and fragile originals. If the photo is larger than the scanner bed, scan it in overlapping sections and stitch later rather than forcing it through an automatic feeder.
For background reading on scanner setup choices, the hub page on scanner setup guide belongs here.
How to scan a photo step by step
How to scan a photo without losing quality comes down to cleaning it, placing it straight on the bed, choosing the right resolution and file type, then saving a master file before making smaller copies. The goal is to capture a strong original in one pass, then work from that file later.
-
Clean the scanner glass and the photo surface. Use a microfiber cloth and a little glass cleaner on the scanner bed, then gently brush dust off the print. Dust on the glass becomes a dark spot on the scan; dust on the print becomes part of the file.
-
Place the photo face down and square it to the bed. Align the edges with the scanner frame or the preview grid. Straight placement makes cropping easier and keeps the image from looking tilted by a few degrees.
-
Choose the scan area tightly around the photo. Crop to the photo edges in the preview window so the scanner does not waste pixels on empty bed space. A tighter area also keeps file size down.
-
Set resolution to 600 dpi for most prints. Use 300 dpi only for quick sharing or when the print is already large and you do not need much editing room. Use 1200 dpi for small prints, old prints, or any photo you may enlarge later.
-
Set color mode to RGB color or 24-bit color. That gives you full color data. If your scanner offers “photo,” “color photo,” or “true color,” choose the setting closest to that instead of text/document mode.
-
Save the master scan as TIFF if the software allows it. TIFF keeps quality without the compression artifacts that can show up in JPEG. If TIFF is not practical, save the first scan as the highest-quality JPEG setting available and keep that file untouched.
-
Make a second copy for everyday use. Export a smaller JPEG for email, messaging, or online sharing. Keep the TIFF or original high-quality file as the archive version.
If the scanner offers a preview and a final scan, use the preview to check exposure and framing before the full scan. That saves time and reduces the chance of repeating a 10-minute scan because the photo was crooked.
What dpi should I use for photos?
For most printed photos, 600 dpi is the right starting point, and 1200 dpi is reserved for small or delicate originals. That gives enough pixel data for cropping, modest enlargement, and cleanup without making every file huge.
Dpi, or dots per inch, is easy to misuse because the number alone does not guarantee quality. A low-quality scanner at 1200 dpi may still produce a soft file, and a very large print may not need that much resolution. Still, as a practical rule, 300 dpi is the floor for quick archiving, 600 dpi is the everyday setting for prints, and 1200 dpi is the high-detail option when the source is small, textured, or valuable.
The mistake many people make is scanning everything at 300 dpi because it sounds “good enough.” That works for a document, but a photo scan loses more once you start enlarging faces, backgrounds, and edges. A 4×6 print scanned at 600 dpi gives you much more room to crop than the same print scanned at 300 dpi. It also helps if you want to remove dust later without blurring the surrounding area.
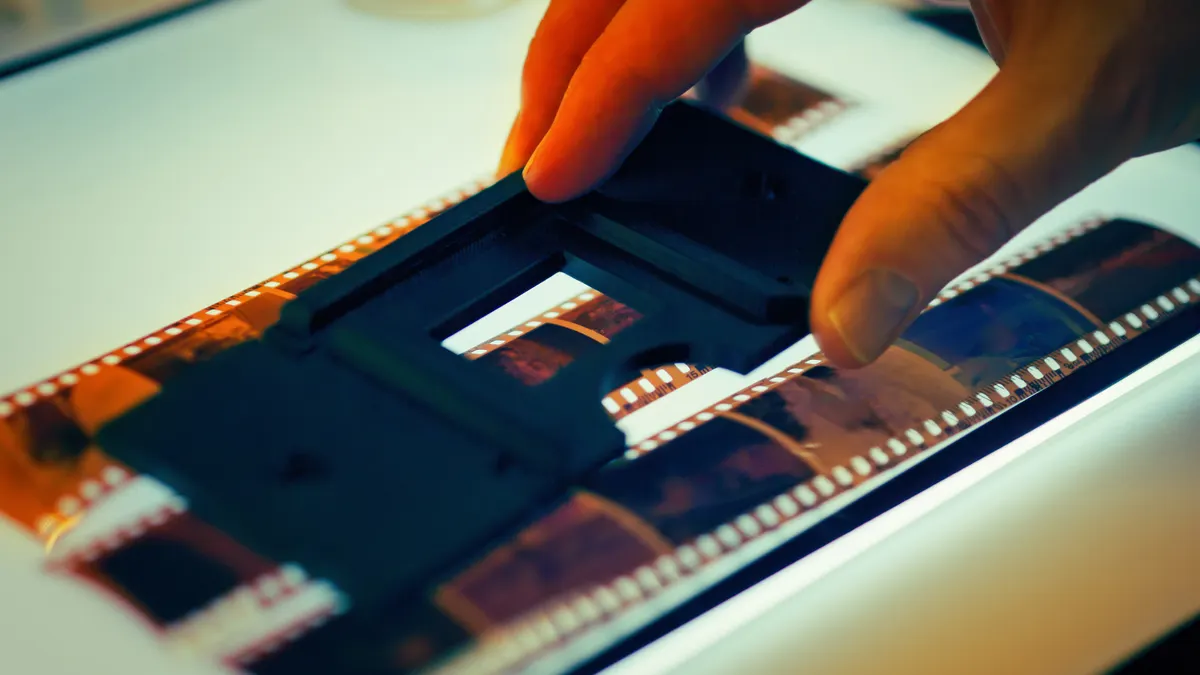
The trade-off is file size and time. At higher dpi, the scan takes longer and can produce files that are awkward to open on older computers. If you are scanning a box of family prints and only need a clean digital record, 600 dpi is a sensible balance. If you are digitizing negatives or preparing a print for restoration work, a higher setting may be worth the slower workflow.
Should I scan photos as JPEG or TIFF?
Scan photos as TIFF when you want the best quality, and use JPEG only when file size or sharing matters more than editing headroom. TIFF is the safer master file because it avoids the visible damage that repeated JPEG compression can create.
JPEG is convenient because it is small and widely supported, but it is a lossy format. That means the file throws away some image data to save space. One save may look fine, but repeated saving can soften fine detail and produce blocky artifacts around edges or in flat areas like skies and skin. That is the wrong direction for a photo you may want to edit later.
TIFF is better for an archive file because it preserves more of the original scan data. It is a common choice for high-quality photo work and long-term storage. The cost is size: TIFF files are larger and can take longer to open, sync, or back up. That is why a two-file approach works well. Keep one TIFF as the master and create a JPEG copy for sharing.
If your scanner software asks about JPEG quality, choose the highest setting available or one close to it. If it gives you a compression slider, keep compression low. The goal is not to make the smallest file possible; the goal is to preserve the print faithfully the first time. You can always make smaller copies later, but you cannot restore detail that a compressed scan discarded.
For a deeper comparison, see the Library of Congress guidance on TIFF format, JPEG, and digital preservation basics.
How do I keep the scan clean and sharp?
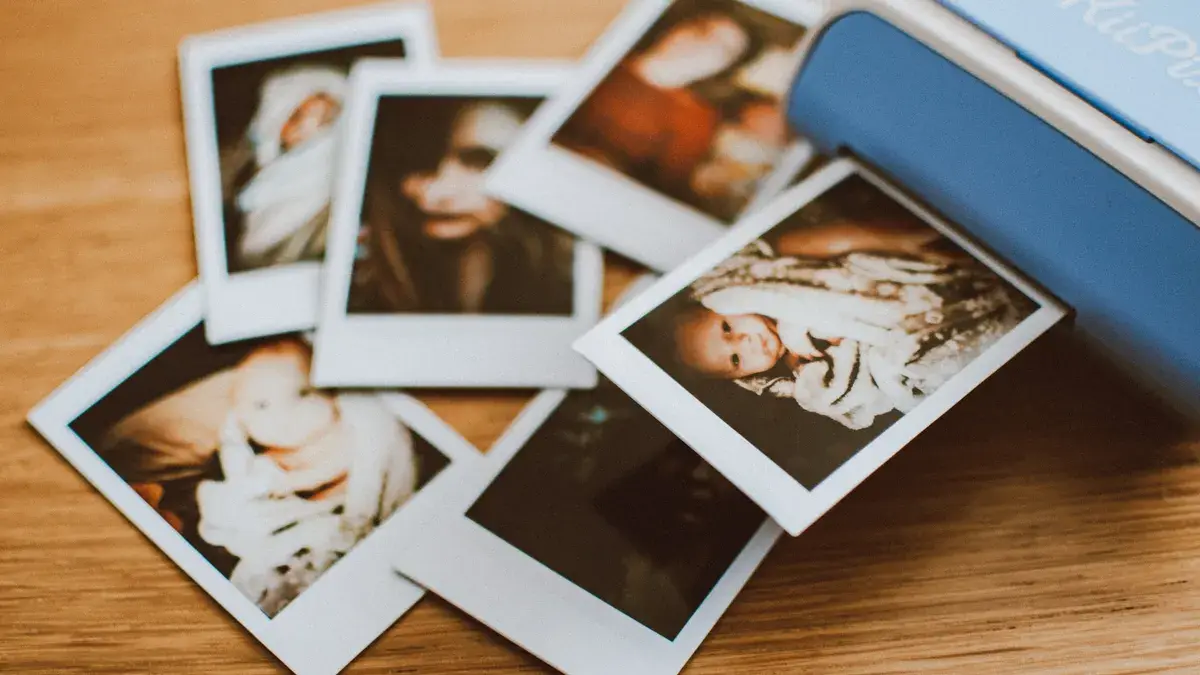
You keep the scan clean and sharp by removing dust first, avoiding heavy auto-corrections, and handling the print gently so it stays flat. Small defects are easier to prevent than to fix, and the scanner only records what is on the bed.
Dust is the most common problem. A single speck can turn into a black dot in the scan, and a lint thread across the glass can look like a scratch. Clean the scanner bed before every serious scan, especially if the scanner has not been used in a while. If the photo has loose dust, use a soft brush or air bulb, not your shirt sleeve. Wiping a print aggressively can create new marks.
Keep the photo flat. Curled corners create uneven focus on some scanners, especially at the edges. A flatbed scanner handles this better than a feeder, but severe curl can still cause a soft side or a slight shadow. If the print is slightly bent, close the lid gently and let it rest flat under the lid without forcing it.
Do not overdo sharpening or color correction in scanner software. Auto sharpening can make grain look harsh, and automatic contrast can crush shadow detail or blow out highlights. If you know you will edit the image later in software, scan conservatively and leave the file closer to the original print. A mild, clean scan is easier to improve than a scan that has already been pushed too far.
For fragile, old, or irreplaceable prints, handle them with care and consider a professional photo conservator if the surface is flaking, stuck, or water-damaged. A scanner is not the place to force a brittle original flat. The Smithsonian’s object handling guidance is a useful reference for careful handling.
Common mistakes that ruin a photo scan
The worst mistakes are scanning too small, choosing the wrong file type, and letting the software “fix” the image before you have a master copy. Each one costs detail, and the loss shows up fast when you zoom in.
Scanning at 150 or 300 dpi because it is faster is the easiest way to end up with a file that looks fine in a thumbnail and poor at full size. Once the scan is too small, cropping or enlargement exposes blur and pixelation. The fix is simple: scan once at 600 dpi for ordinary prints, then make smaller copies from that master.
Saving the first version as JPEG and editing that same file again is another common error. Every re-save can degrade the image a little more. If you need to crop, color-correct, or remove dust, work from a TIFF or another untouched master file.
Using a document setting is a bad fit for photos. Those modes often favor edges and contrast instead of tone and color, so the scan can look crunchy or flat. Choose a photo or color mode, not text. If the software has an “enhanced” preset, check whether it is boosting contrast too much.
Another mistake is scanning several prints on the bed at once. It feels efficient, but it creates extra cropping work and can tempt you to use one setting for photos that need different treatment. One photo per scan is slower, but it gives cleaner framing and better control over resolution.
For more on preserving source quality, see the National Archives digital preservation guidance and the Library of Congress file-format notes on TIFF and JPEG.
What to do after the scan
After the scan, save one master file, make one working copy, and name them clearly so you do not overwrite the good version. That simple habit protects the quality you just captured.
Use a filename that tells you what the file is without opening it, such as a date, a family name, or the event. Keep the archive copy in TIFF or the highest-quality original format you have, and store the sharing copy as JPEG. A basic folder structure works better than a dozen vague filenames like “scan1” or “photo-final-final.”
If the image looks a little too dark or warm, edit the copy, not the master. The archive file is the digital equivalent of the original print. If you decide later that the crop is wrong or the dust cleanup went too far, you can start over from the untouched version.
Backups matter here even though the question is about scanning, not storage. A scan is only useful if you can find it later. Keep at least one backup copy on another drive or trusted cloud storage, and check that the file opens before you pack away the original photo.
Key takeaways
- A flatbed scanner is the right tool for preserving detail in a photo scan.
- 600 dpi is the best default for most prints; 1200 dpi is for smaller or more detailed originals.
- Color mode preserves more editing flexibility than grayscale, even for many black-and-white prints.
- TIFF is the best master format; JPEG is better as a smaller sharing copy.
- Dust, crooked placement, and aggressive auto-correction are the fastest ways to lose quality.
What dpi should I use for photos?
Use 600 dpi for most printed photos. That setting gives a strong balance of detail, file size, and scan time, and it leaves room for cropping or later editing. If the print is small, old, or especially important, 1200 dpi can be worth the extra file size.
Should I scan photos as JPEG or TIFF?
Scan photos as TIFF if you want the highest-quality master file. JPEG is fine for sharing, but it compresses the image and can lose detail, especially if you save it more than once. The cleanest workflow is TIFF for storage and JPEG for email or messaging.
How do I scan old photos safely?
Handle old photos gently, clean dust off the scanner bed first, and use a flatbed scanner instead of any feeder. Scan at 600 dpi or higher if the print is small or fragile, and avoid pressing the lid down hard. If the photo is cracking, stuck to glass, or badly damaged, stop short of forcing it flat.
Drafted with AI; not yet reviewed by a person.