Last updated: November 19, 2026
Key Takeaways
- Keep files clean and organized, not scattered across folders.
- A flatbed scanner with a transparency unit handles most home film jobs; a film scanner offers more control for 35mm.
- Scan slides and negatives by loading the holder, choosing transparency mode, correcting the original type, and saving a high-quality file.
- The key settings are resolution, color mode, and correction tools.
Slides and 35mm negatives need the right holder, light source, and scan settings if you want usable files at home. How to scan slides and negatives at home starts with a flatbed scanner or film scanner, plus dust removal and color correction. The steps below show which route fits your film and what settings matter most.
What you need before you start film scanning
Picture this: you’ve got a box of slides, a strip of 35mm negatives, and one scanner on a desk. You want clean files, not a night spent guessing at menus. The right setup for How to scan slides and negatives at home is a film scanner or a flatbed scanner with a negative holder, plus a clean surface and a software path for film inversion. A home scan can take 10 to 20 minutes per strip or more if the film is dirty.
Start with the film itself. Slides are already positive images, so they scan differently from negatives, which need inversion. A strip of 35mm negatives also needs a holder that keeps the frame flat and lined up with the scanner’s light path. If the film bows, the edges go soft.
Use these checks before you scan:
- Make sure your scanner supports transparency scanning, not just paper.
- Find the correct slide scanner tray or negative holder for your format.
- Clean the glass and the film edges with a blower or a soft, dry cloth.
- Set aside time for one batch.
You do not need a darkroom. You do need steady alignment and patience.
Which scanner should I use for slides and negatives?
A flatbed scanner with a transparency unit suits most home jobs, while a dedicated film scanner gives more control for small formats like 35mm negatives. The right choice depends on how much film you have and how picky you are about sharpness.
A flatbed scanner is the easier start. It handles slides, strips, and often medium-format film in one machine. It is slower than a dedicated film scanner, and the scan can look a little softer at the edges if the film holder is not well made. That trade-off is fine for family archives and viewing copies.
A film scanner is narrower and more focused. It is built for film, not paper, so it usually gives tighter framing and better handling of transparency originals. The catch is that it is less flexible for mixed jobs, and some models only handle certain formats.
Use this rule of thumb:
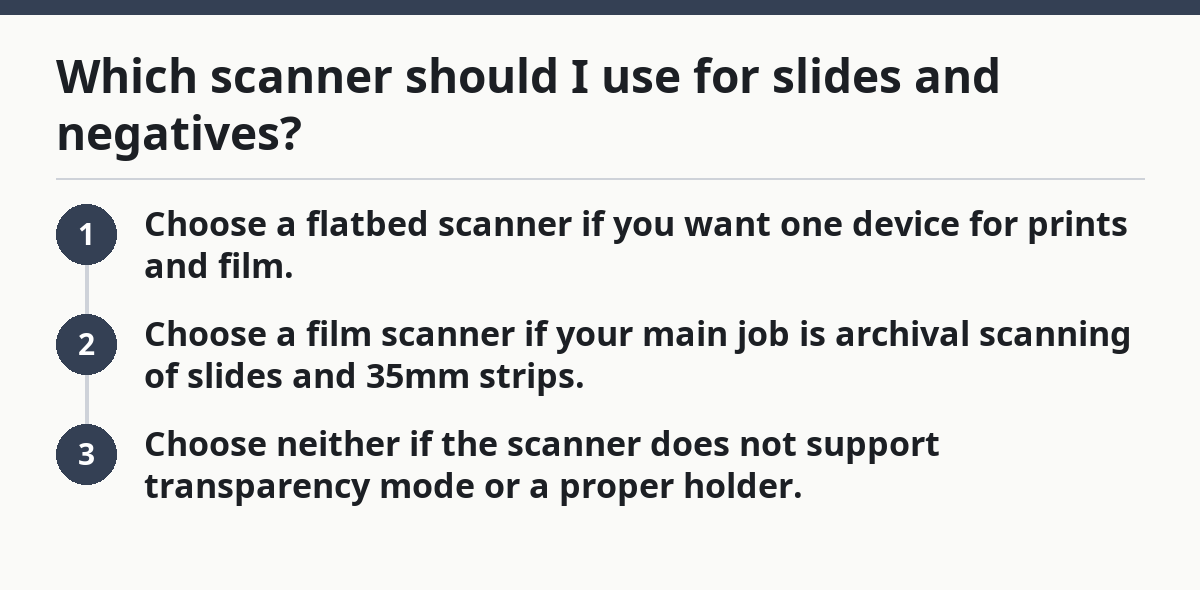
- Choose a flatbed scanner if you want one device for prints and film.
- Choose a film scanner if your main job is archival scanning of slides and 35mm strips.
- Choose neither if the scanner does not support transparency mode or a proper holder.
For more on scan quality and file handling, see the related guide on archival scanning in this cluster. For file cleanup, the photo restoration page covers the next step after capture. The broader workflow around digitizing film belongs there.
How do I scan slides and negatives at home?
You scan slides and negatives at home by placing the film in the right holder, choosing transparency mode, correcting the type of original, and saving a high-quality file. The exact path varies by scanner software, but the core workflow stays the same.
- Load the holder with the slide or negative strip so the frame sits flat and square.
- Place the holder in the scanner’s transparency area so the film lines up with the scan window.
- Select transparency mode in the scanner software so the lamp reads through the film, not off the paper bed.
- Choose the correct original type: slide for positive film, negative for color or black-and-white negatives.
- Preview the frame and crop to the image area before you scan.
- Apply dust removal only if the software offers it and the film has visible specks.
- Scan and save the file in a high-quality format for later editing and archiving.
The result should be a file that is straight, fully framed, and not clipped at the edges. If the image looks thin or strange, the original type is probably wrong. If the frame is crooked, the holder is not seated well.
What settings matter most for better results?
The most important settings are resolution, color mode, and the scanner’s correction tools. For film, the software choice matters almost as much as the hardware, because film inversion and color balance can turn a muddy scan into a useful file.
Resolution controls detail. For home archiving, a higher setting makes sense when you want to preserve small text, fine grain, or future print options. The downside is file size and longer scan times. If your scanner software offers multiple presets, start with the highest practical one for a first archival pass, then make smaller versions later for sharing.
Color mode matters too. Slides usually need color scanning straight from the original. Color negatives need inversion, then adjustment. Black-and-white negatives are simpler, but they still benefit from a clean scan and careful contrast.
Watch for these settings:
- Dust removal: useful for dusty film, but it can soften tiny details.
- Color correction: helpful for faded slides, but it can guess wrong on old film.
- Sharpening: keep it low at scan time; do fine sharpening later if needed.
- Auto exposure: good for quick previews.
The truth is, one perfect preset does not fit every roll. A faded 1970s slide and a fresh black-and-white negative need different treatment. Consult a professional if the film is valuable or unusually fragile.
How do I handle dust, scratches, and faded color?
You handle dust, scratches, and faded color by cleaning before the scan and correcting only what the software can fix without mangling detail. Dust removal is useful, but a clean film path still beats any automatic tool.
Start with the film itself. Use a blower first. If the strip is stubborn, handle it by the edges and avoid touching the image area. A fingerprint can show up as haze, and the scan will faithfully preserve it. If the holder is dusty, clean that too; many “film problems” begin on the tray, not the frame.
Then deal with the image. Many scanner programs include a dust-removal feature for transparency originals. It can save time on old slides, but it may blur fine grain or soft text in the picture. Use it when the film is visibly dirty, not as a blanket fix.
For faded color, keep your correction modest:
- Warmth and tint adjustments can bring back skin tones and skies.
- Heavy auto-correction can turn an old slide into a new-looking image that no longer matches the original.
- Black-and-white film usually needs less color work, but still benefits from levels and contrast cleanup.
Here’s the catch: if the original is badly scratched or moldy, home scanning will show that damage clearly. Software can hide some specks. It cannot restore missing emulsion.
How do I scan a whole batch without making a mess of filenames?
You scan a whole batch by setting one naming rule, one folder, and one file type before the first frame. That keeps later sorting from turning into a second project.
Pick a folder for the entire roll or box, then use a simple name pattern such as date or roll number plus frame order. Many people skip this and end up with “scan001” files scattered across the drive. That works until you need the second slide from the same trip and cannot find it.
Keep the batch organized like this:
- Create one folder for the project before you scan.
- Name files consistently so the order matches the physical strip or slide mount.
- Save archival masters before any edits or social-media crops.
- Make smaller copies only after the master files are safe.
For archival scanning, the master file is the one that matters most. If you plan to edit later, keep the original scan untouched and work from a copy. That habit saves time when you revisit a box six months later.
What mistakes ruin home film scans?
The biggest mistakes are using the wrong original setting, crooked holders, and overdone correction. Those errors waste time and make the scan look worse than the film itself.
The first common mistake is scanning a negative as if it were a slide. The result looks bizarre until you invert it, and even then the colors can go sideways. The fix is simple: choose the negative option before you scan.
The second mistake is rushing the holder. If the film sits curved or off-center, the scanner may miss the full frame or soften part of the image. That costs you sharpness, and there is no clean fix after the fact. Re-seat the strip and scan again.
The third mistake is letting software do everything:
- Heavy dust removal can smear detail.
- Strong auto color can strip the film’s original look.
- Aggressive sharpening can create halos around faces and edges.
The fourth mistake is scanning only one frame “to test it” and changing settings later without keeping track. Write down the settings that worked. A small notebook or text file beats memory when you return to the next box of slides.
What if I only have a flatbed scanner?
A flatbed scanner can still do the job if it has a transparency unit and a proper film holder. It is not as fast or as specialized as a dedicated film scanner, but it is enough for many home archives.
Use the flatbed for mixed projects: slides from one family album, a few negative strips, and maybe some prints on the same machine. That flexibility is the main win. The trade-off is speed and sometimes edge sharpness. A cheap or worn holder can also let the film sag, which hurts focus.
If you use a flatbed, pay attention to these points:
- Keep the transparency lid clean.
- Seat the negative holder fully in place.
- Scan one format at a time so the software does not guess wrong.
- Recheck each preview for crop and tilt.
A dedicated film scanner makes more sense if your box is full of 35mm film and you want the cleanest possible digitization without paper scanning mixed in. That is a simple fit-for-purpose choice, not a rule. For more hardware comparisons, see the scanner guide and the flatbed scanner overview.
FAQ
Can a flatbed scanner scan film?
Yes, if it has a transparency unit and the right holder. A standard paper-only flatbed cannot read slides or negatives because it has no backlight path through the film. The transparency lid and holder are what make film scanning possible on a flatbed.
How do I digitize old negatives?
You digitize old negatives by placing them in a negative holder, scanning in transparency mode, and inverting the image in software. Clean the film first with a blower, then use light correction tools to deal with faded color or dust. If the strip is curled or badly scratched, scan carefully and expect some cleanup work later.
What resolution should I use for film scanning?
Use the highest practical resolution your scanner and workflow can handle for archival work. Higher settings preserve more detail, but they also create larger files and longer scan times. If you only need quick viewing copies, a lower setting may be enough. If you want future editing or printing room, scan once at the stronger setting and save a master copy.
Drafted with AI; not yet reviewed by a person.